2017-01
Page 6-2 to 6-5 Rear Spar
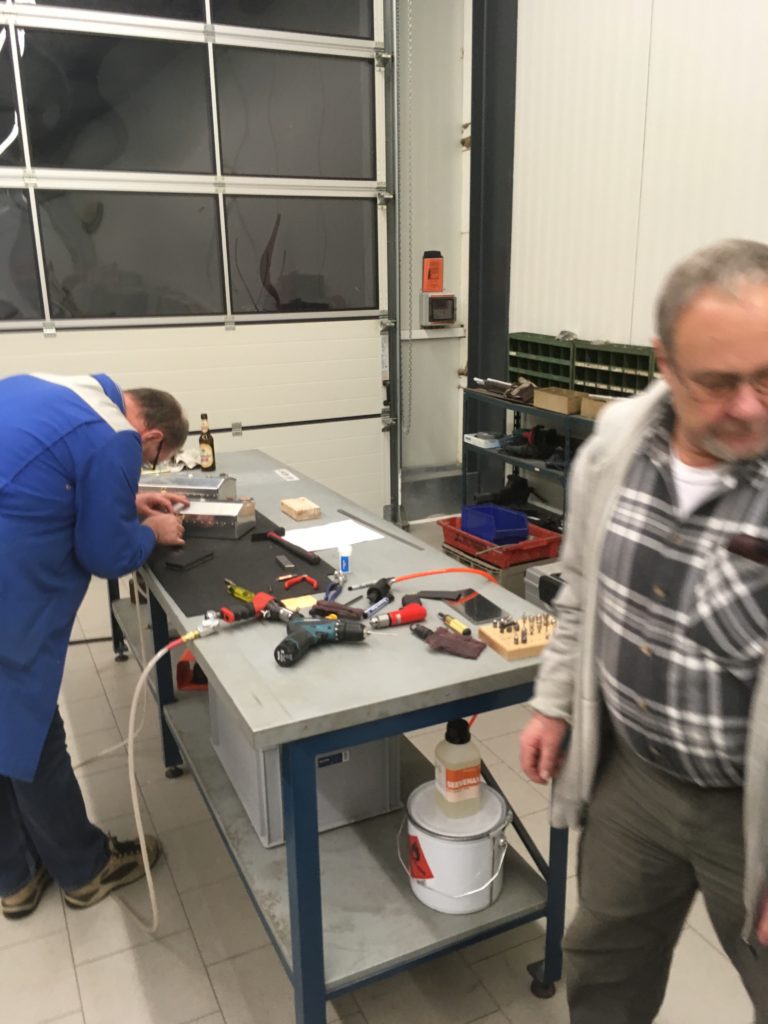
Preparing the rear spar, deburring, straightening, final drill and match drilled some parts. Parallel to the deburring I took the training projekt (Vans Tool Box and the flap training kit). My friends Frank Goehner and Ernst-Otto Rehm are very helpful giving me hands to help at some difficult to reach places and by having fun with the build process. I´m glad to have them as friends – not only for some help :o)
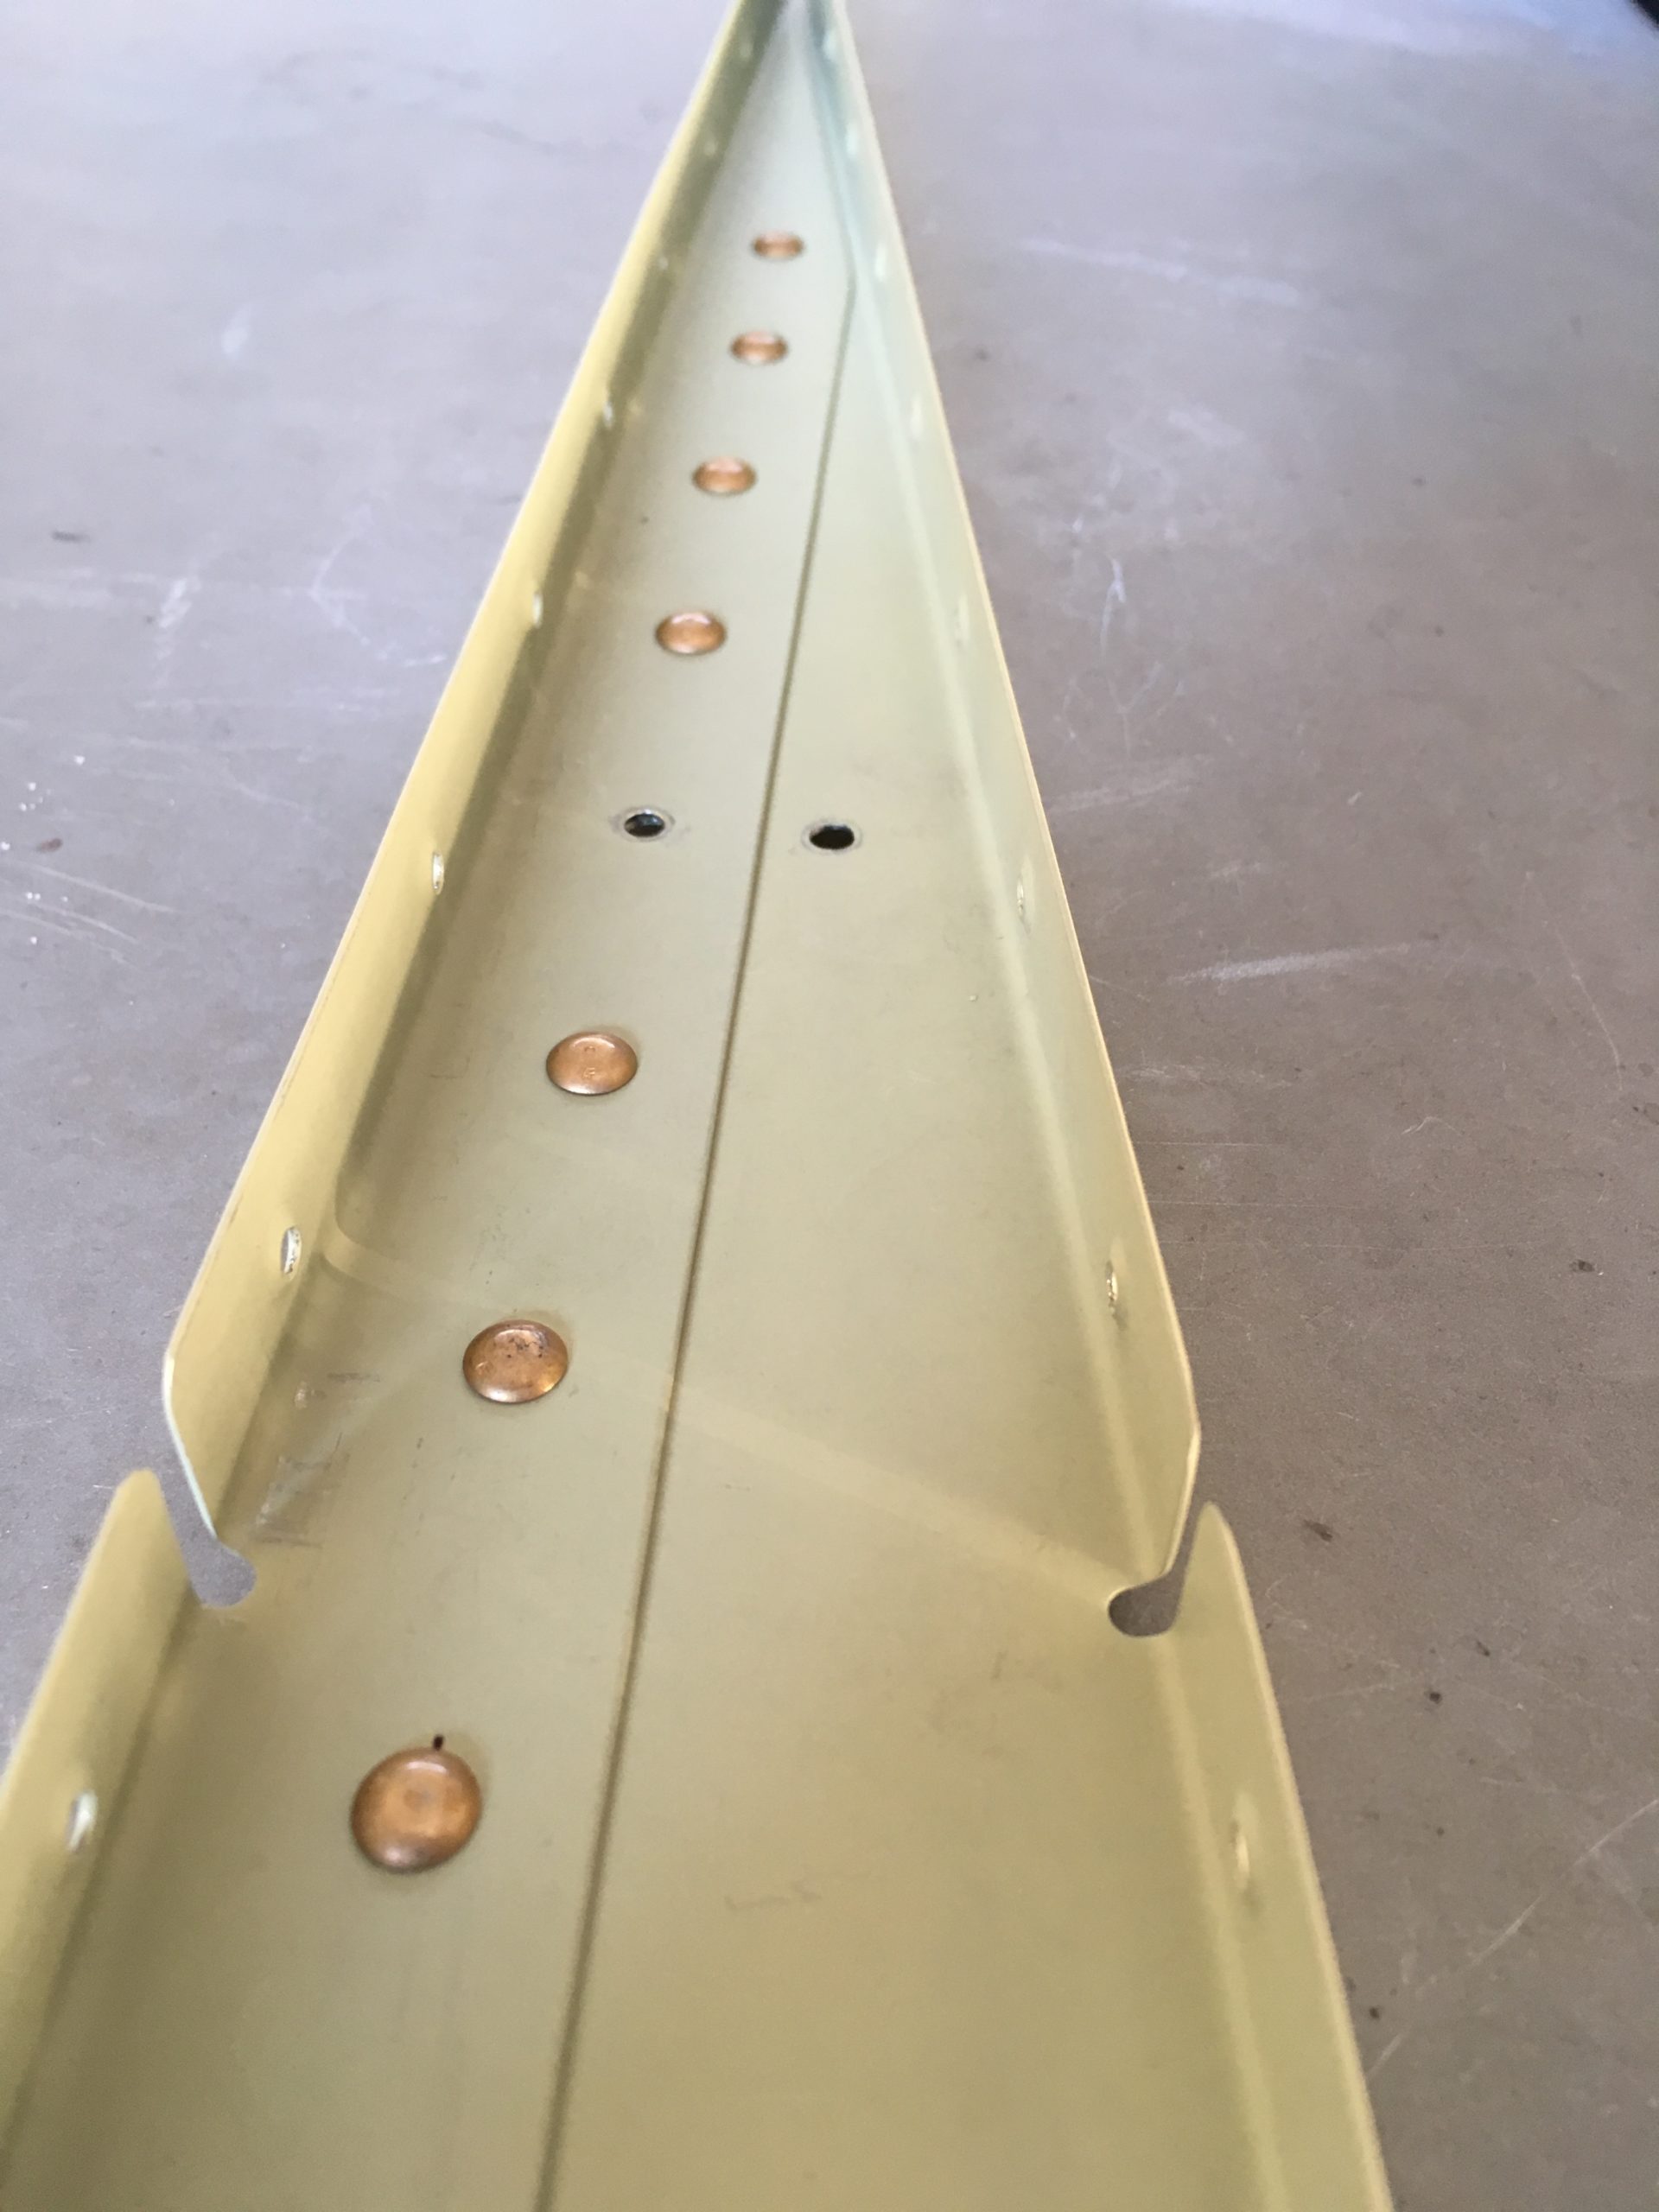
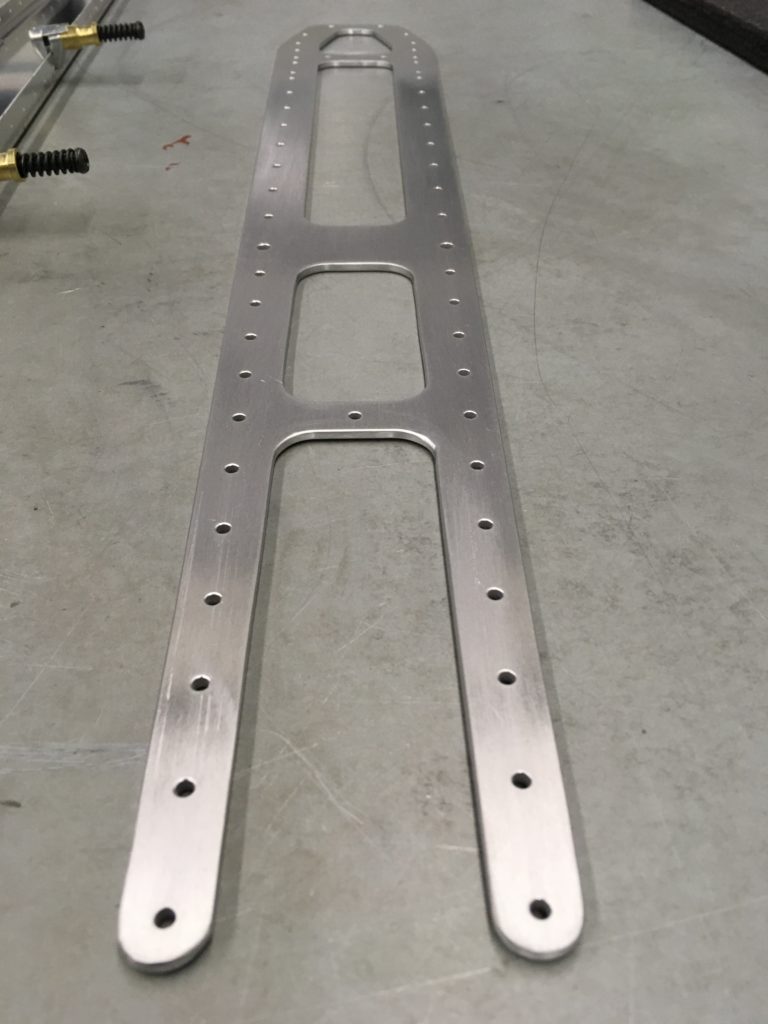
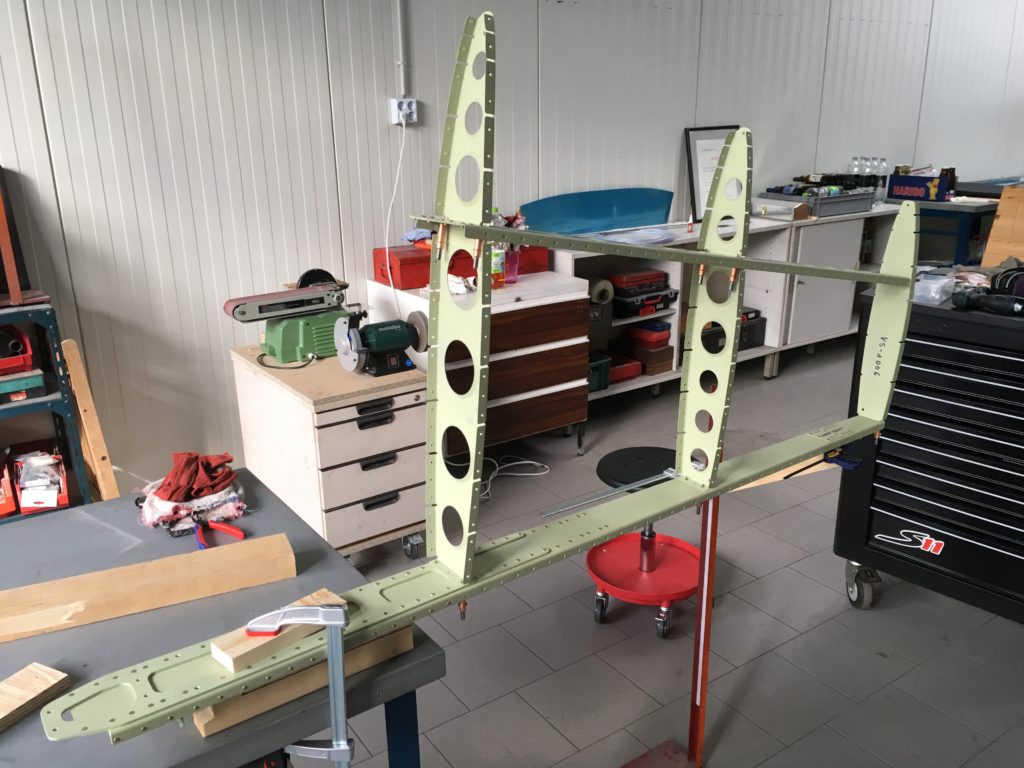
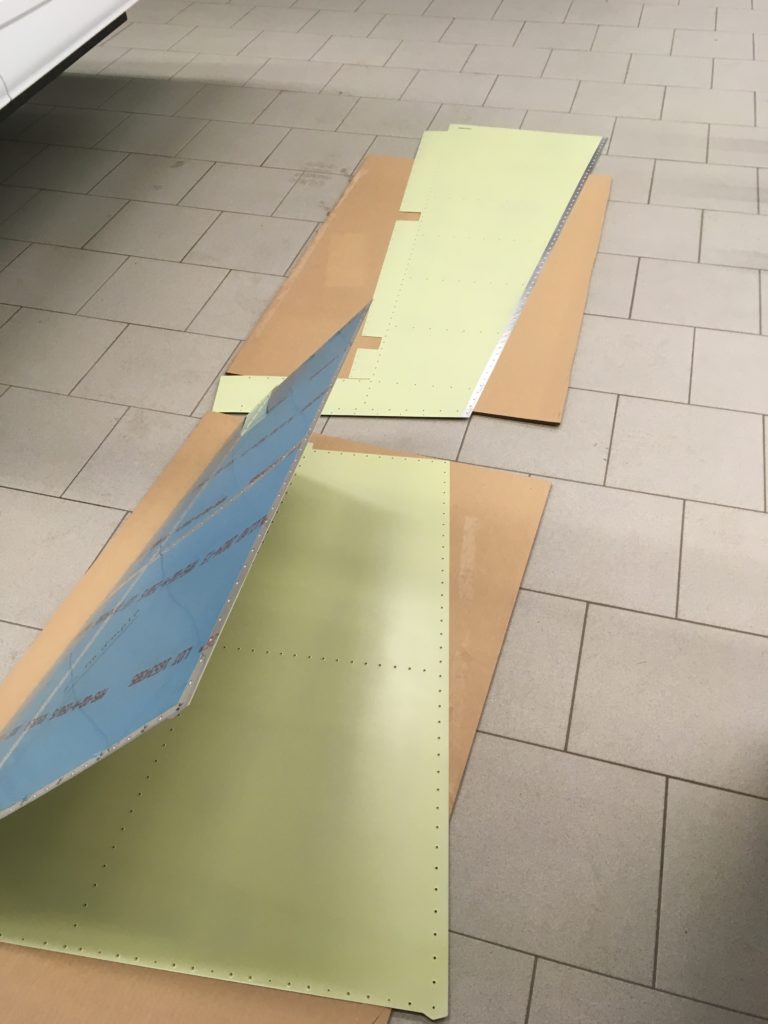
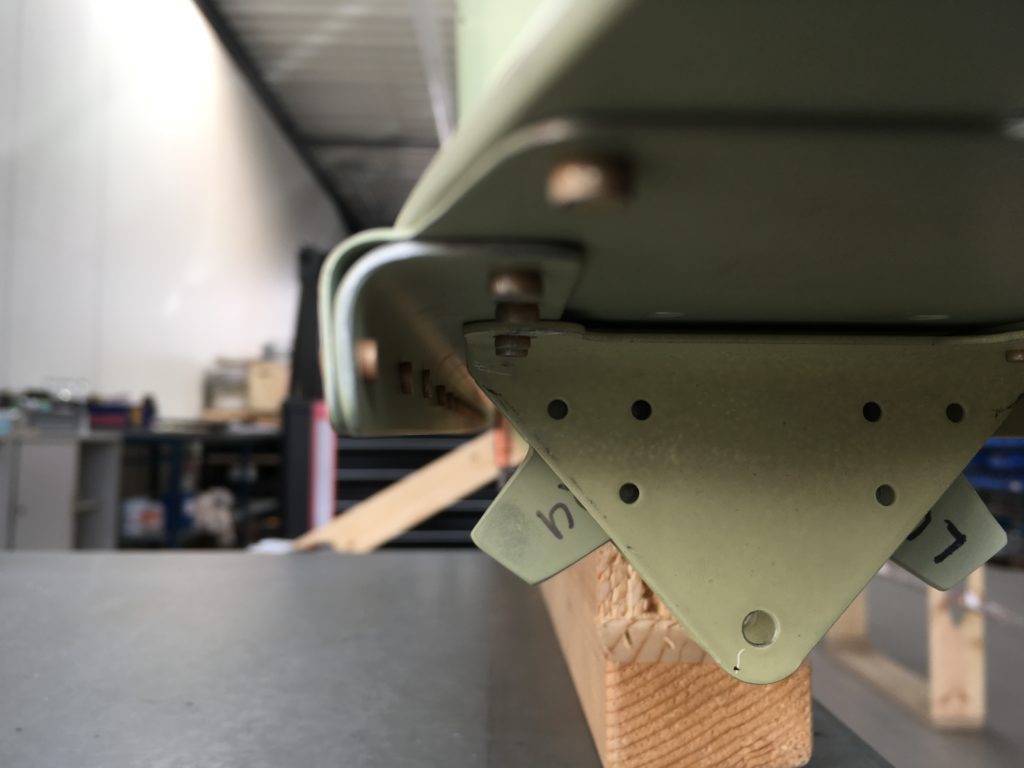
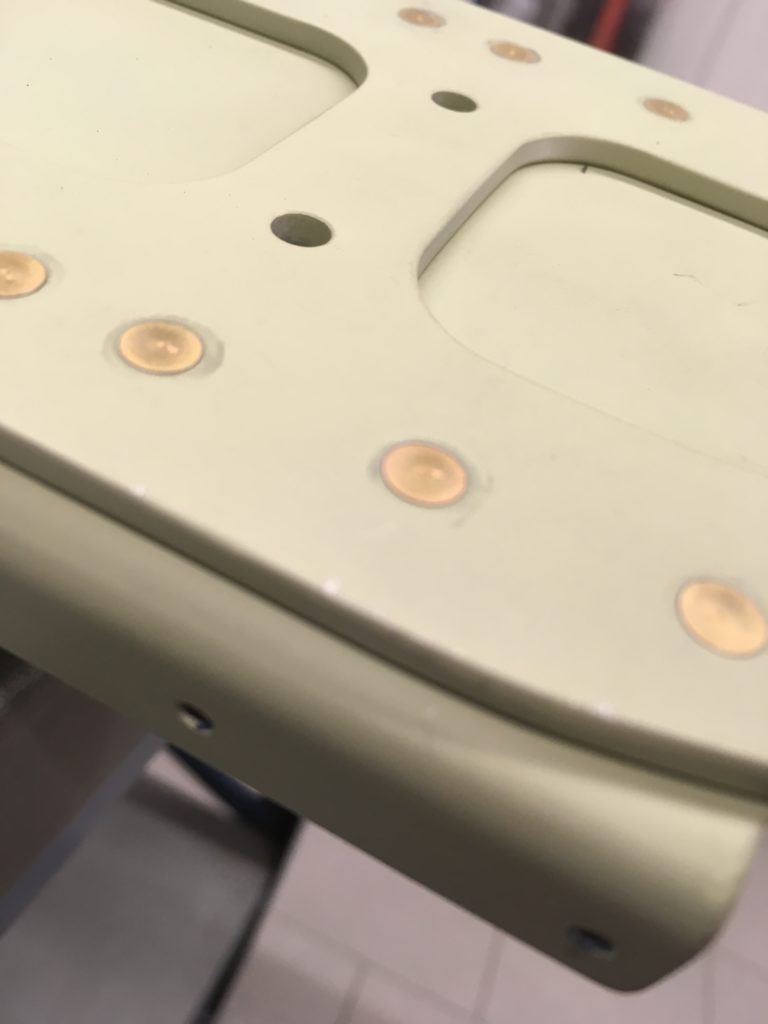
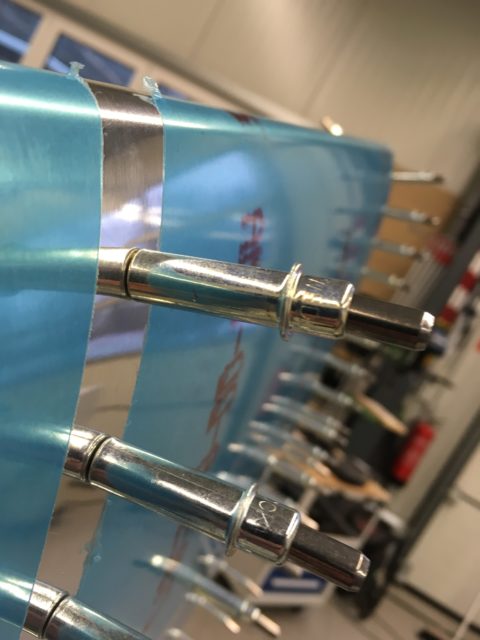
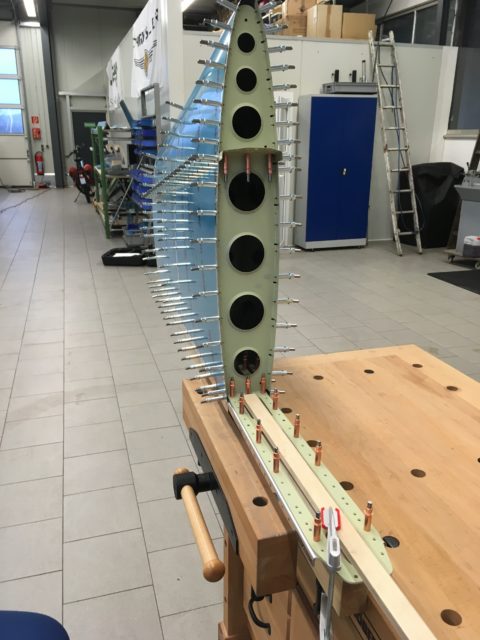
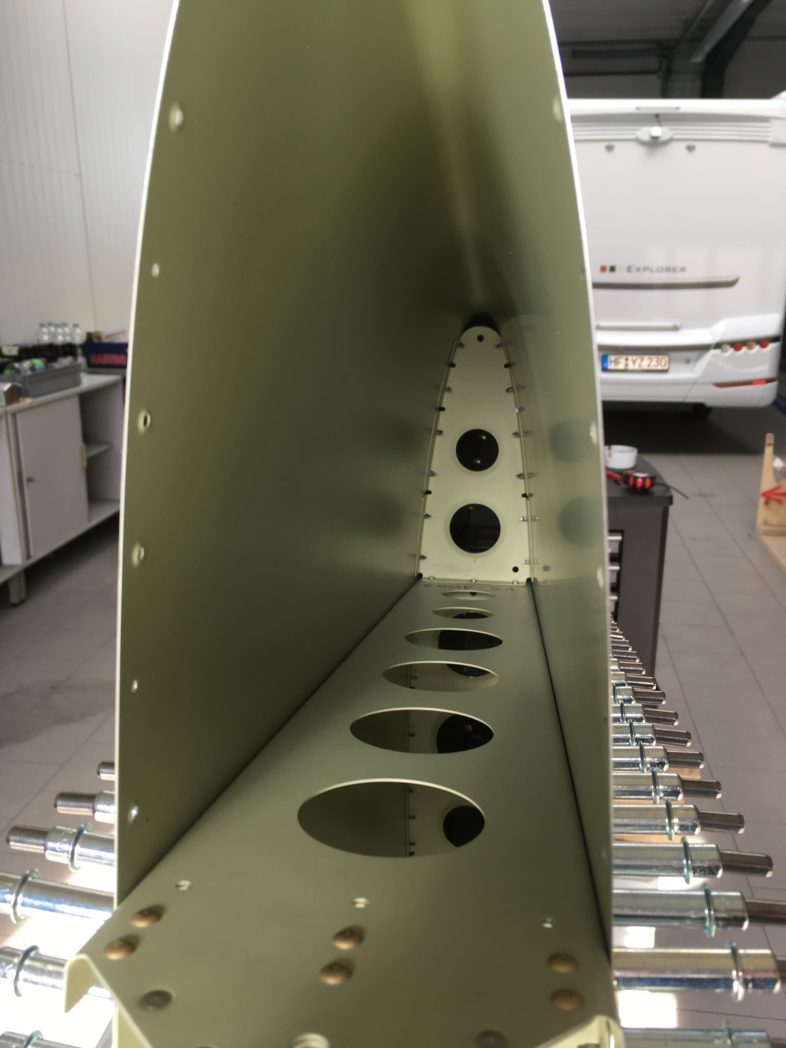
Deburred all the skeleton parts of the vertical stabilizer, straightened the VS-1008 rear spar doubler, clecoed all parts together and final drilled all #30 holes. Peeled of the blue tape from the skins inside and on the outside only there, where to work on the prepunched holes with a straight edge and a soldering iron. Clecoed the skin to the skeleton and final drilled all the holes common to the skin, exept the holes for the HS and VS fairings.
HS = Horizontal stabilizer, VS = Vertical stabilizer

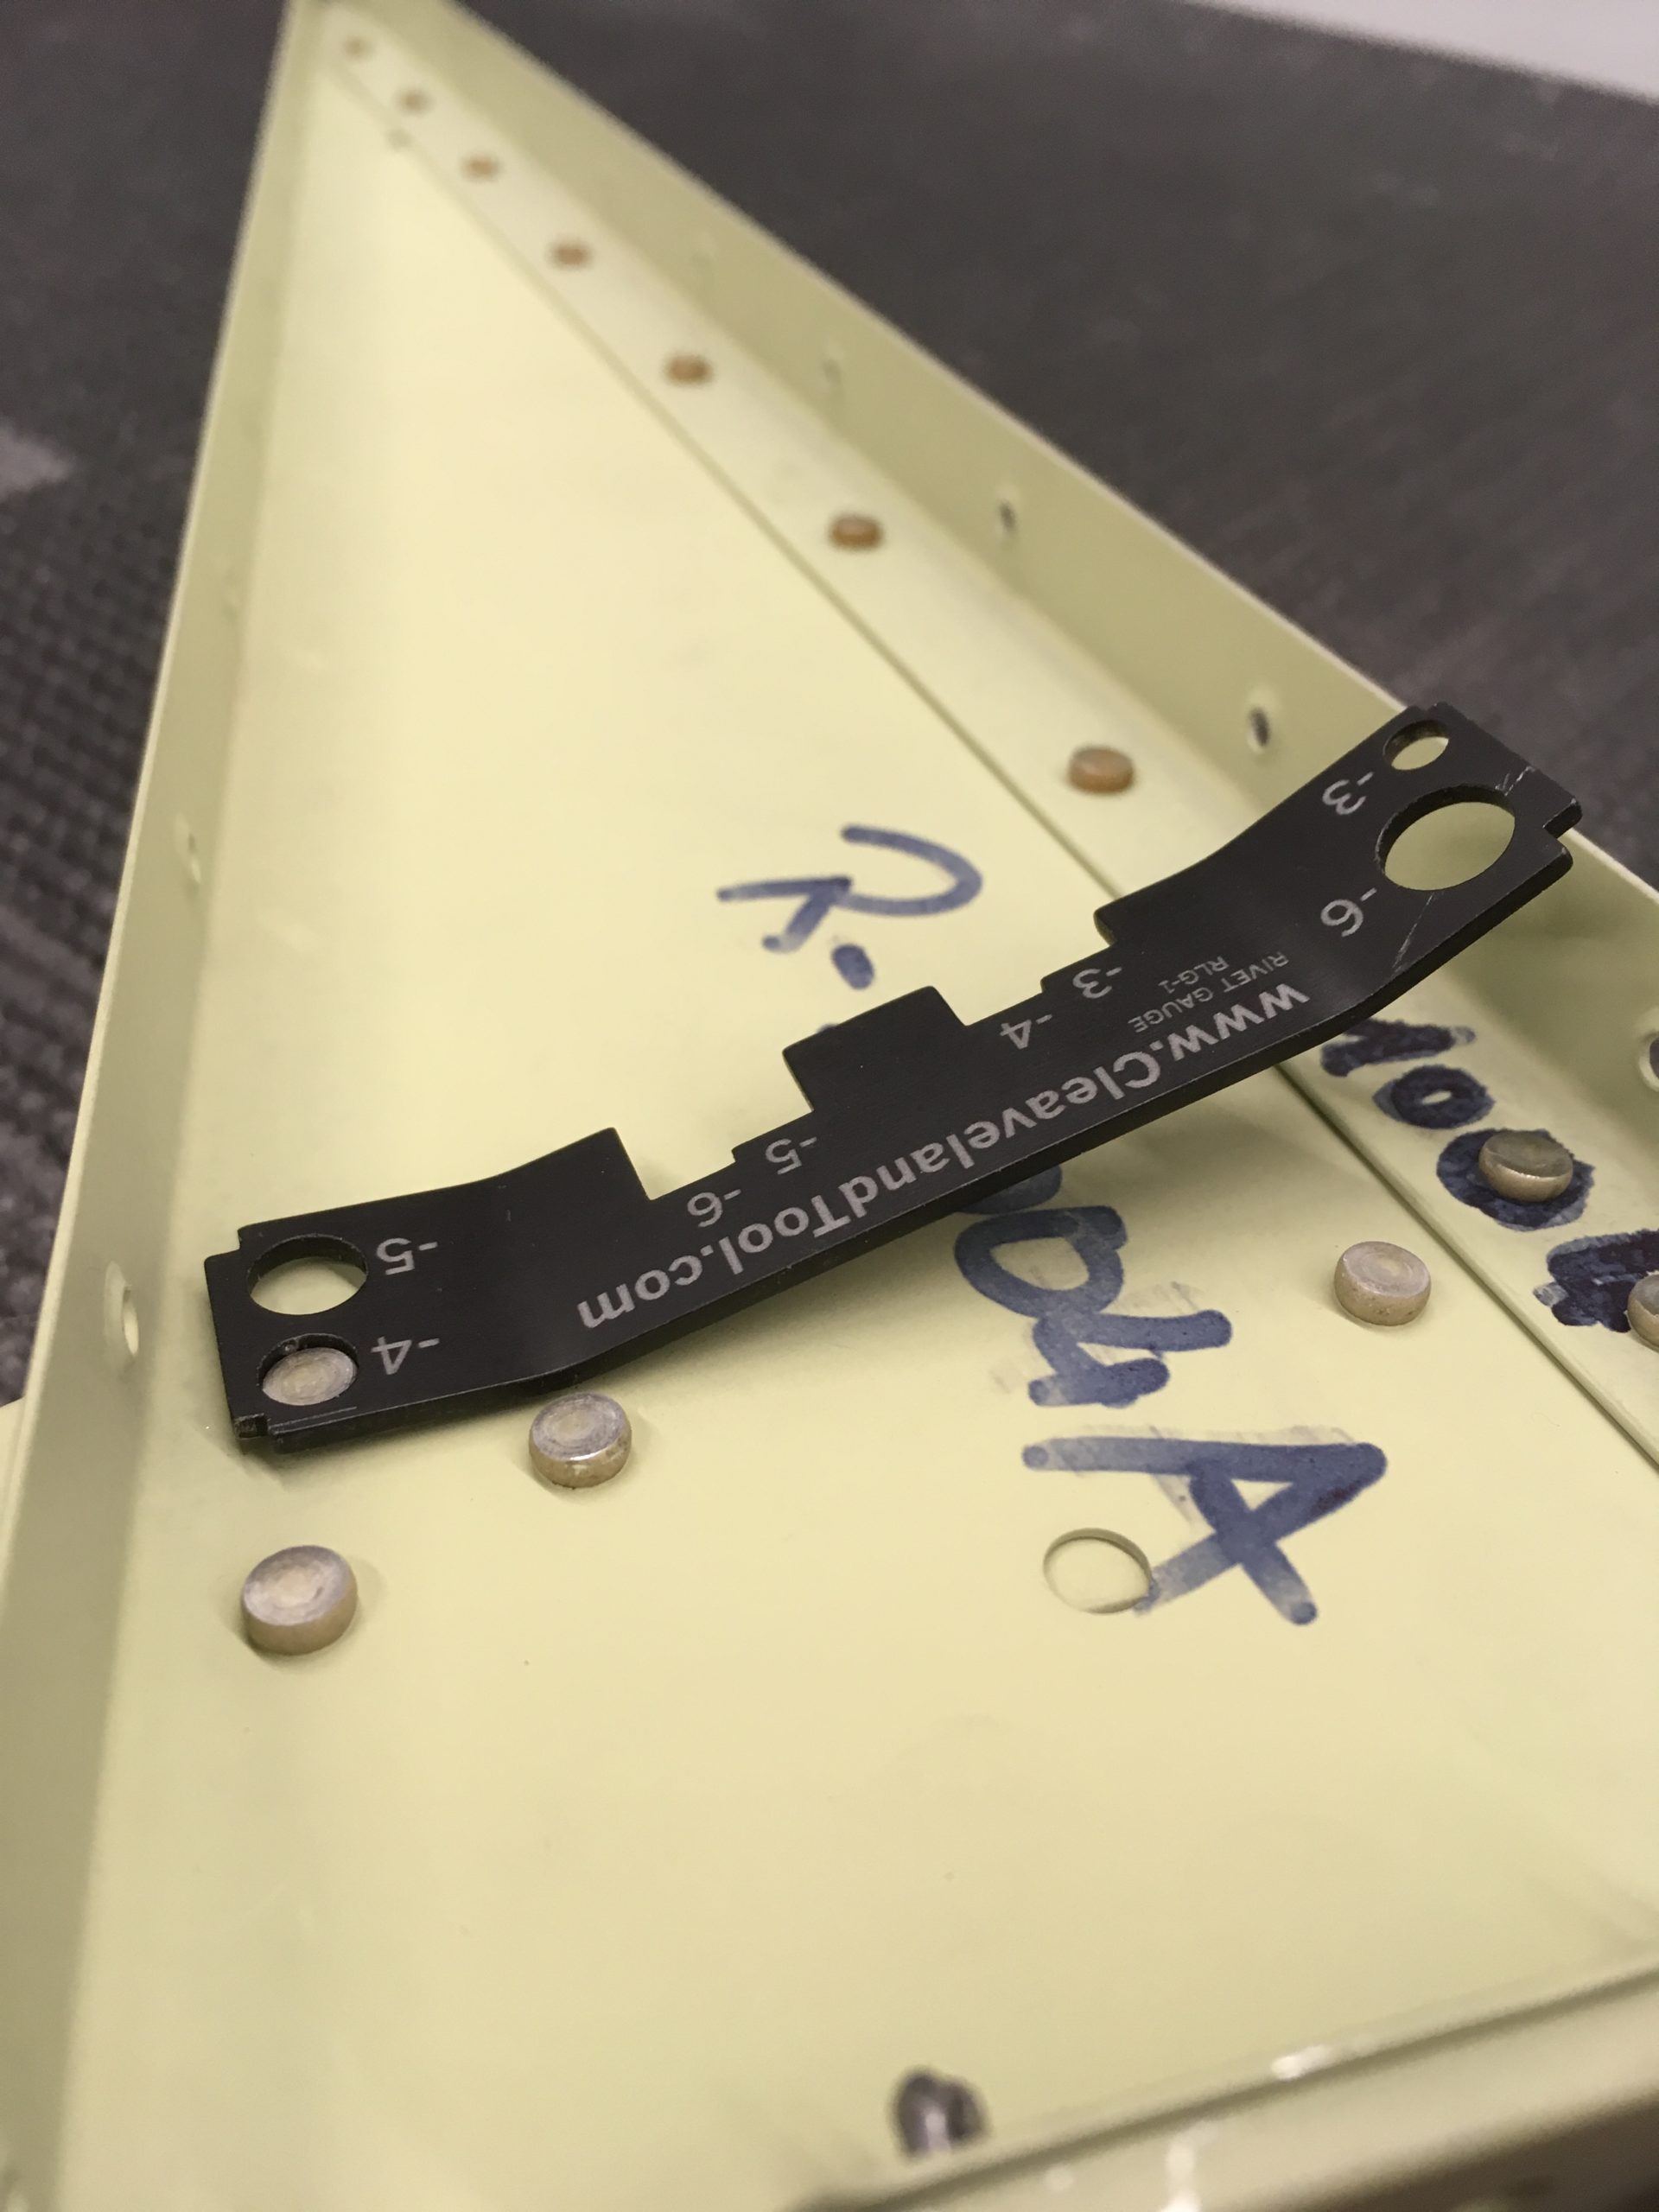
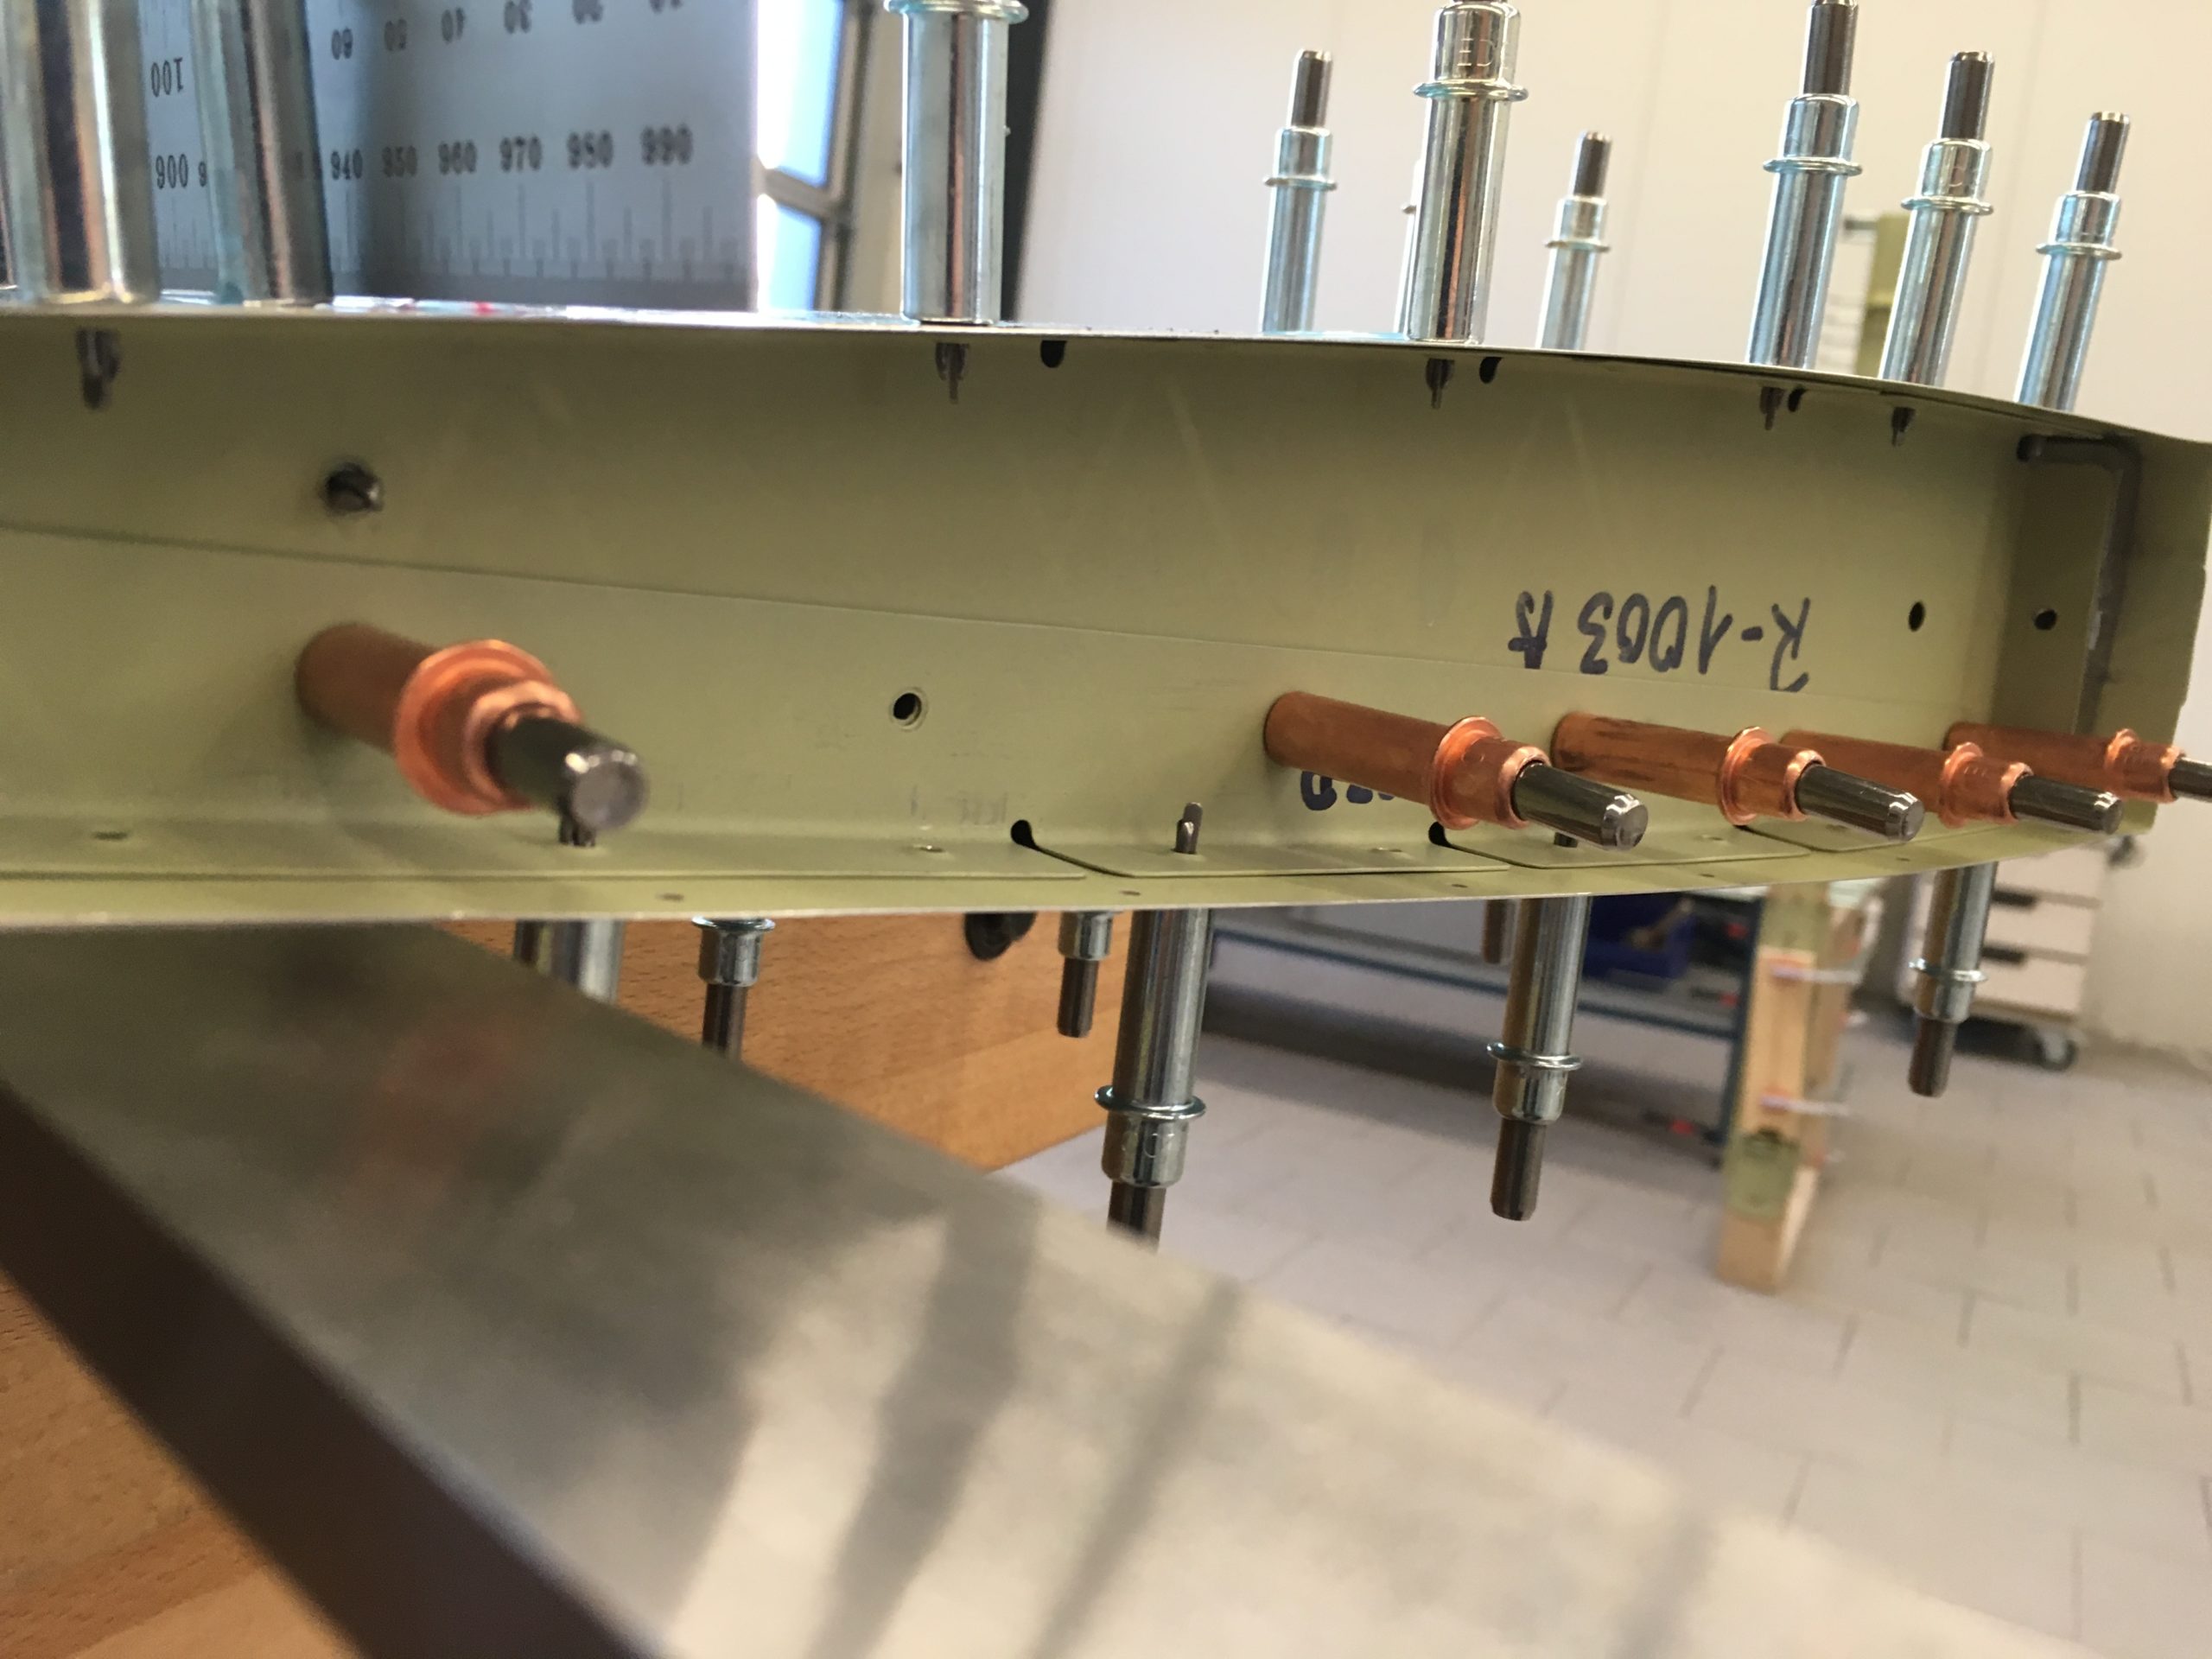
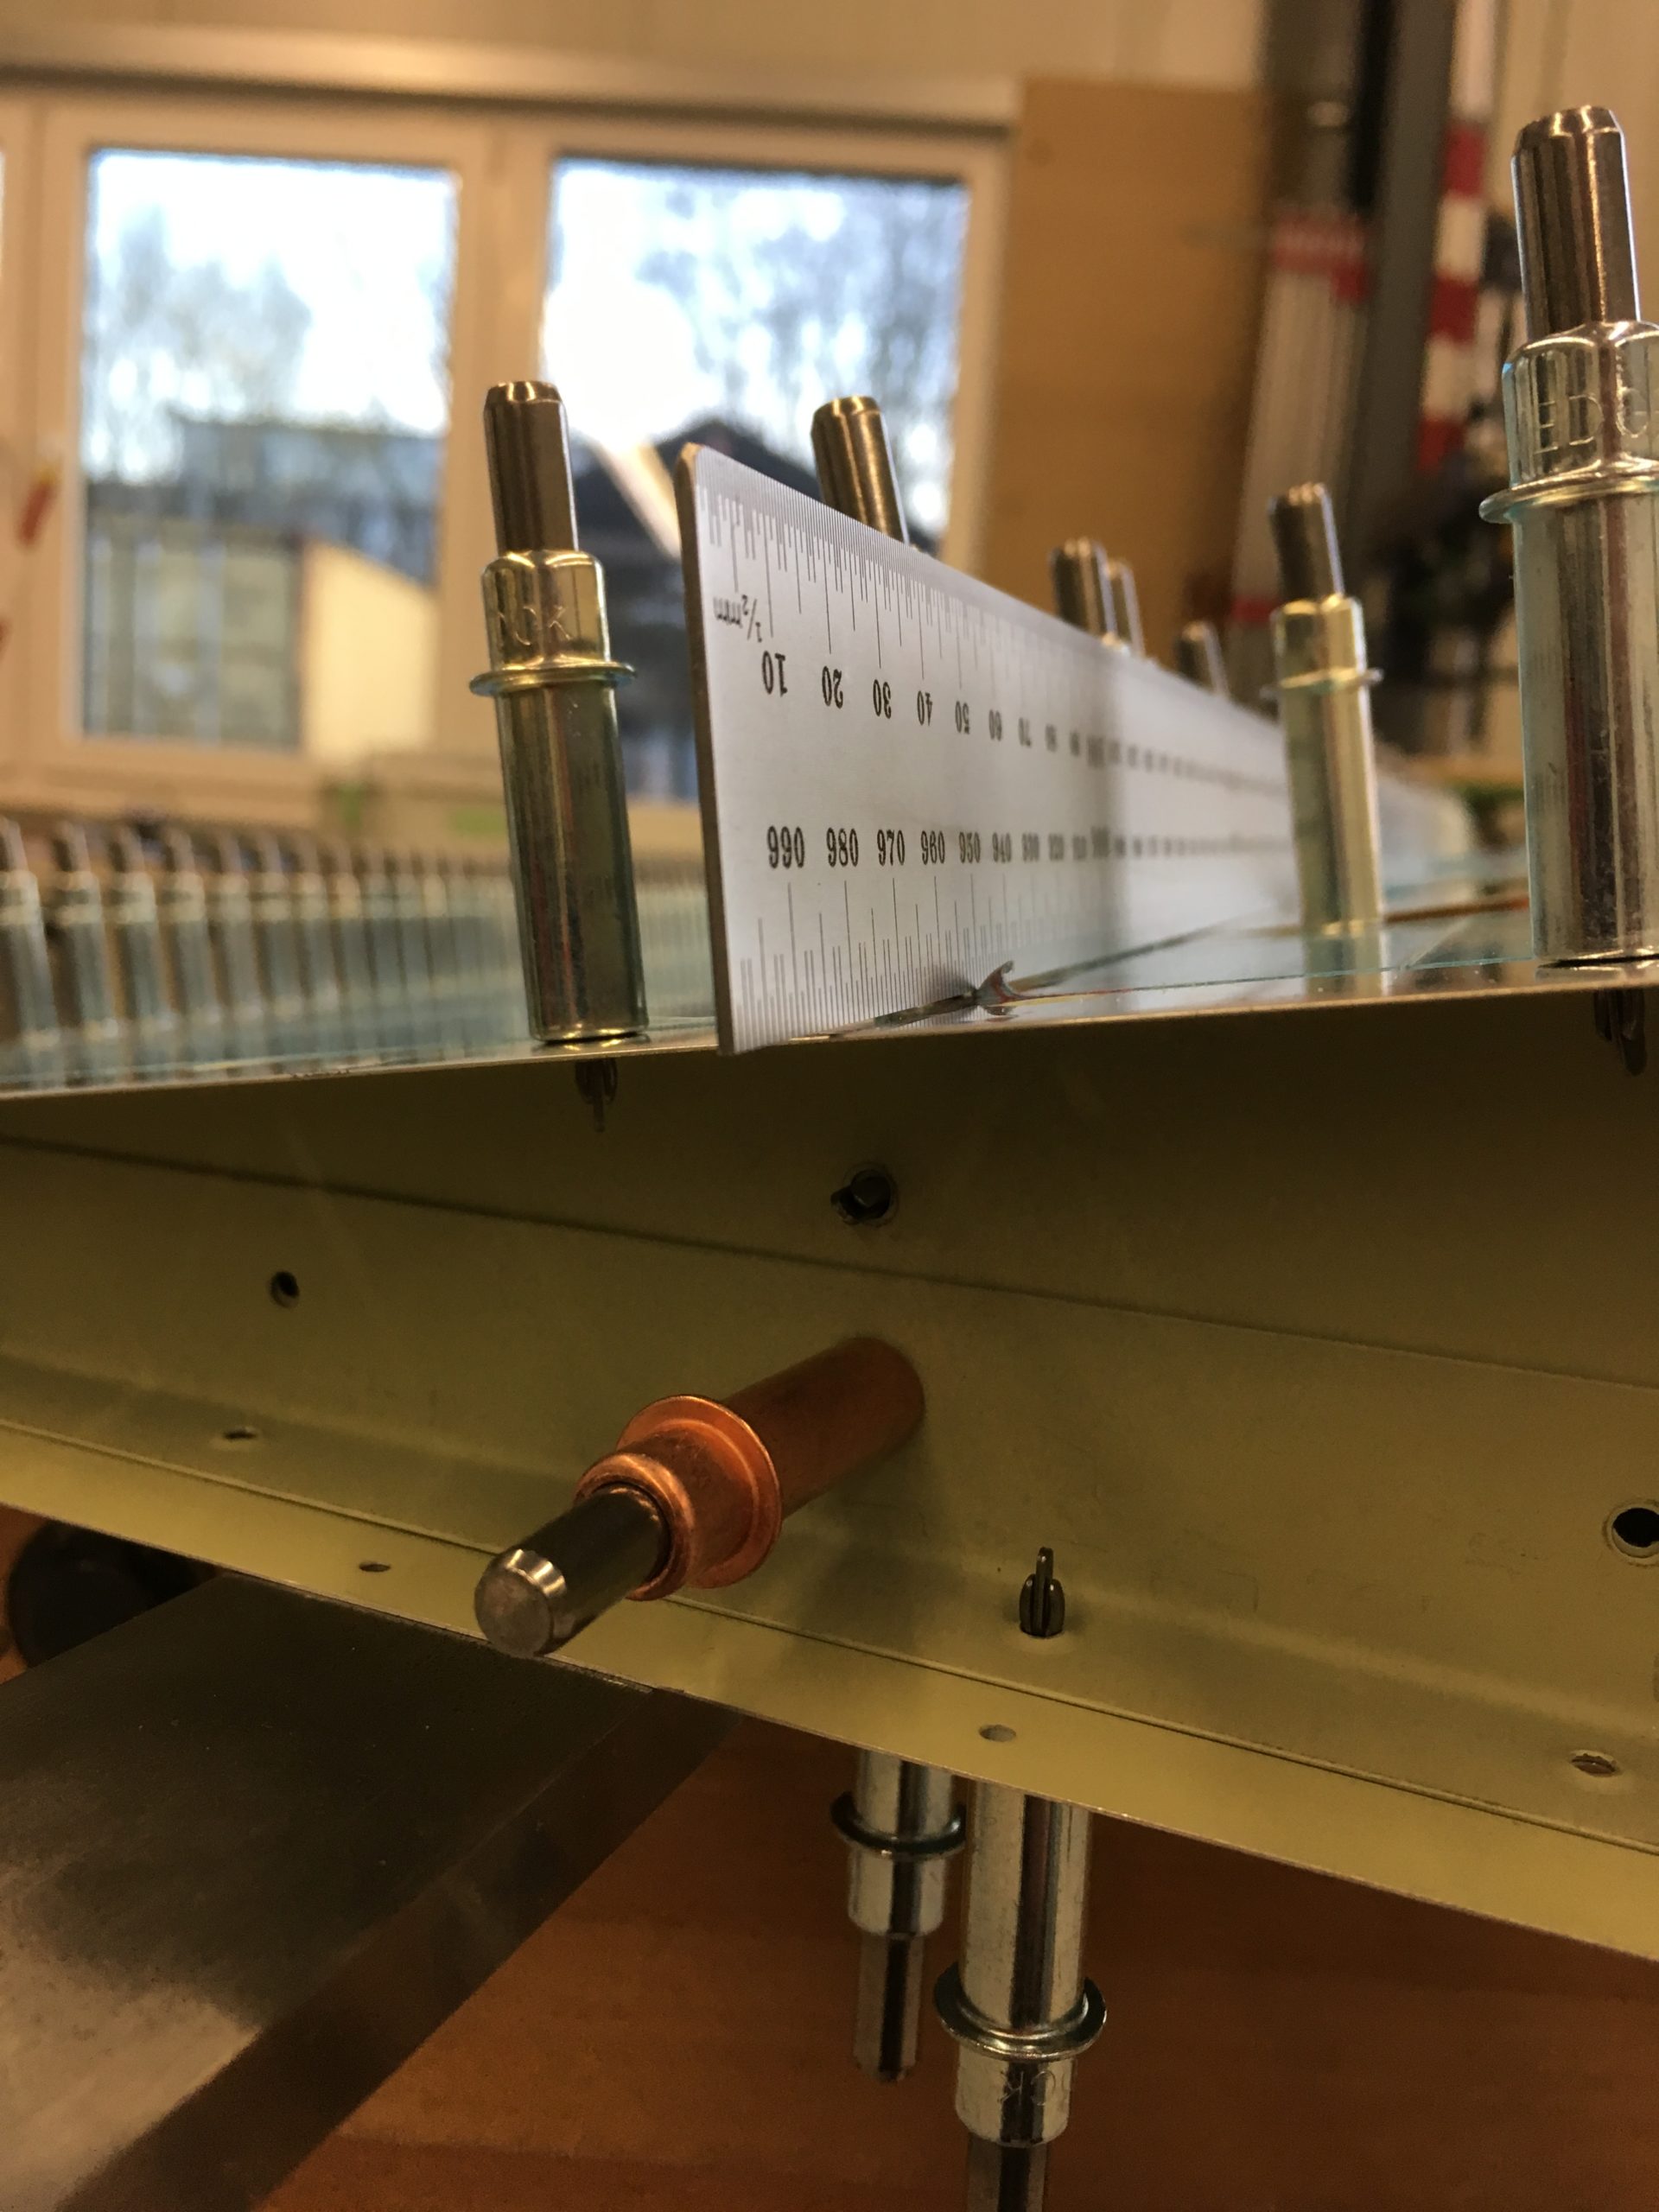
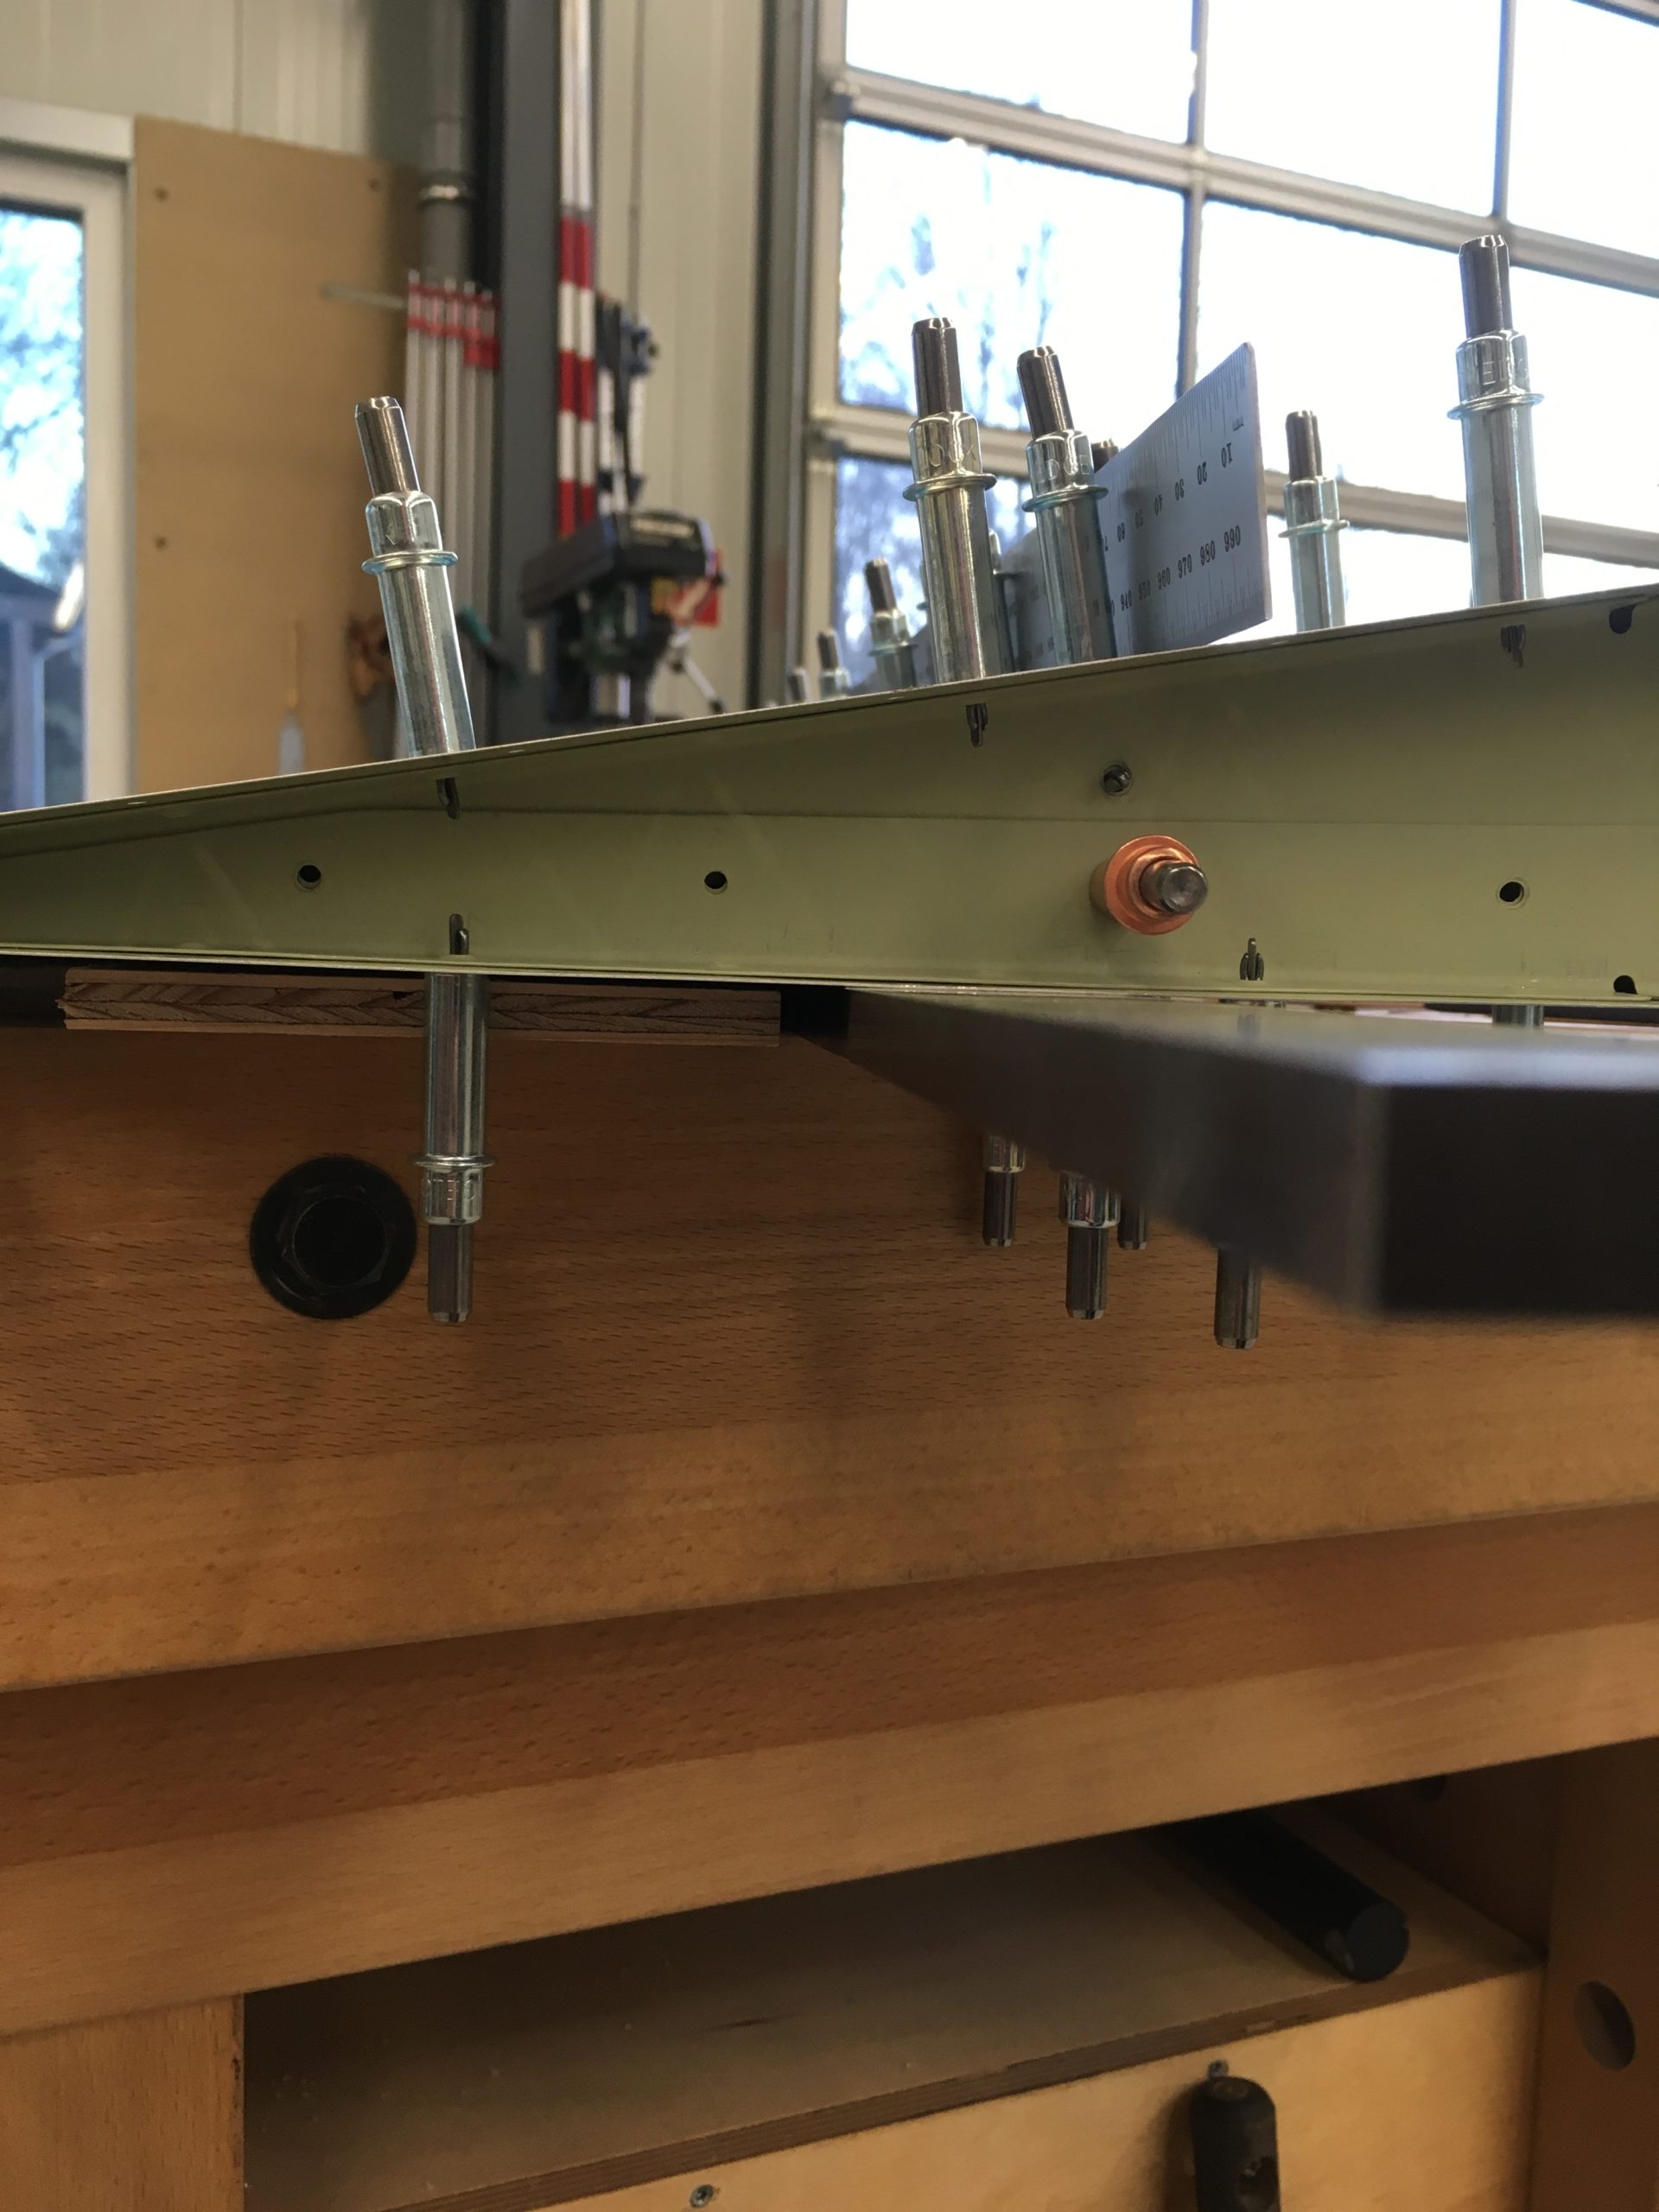
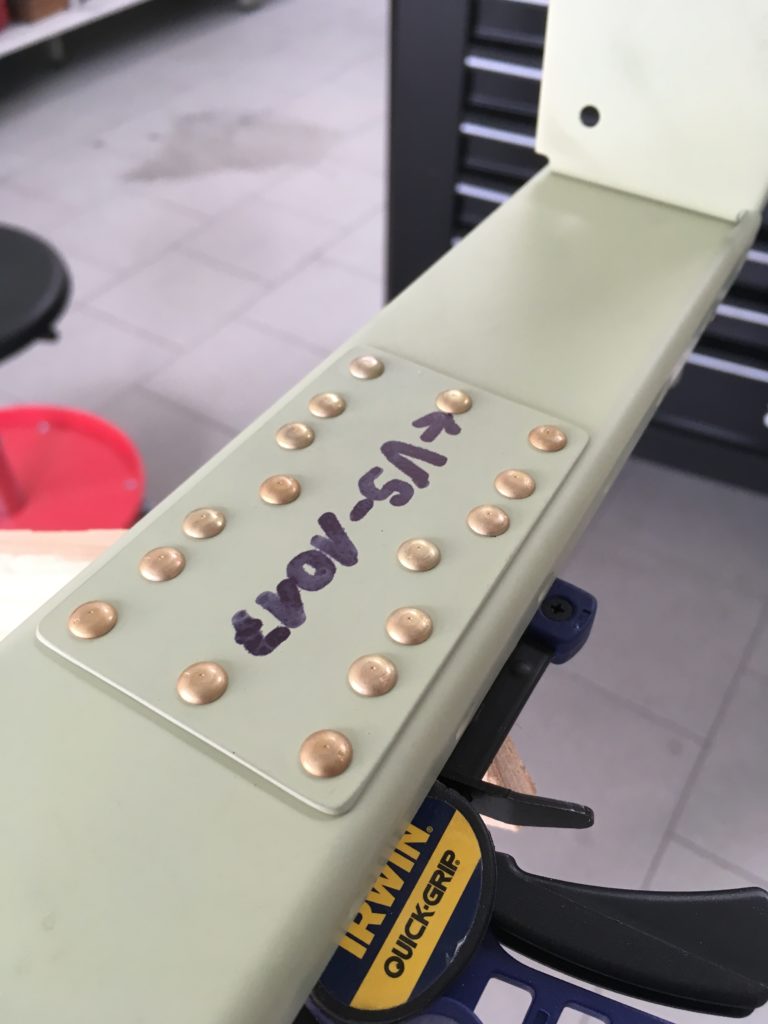
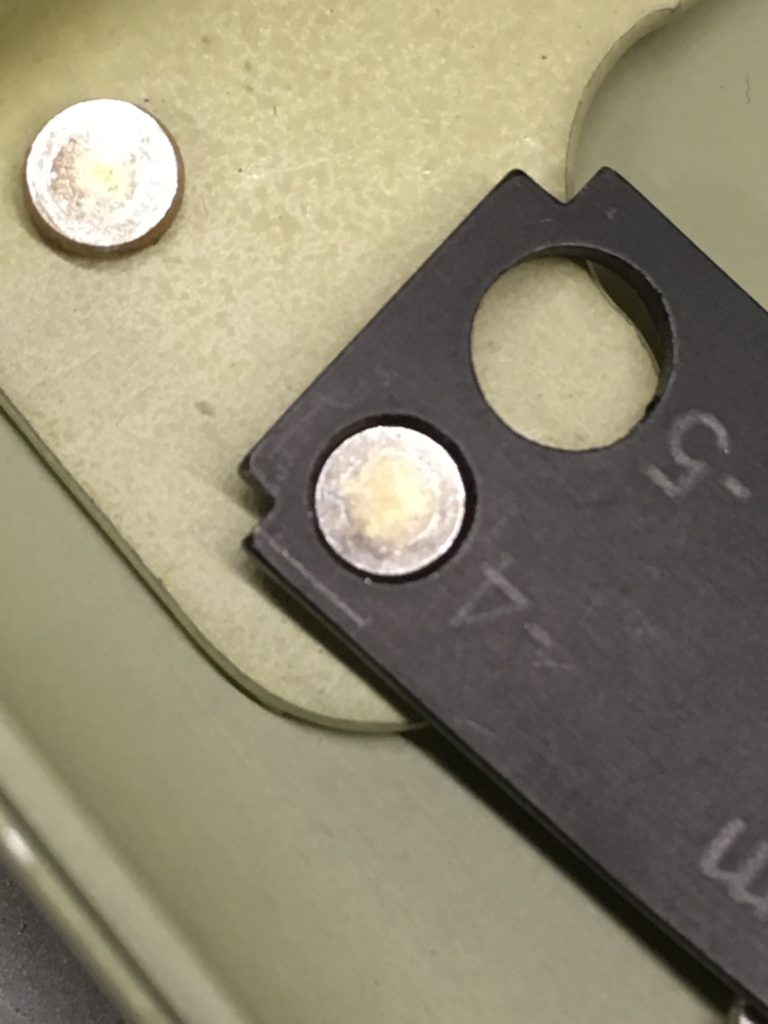
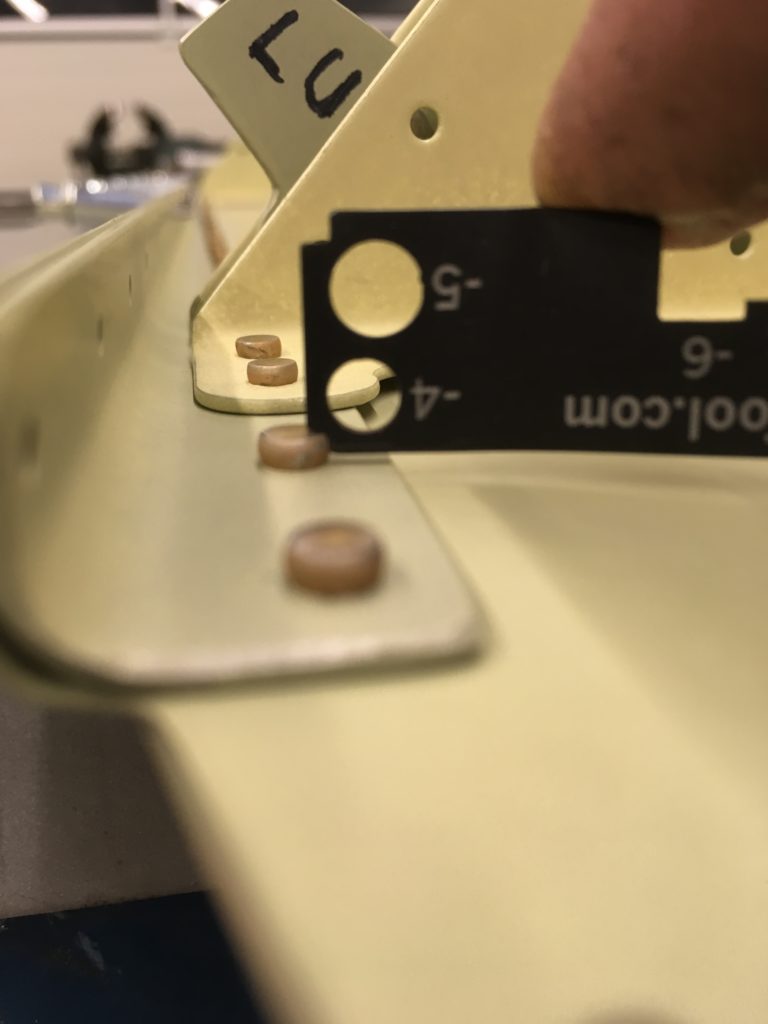
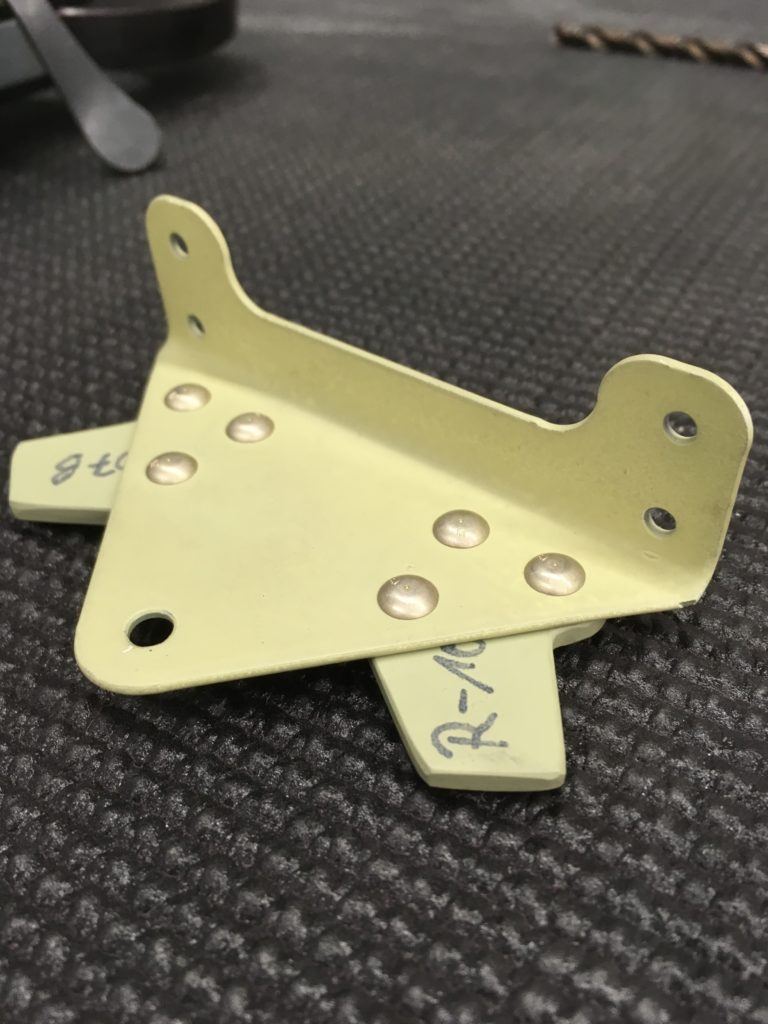
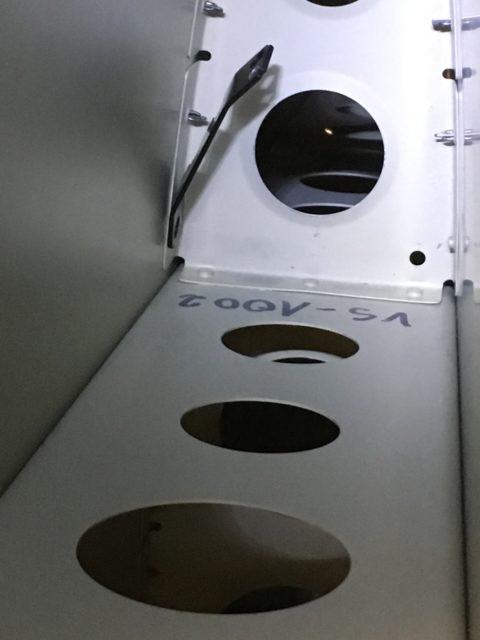
VS-1003 vs reinforcement plate match drilling Clecoes – the magic thing Bohrungen gesenkt für Nieten Teile fixieren, dreimal auseinander und zusammen rivet hole countersink peeling of the blue protection 
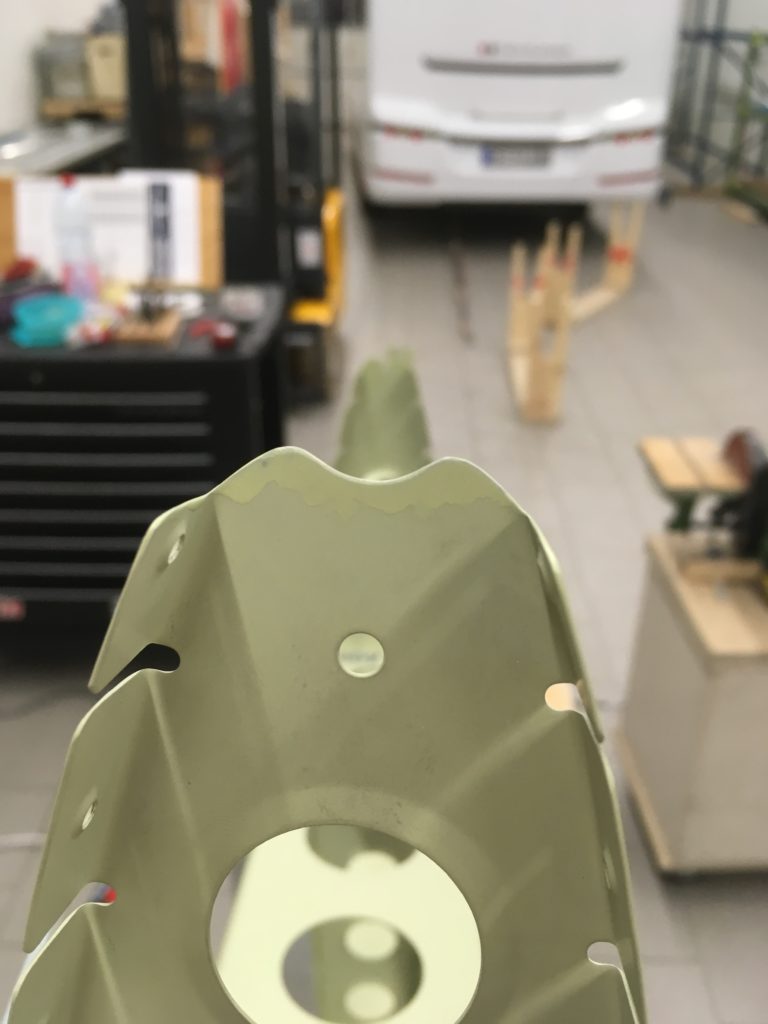
Radius schleifen VS nose rib Helping hands Ernst-Otto Rehm Frank Goehner Deburring VS parts VS rear spar caps VS-1008 reinforcement plate after straightening


19.01 – 24.01.2017 = 14,5h
Parts priming, Assembling the VS skeleton
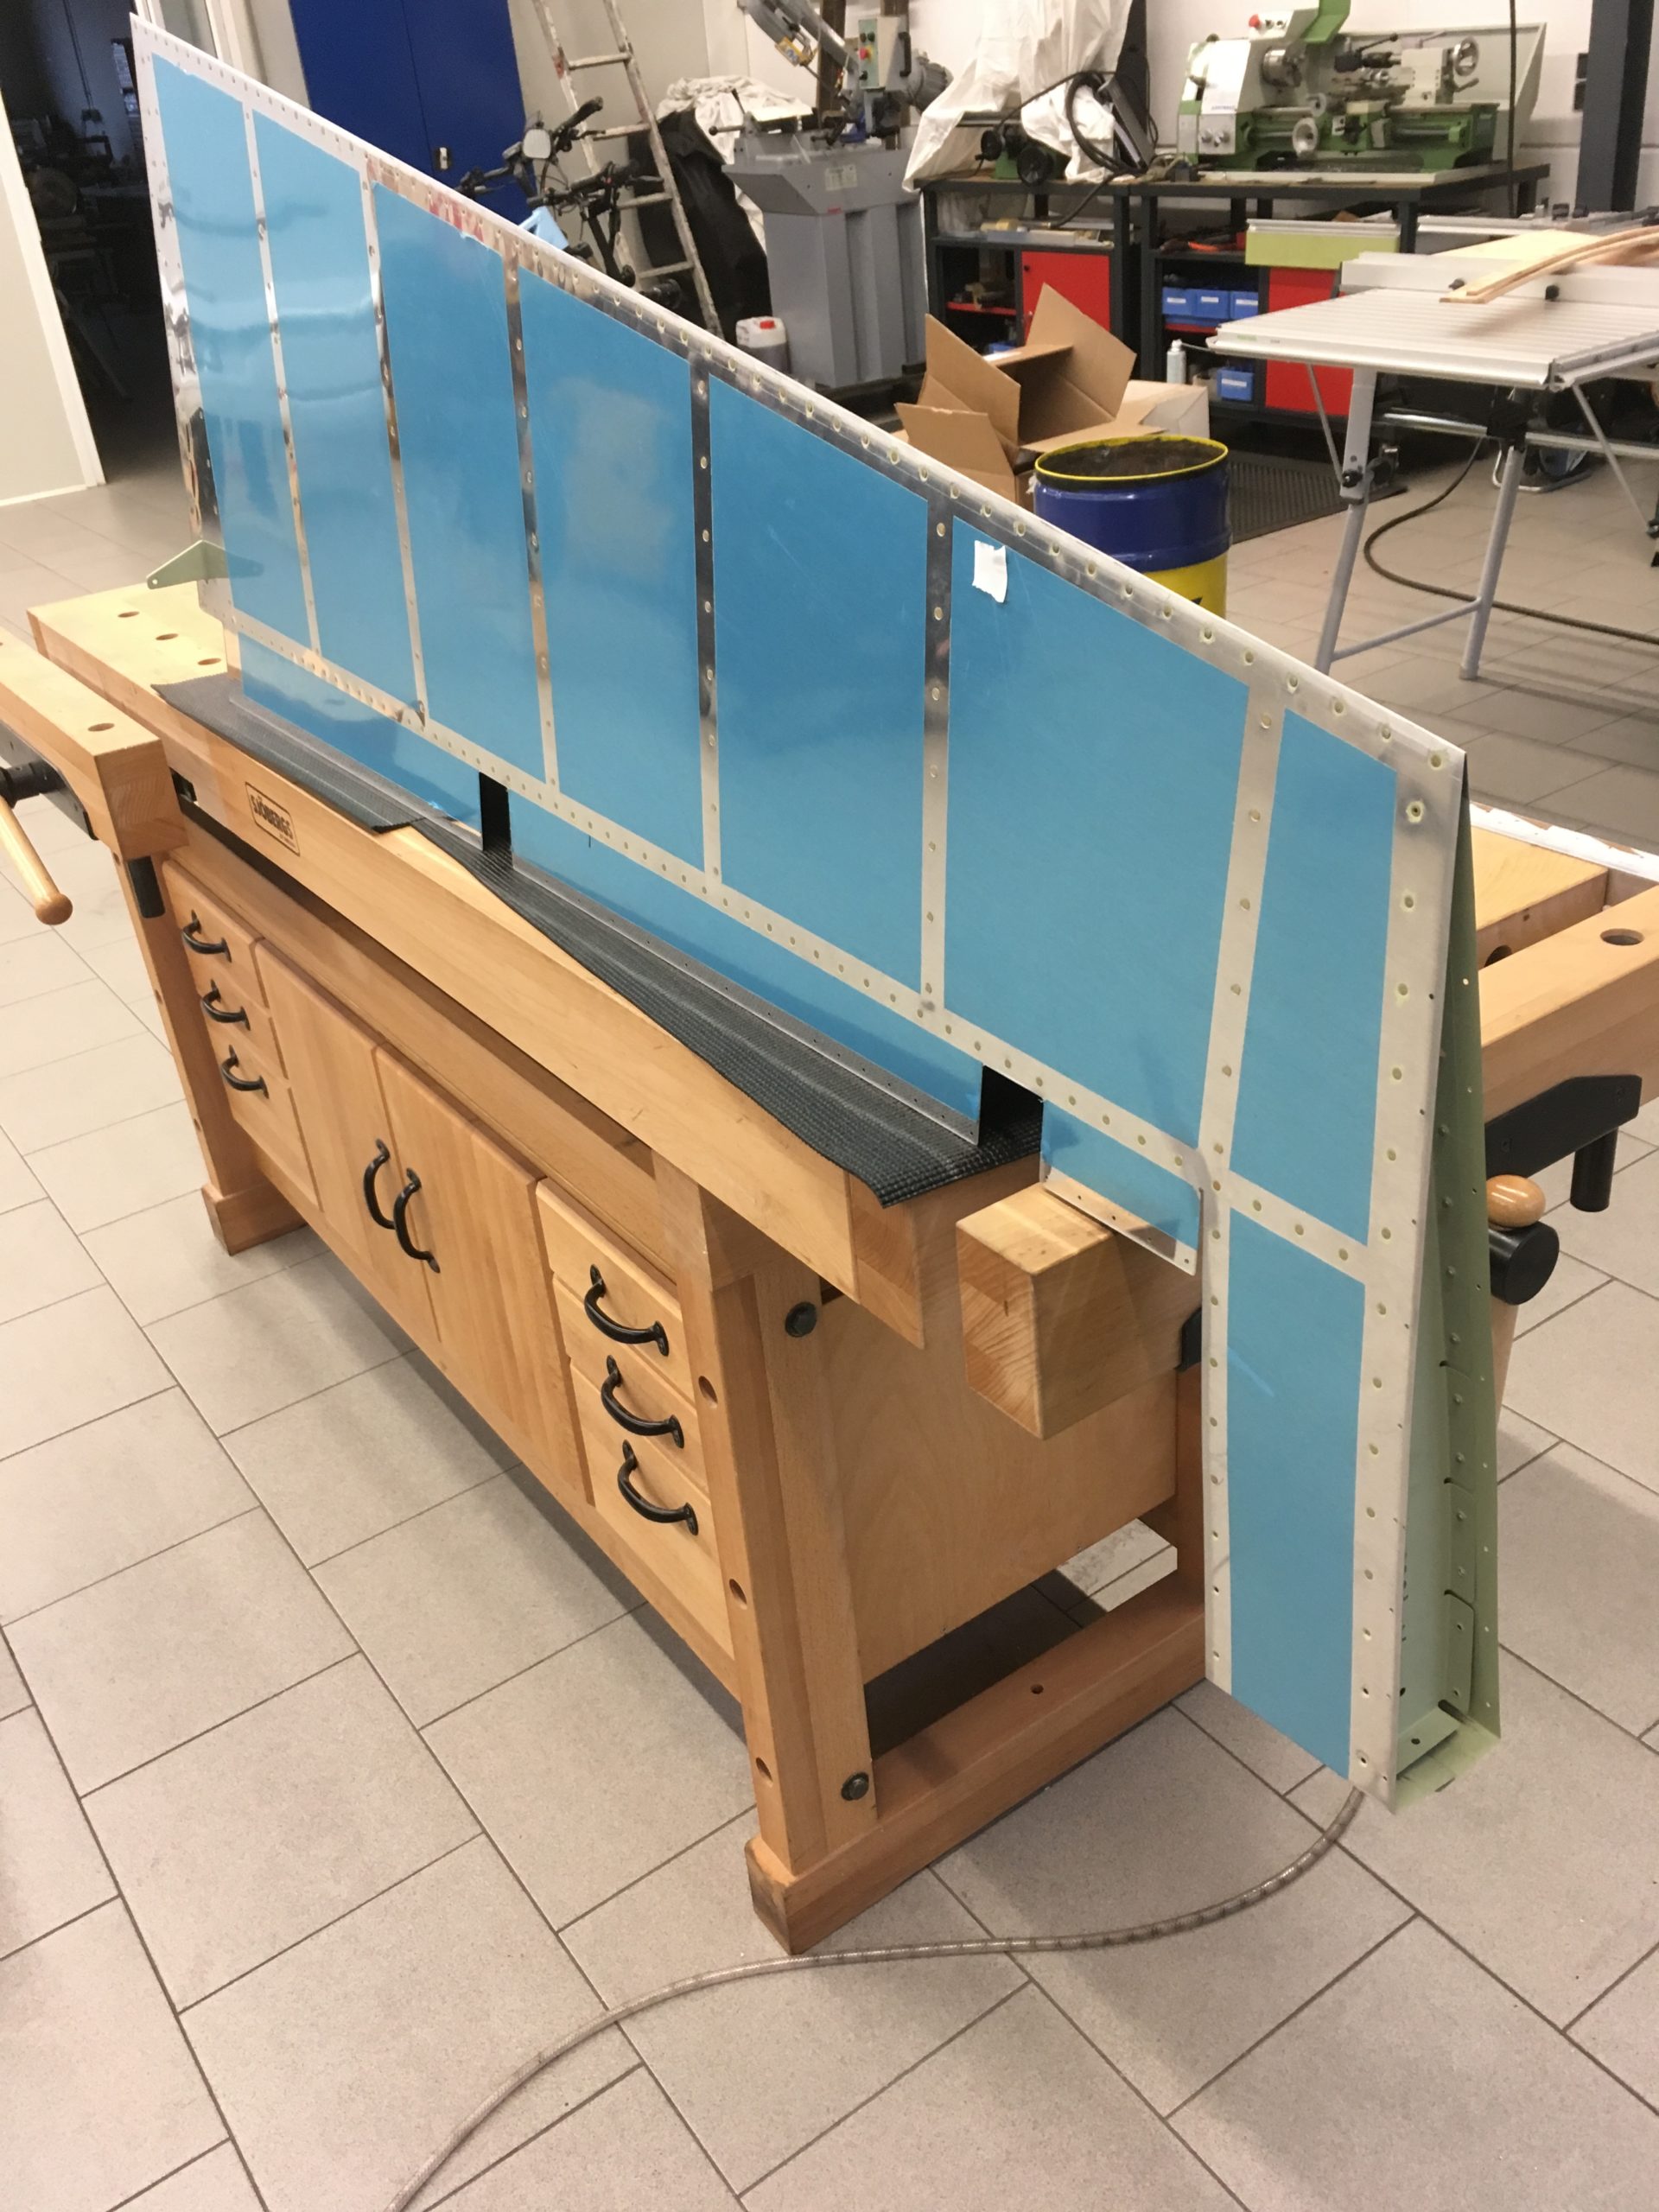
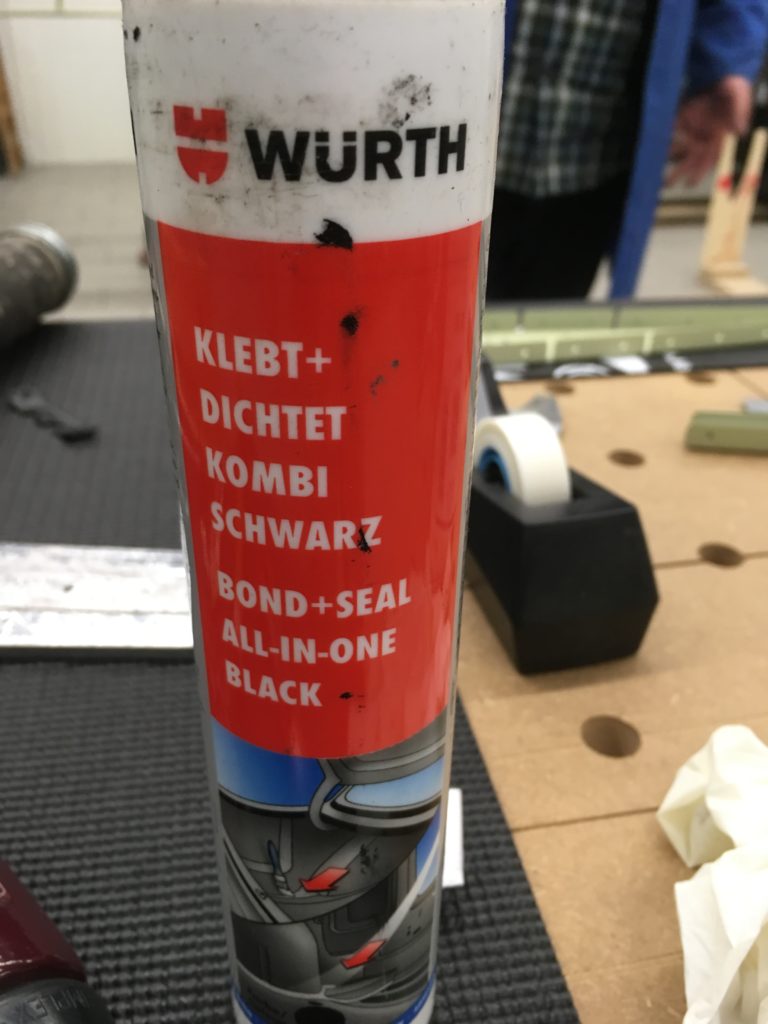
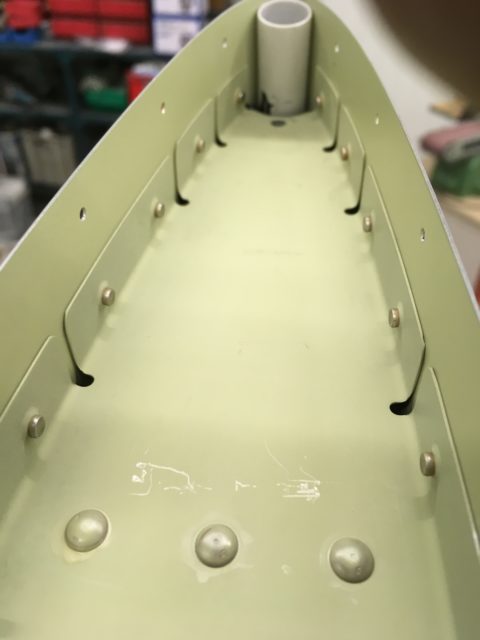
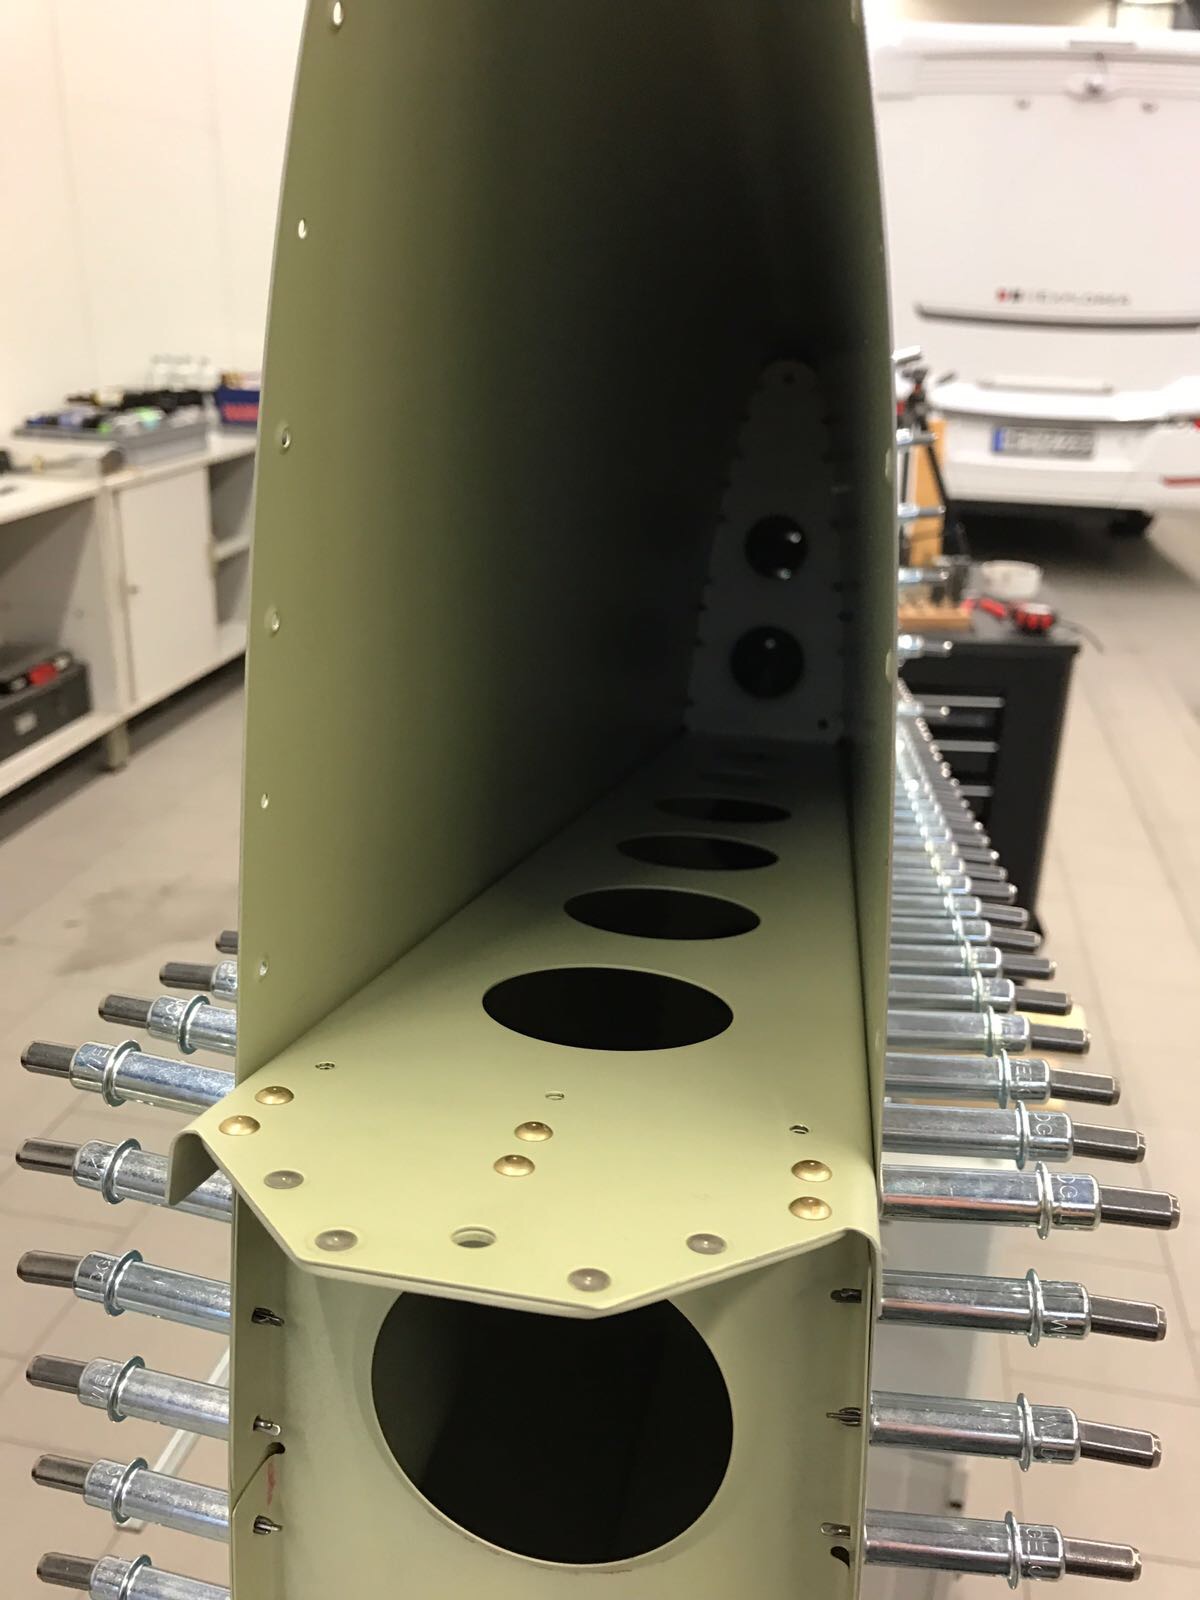
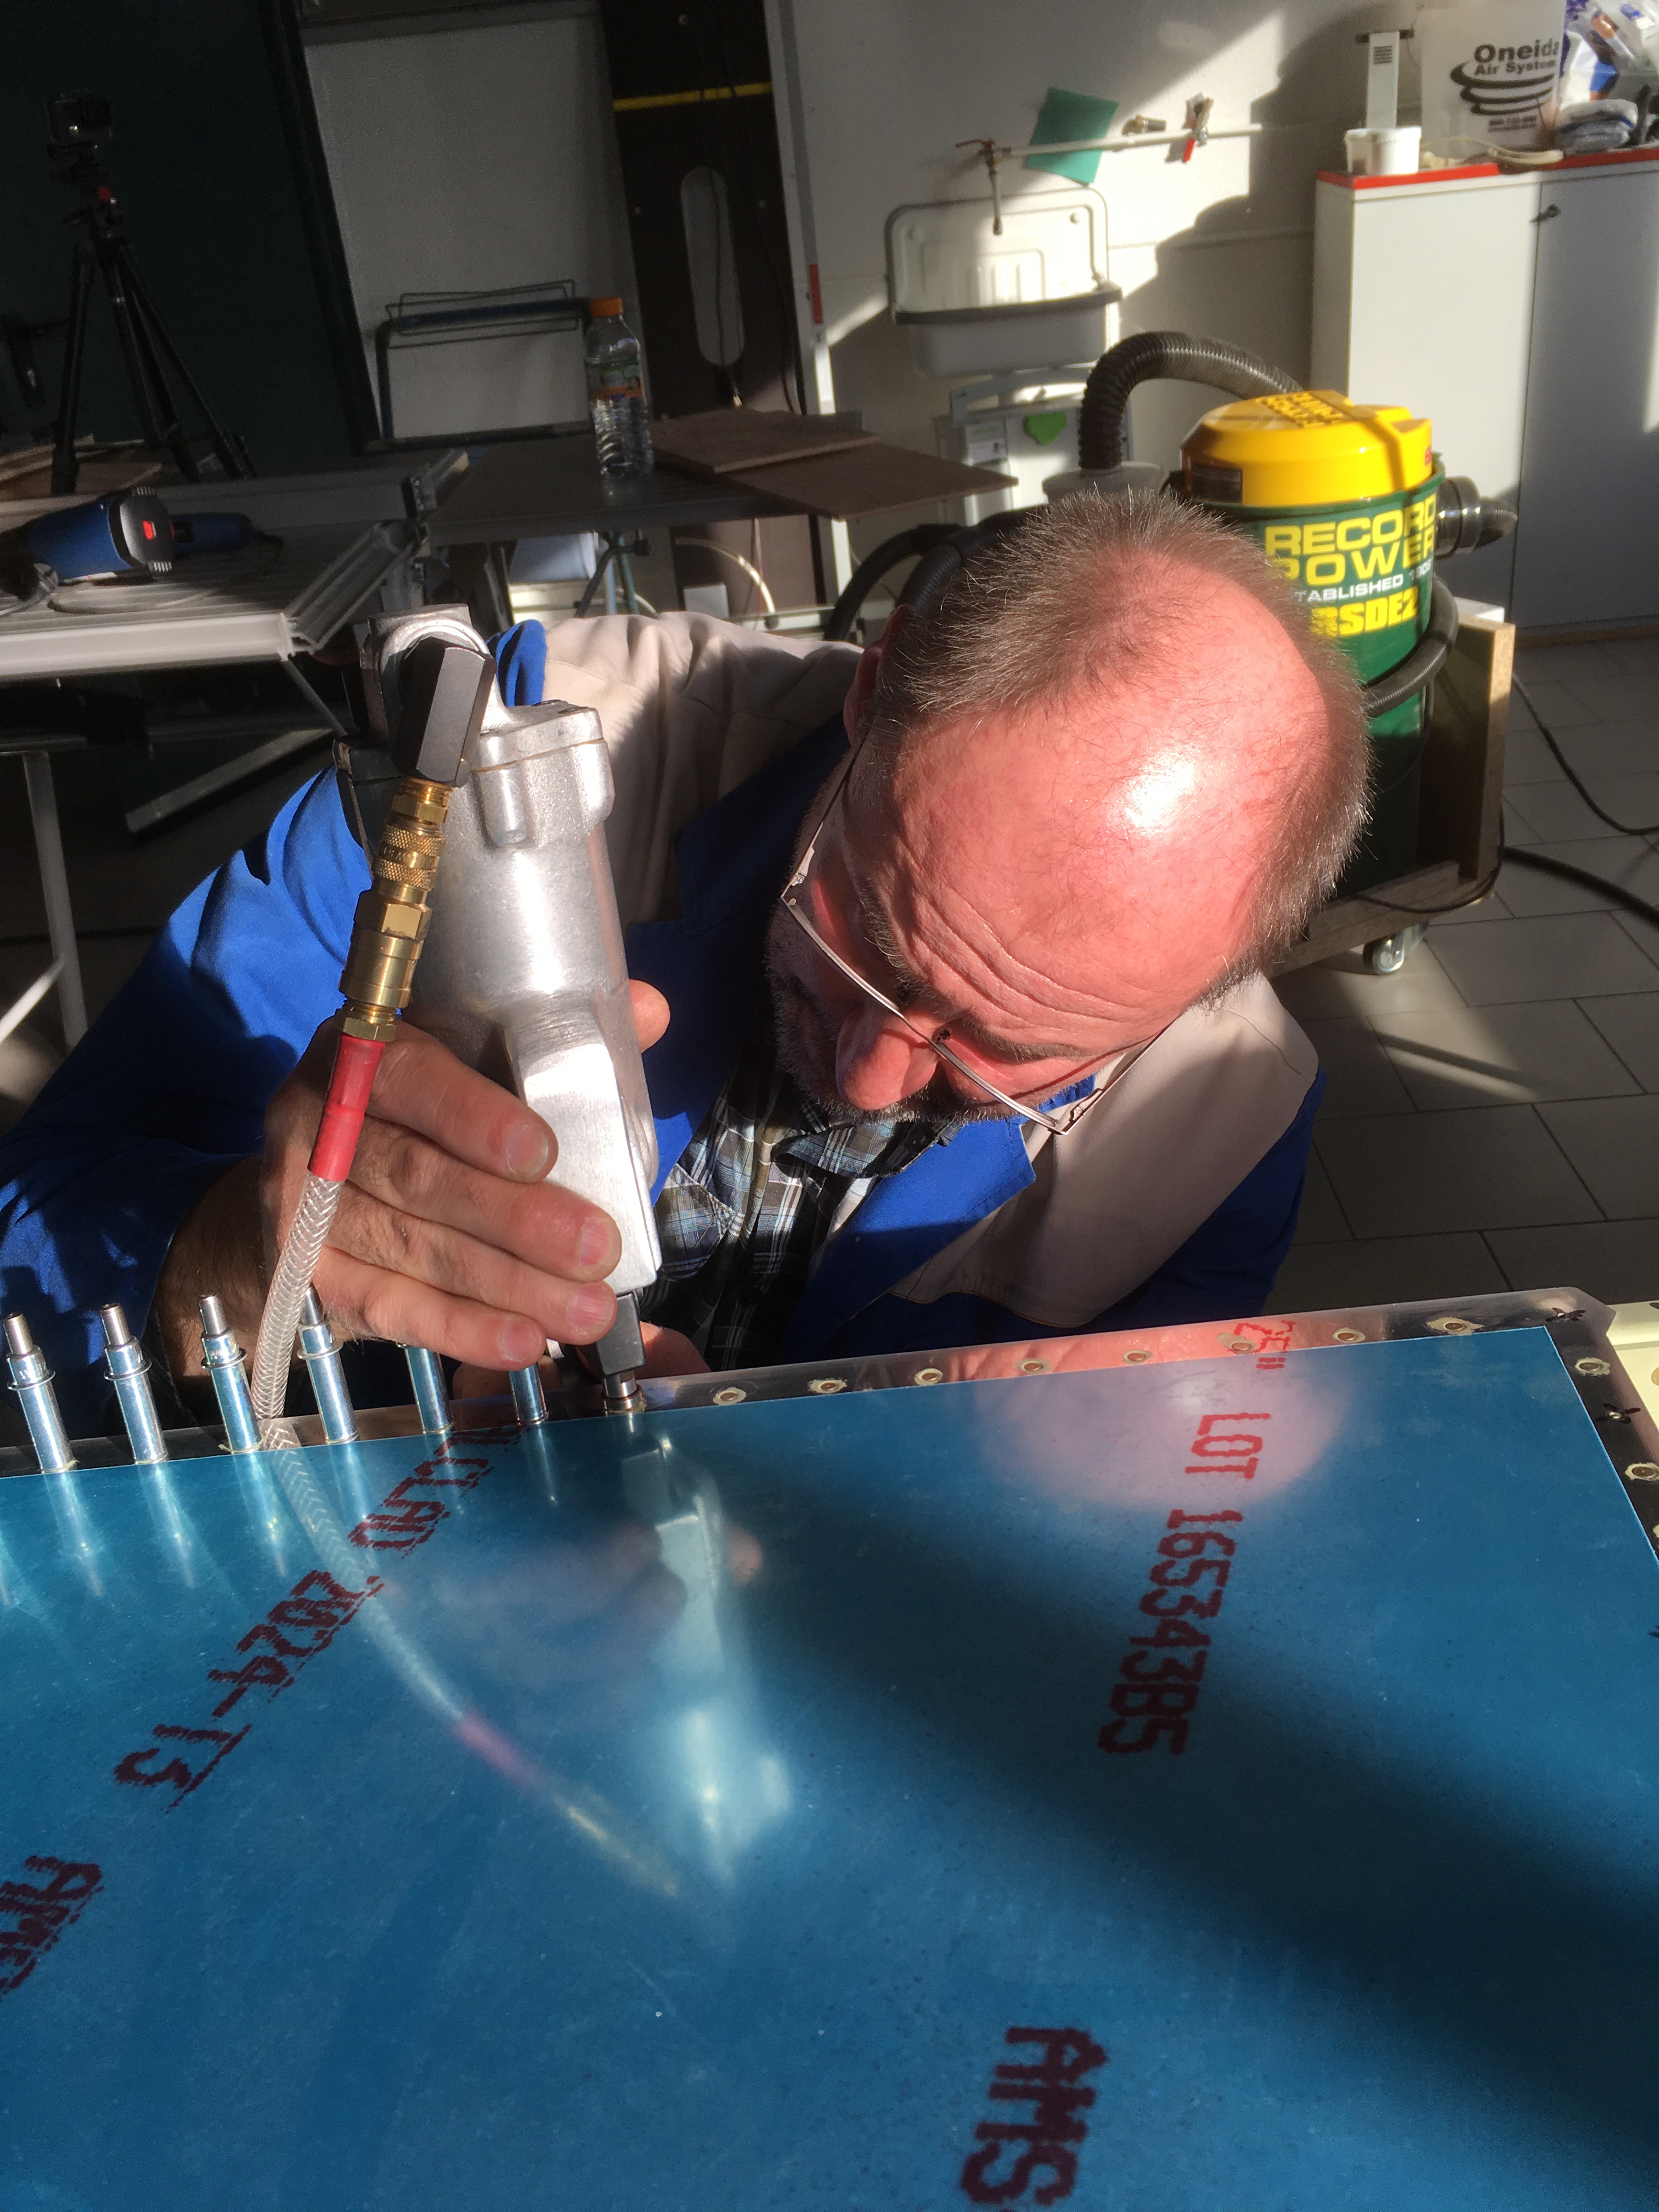
Cleaned all VS Parts, assembled and riveted them together. I checked every manufatured rivet head for correct size with the rivet head control tool. To be able to run some wires through the vertical stabilizer for later use (i.e. Nav Antenna or similar), I glued a PVC-Pipe inside the VS Skin with a PU glue from Würth „Klebt+Dichtet“.
Primed with SEEVENAX Primer VS-Parts ready for assembly VS-Rear Spar before riveting Rudder Stop bracket Rudder Stop Bracket riveted Gauge checking the set rivets Diameter check = OK Skeleton primed and ready for riveting VS-Spar riveted Vertical Stabilizer and Rudder Skins primed and ready for riveting Cable tube glued in place Würth „Klebt + Dichtet“ VS-Nose Rib Cut Out


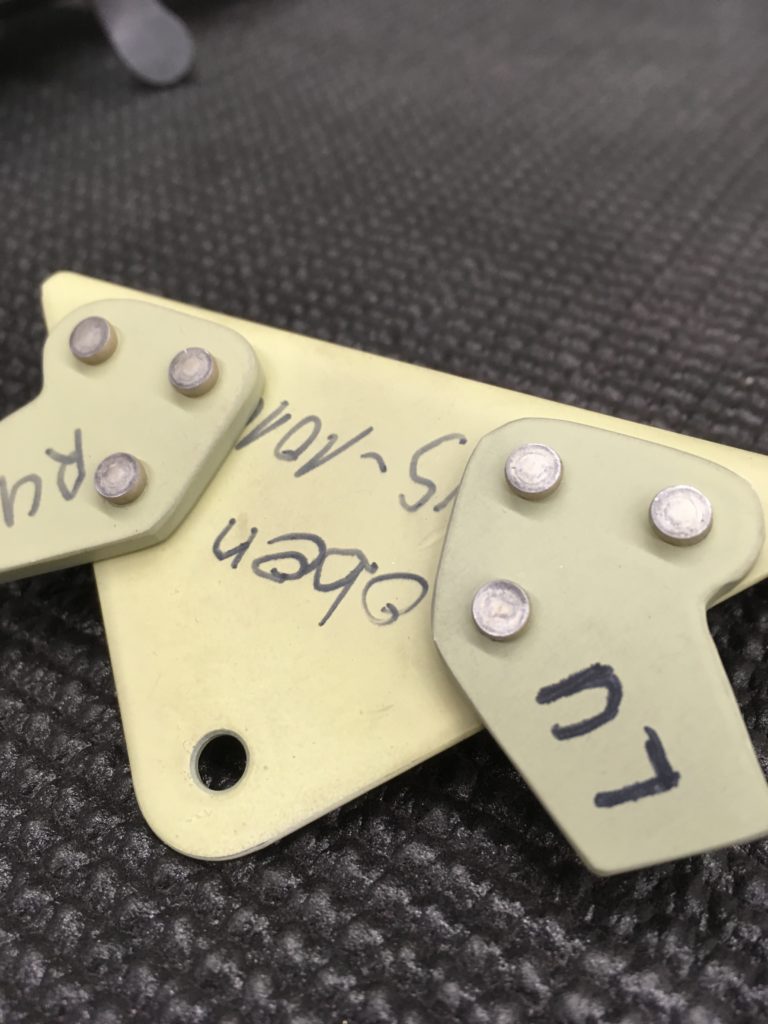
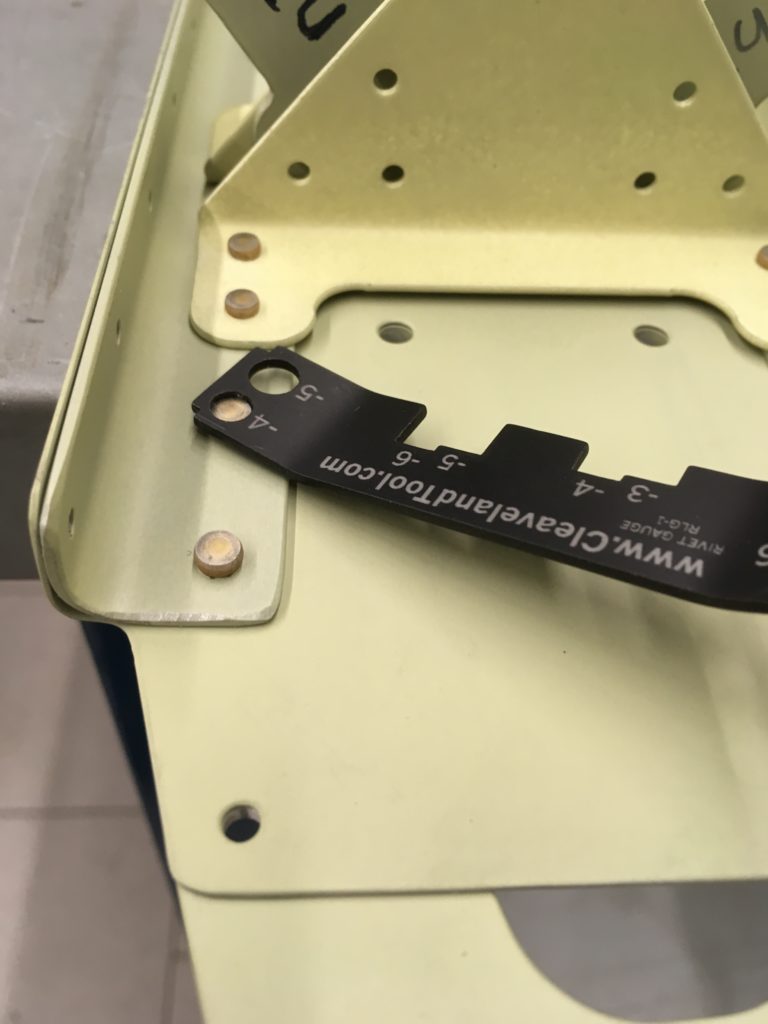
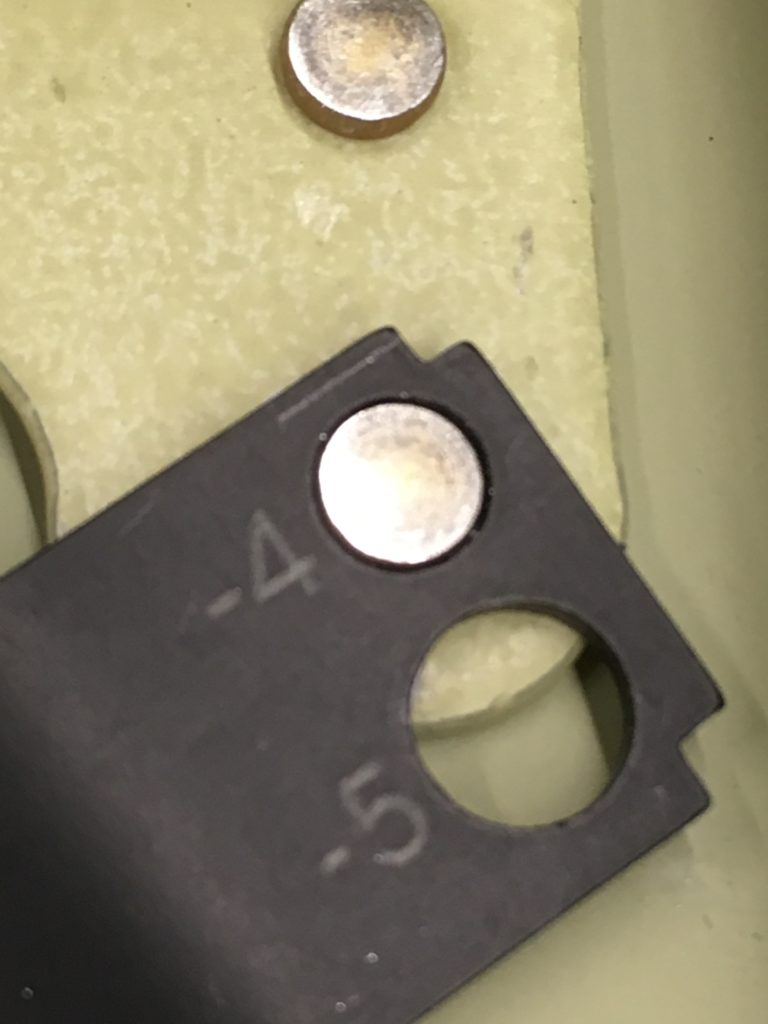


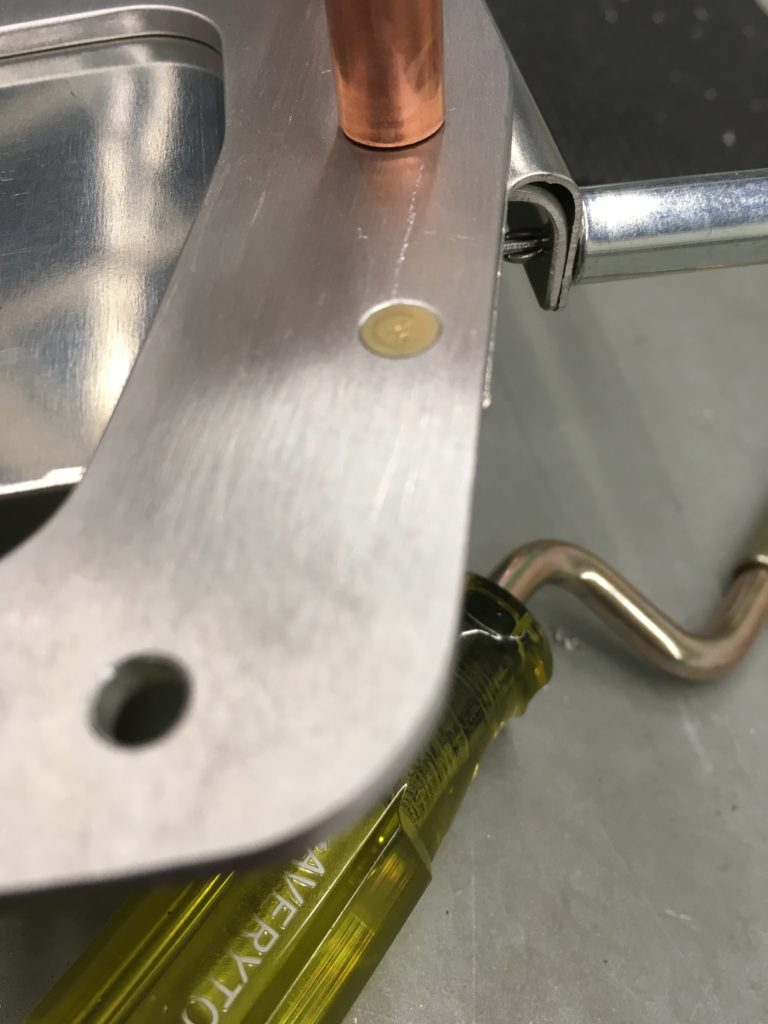
VS rear spar doubler Rudder hinge with rudder stop Workshop head size check = ok Workshop head hight check = ok AN426AD4-7 flush rivets Bottom rudder hinge with rudder stop striker plates VS rib to spar rivet check = ok

18.02.2017 – 22.02.2017 = 12h
2017-02
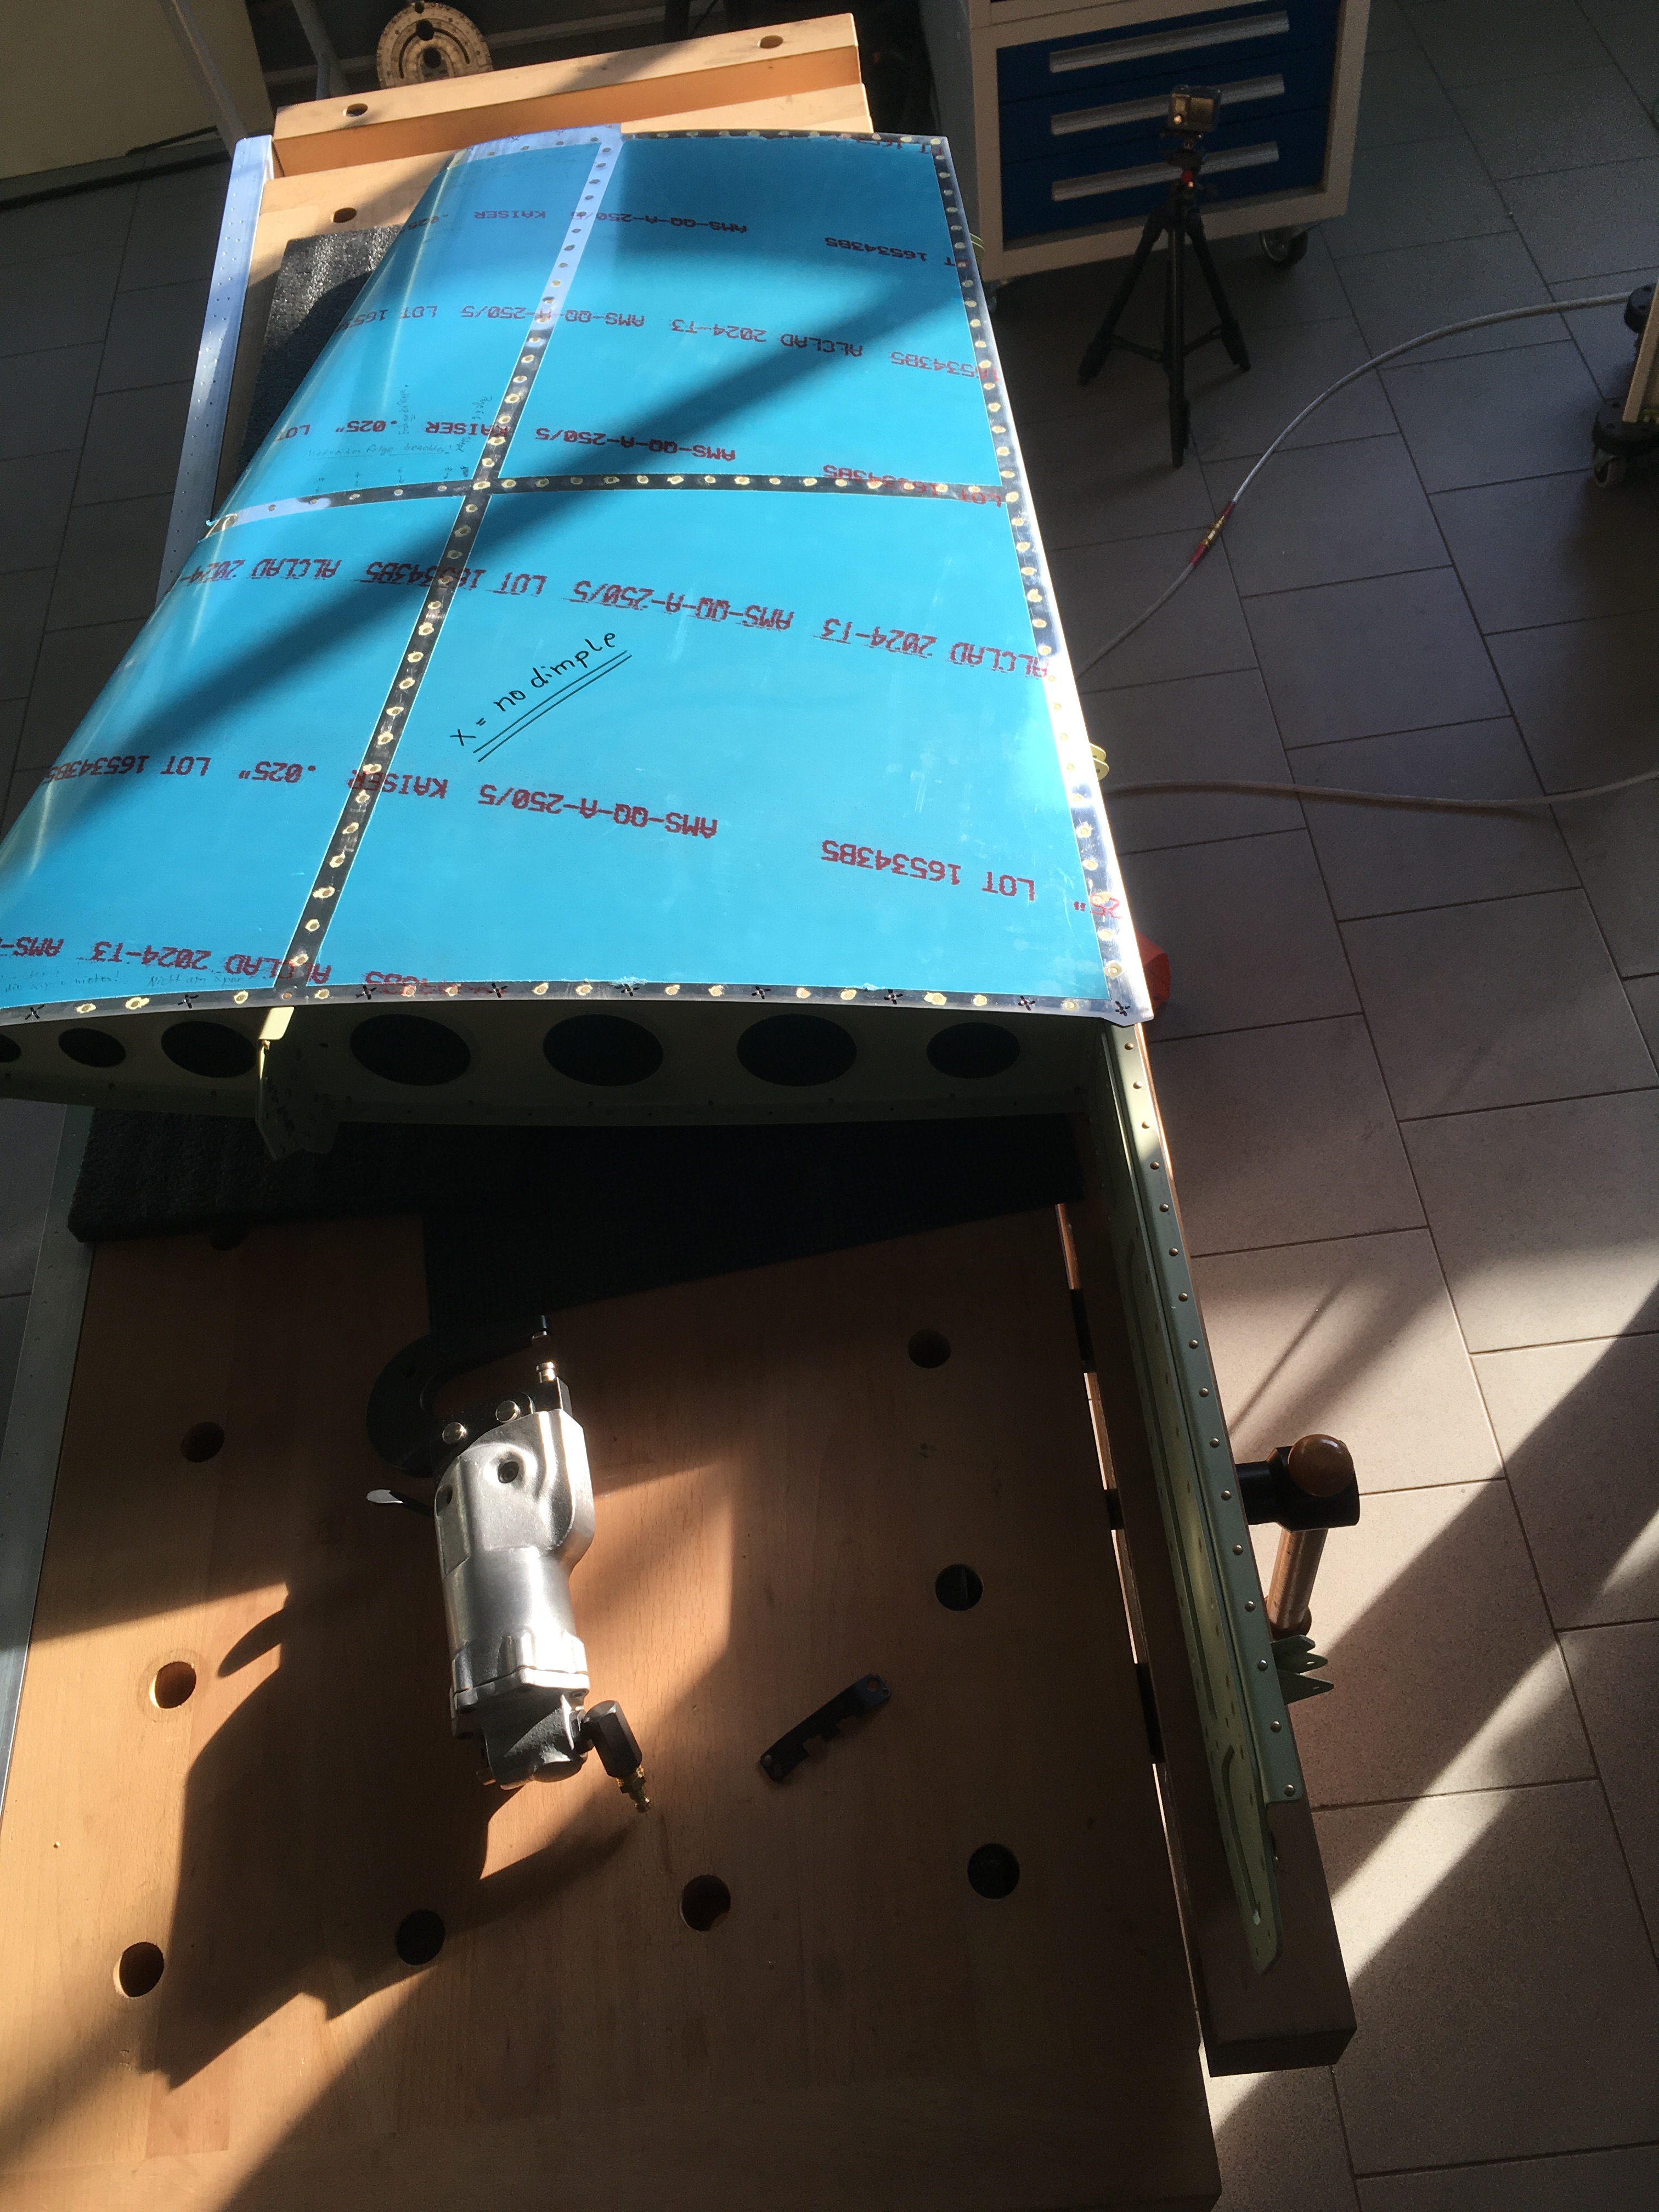
Riveting the Vertical Stabilizer Skin to the skeleton with the Pneumatic Squeezer.
Before closing the VS Skin my building mentor Christian Tank came along and checked everything to be properly riveted and assembled and said: „Du baust sehr genau“ (You´re building very accurate)….what made me a little bit proud of myself 🙂
You also may want to see the Video down on the bottom of this page…
My building mentor: Christian Tank
Christian Tank is the CEO in the company, he took over from his father Wilhelm Tank. His company:
Wilhelm Tank GmbH & Co Mariensiel KG
Flugplatz 1
26452 Sande
VIDEO: How Frank and me do the riveting process together on the vertical stabilizer
Begin the riveting process my friend Frank Goehner was very helpful and we managed the riveting process really good together.

Clecos: Wer hat´s erfunden? Die Deutschen :o) Der Nietprozess kann starten All clecoes in place! 
VS-Flush Rivets VS-Top Rib VS-Skin rivets checked = OK 
VS-Spar Caps Rivets 
Letzte Möglichkeit alle Nieten zu prüfen Inside view VS vertical stabilizer Rivet line checked = OK Inside view to top rib VS vertical stabilizer 
Frank with pneumatic squeezer Middle rows of rivets ready! Skin riveted Rear VS spar riveted Many rivets set, more to come… Letzte Kontrolle vor dem Schließen des Seitenleitwerks Letzte Kontrolle vor dem Schließen des Seitenleitwerks Letzte Kontrolle vor dem Schließen des Seitenleitwerks Christian Tank = Bauprüfer hat das Seitenleitwerk abgenommen. Jetzt kann ich es fertig nieten


- Vertical Stabilizer start: 19.01.2017
- Finished: 01.04.2017
- Hours total: 26,5