

In this section you will see my self made (DIY) dimple frame DRDT-2 in his final version which I finally will use the whole building process. I am proud, that my version is functioning so far. Looking forward to use it for many times which will safe me a lot of hours!
Nach unten navigieren
Page 7-2 to 7-6
Preparing all the Rudder parts
Before putting them together, you have to prepare all the parts to fit together, so all edges has to be deburred, some parts have to be cut to almost smaler parts like the R-1010 Rudder ribs.
This is taking a lot of time and sometimes a boring thing to do, but it is an essential work, because with this it is possible to ensure a long lasting airframe over many years of flying.

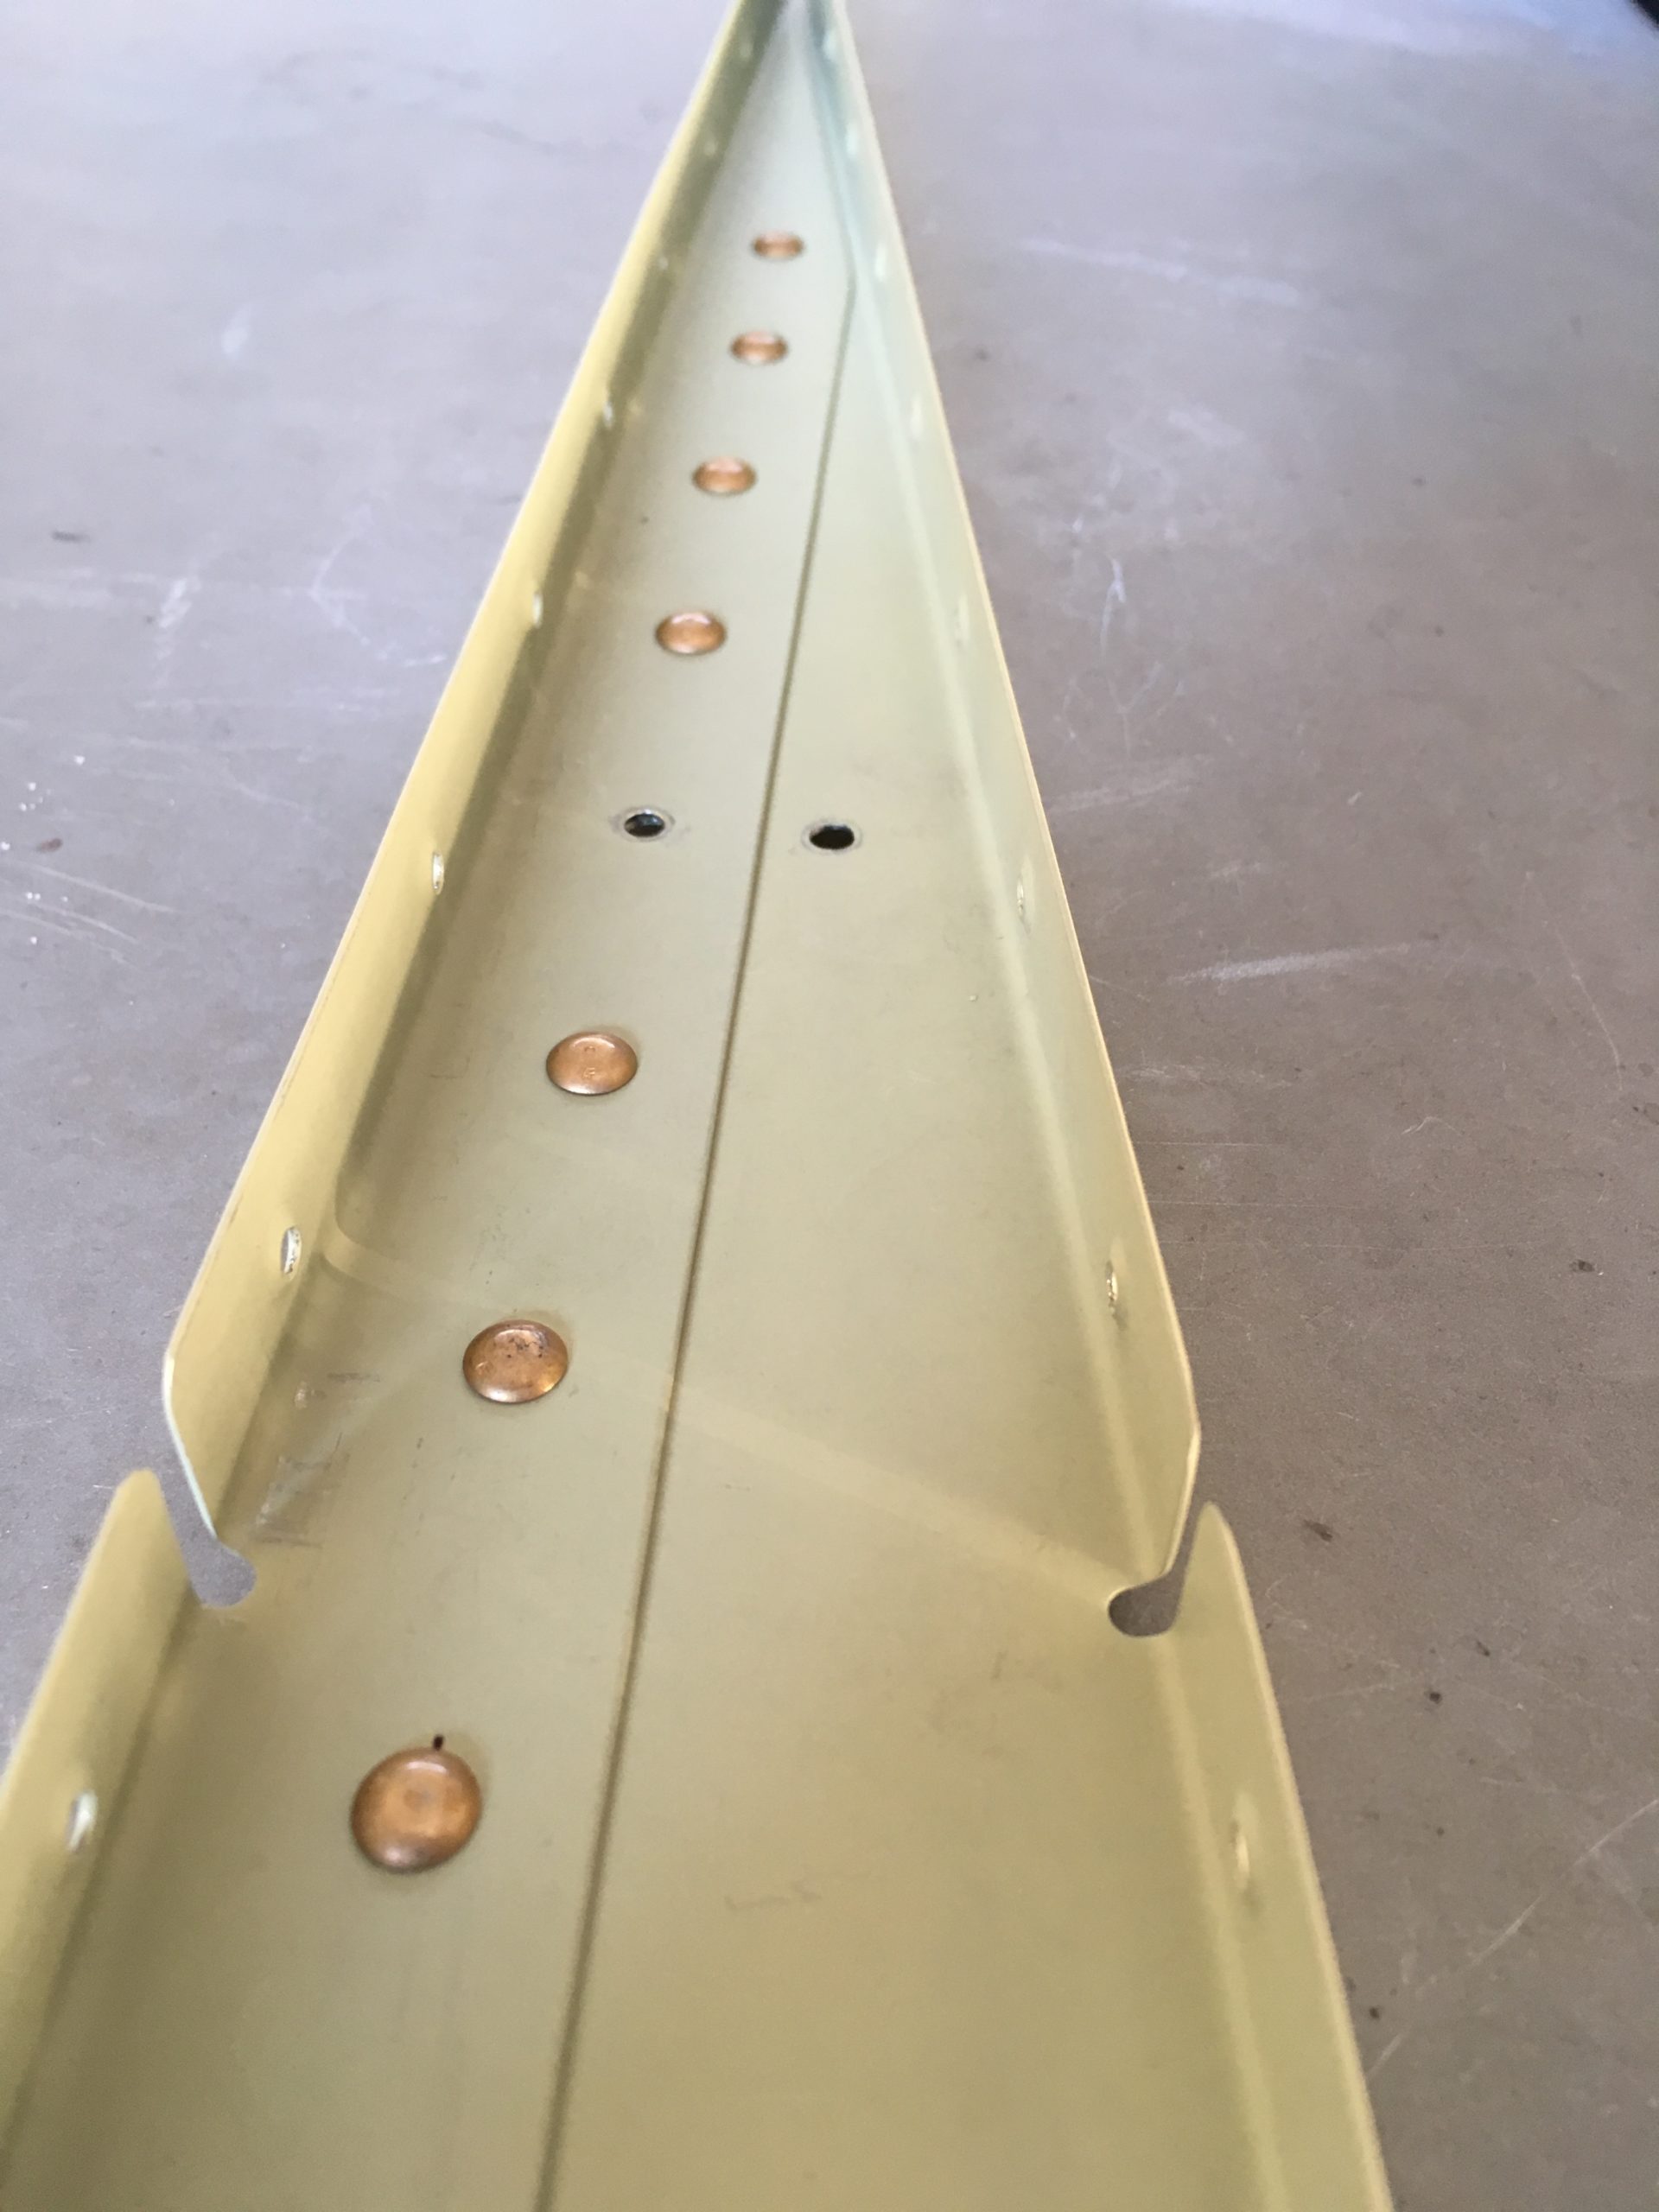
Dimpling the Rudder Skin Selfmade Dimpletframe by Peter Aringer Dimple detail Rudder Skin Dimple detail row Rudder Skin Dimple Frame with Squeezer Dimpleframe head Dimpleframe head detail Rudder rib dimpled Rudder skeleton Rudder Skin scuffed with scotch brite pad 
Rudder complete cleoed together Rudder skeleton clecoed Rudder Skin blue film removed Rudder skeleton on the left skin Rudder skeleton on the table Rudder skeleton Rudder cable arms Rudder lower rib Rudder parts ready for priming Cutting instructions for the Rudder ribs Riveting instructions for the Rudder ribs Rudder Ribs befor cutting R-1005 before preparing Rudder rib parts Rudder parts to be prepared and cut to size


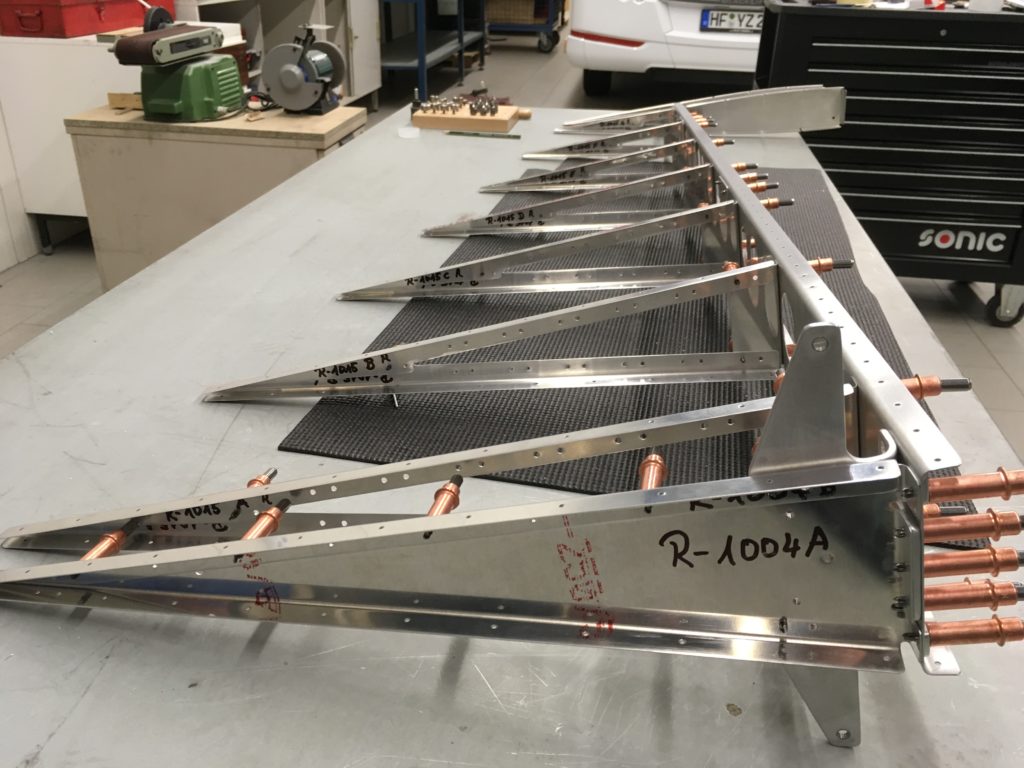
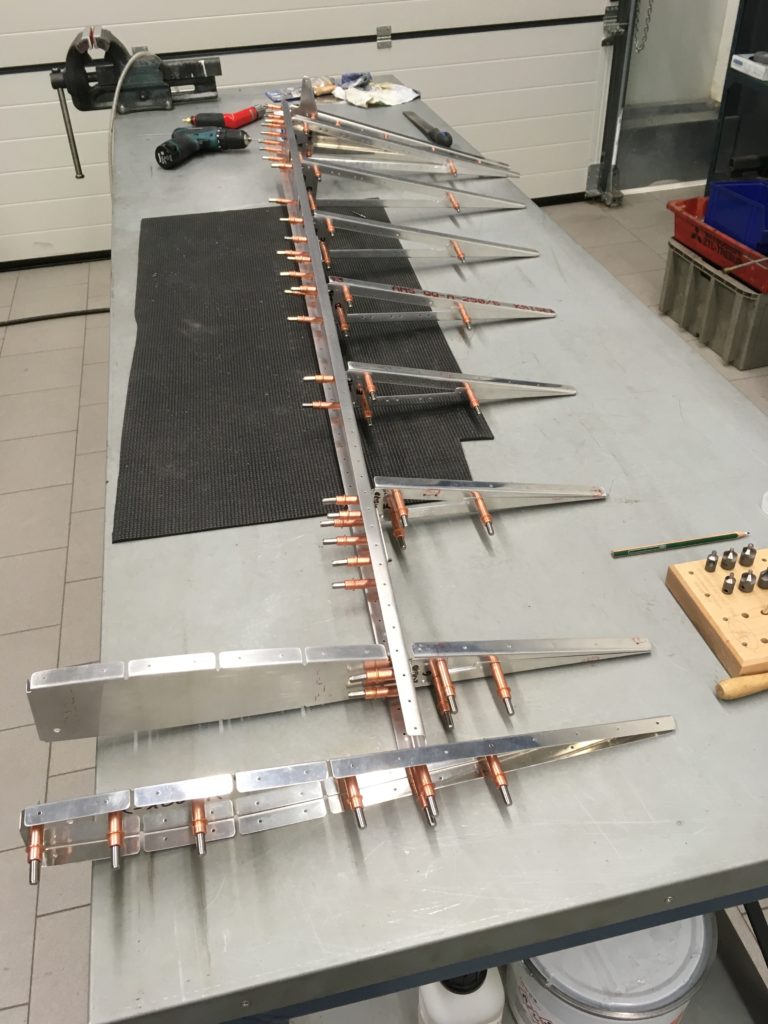


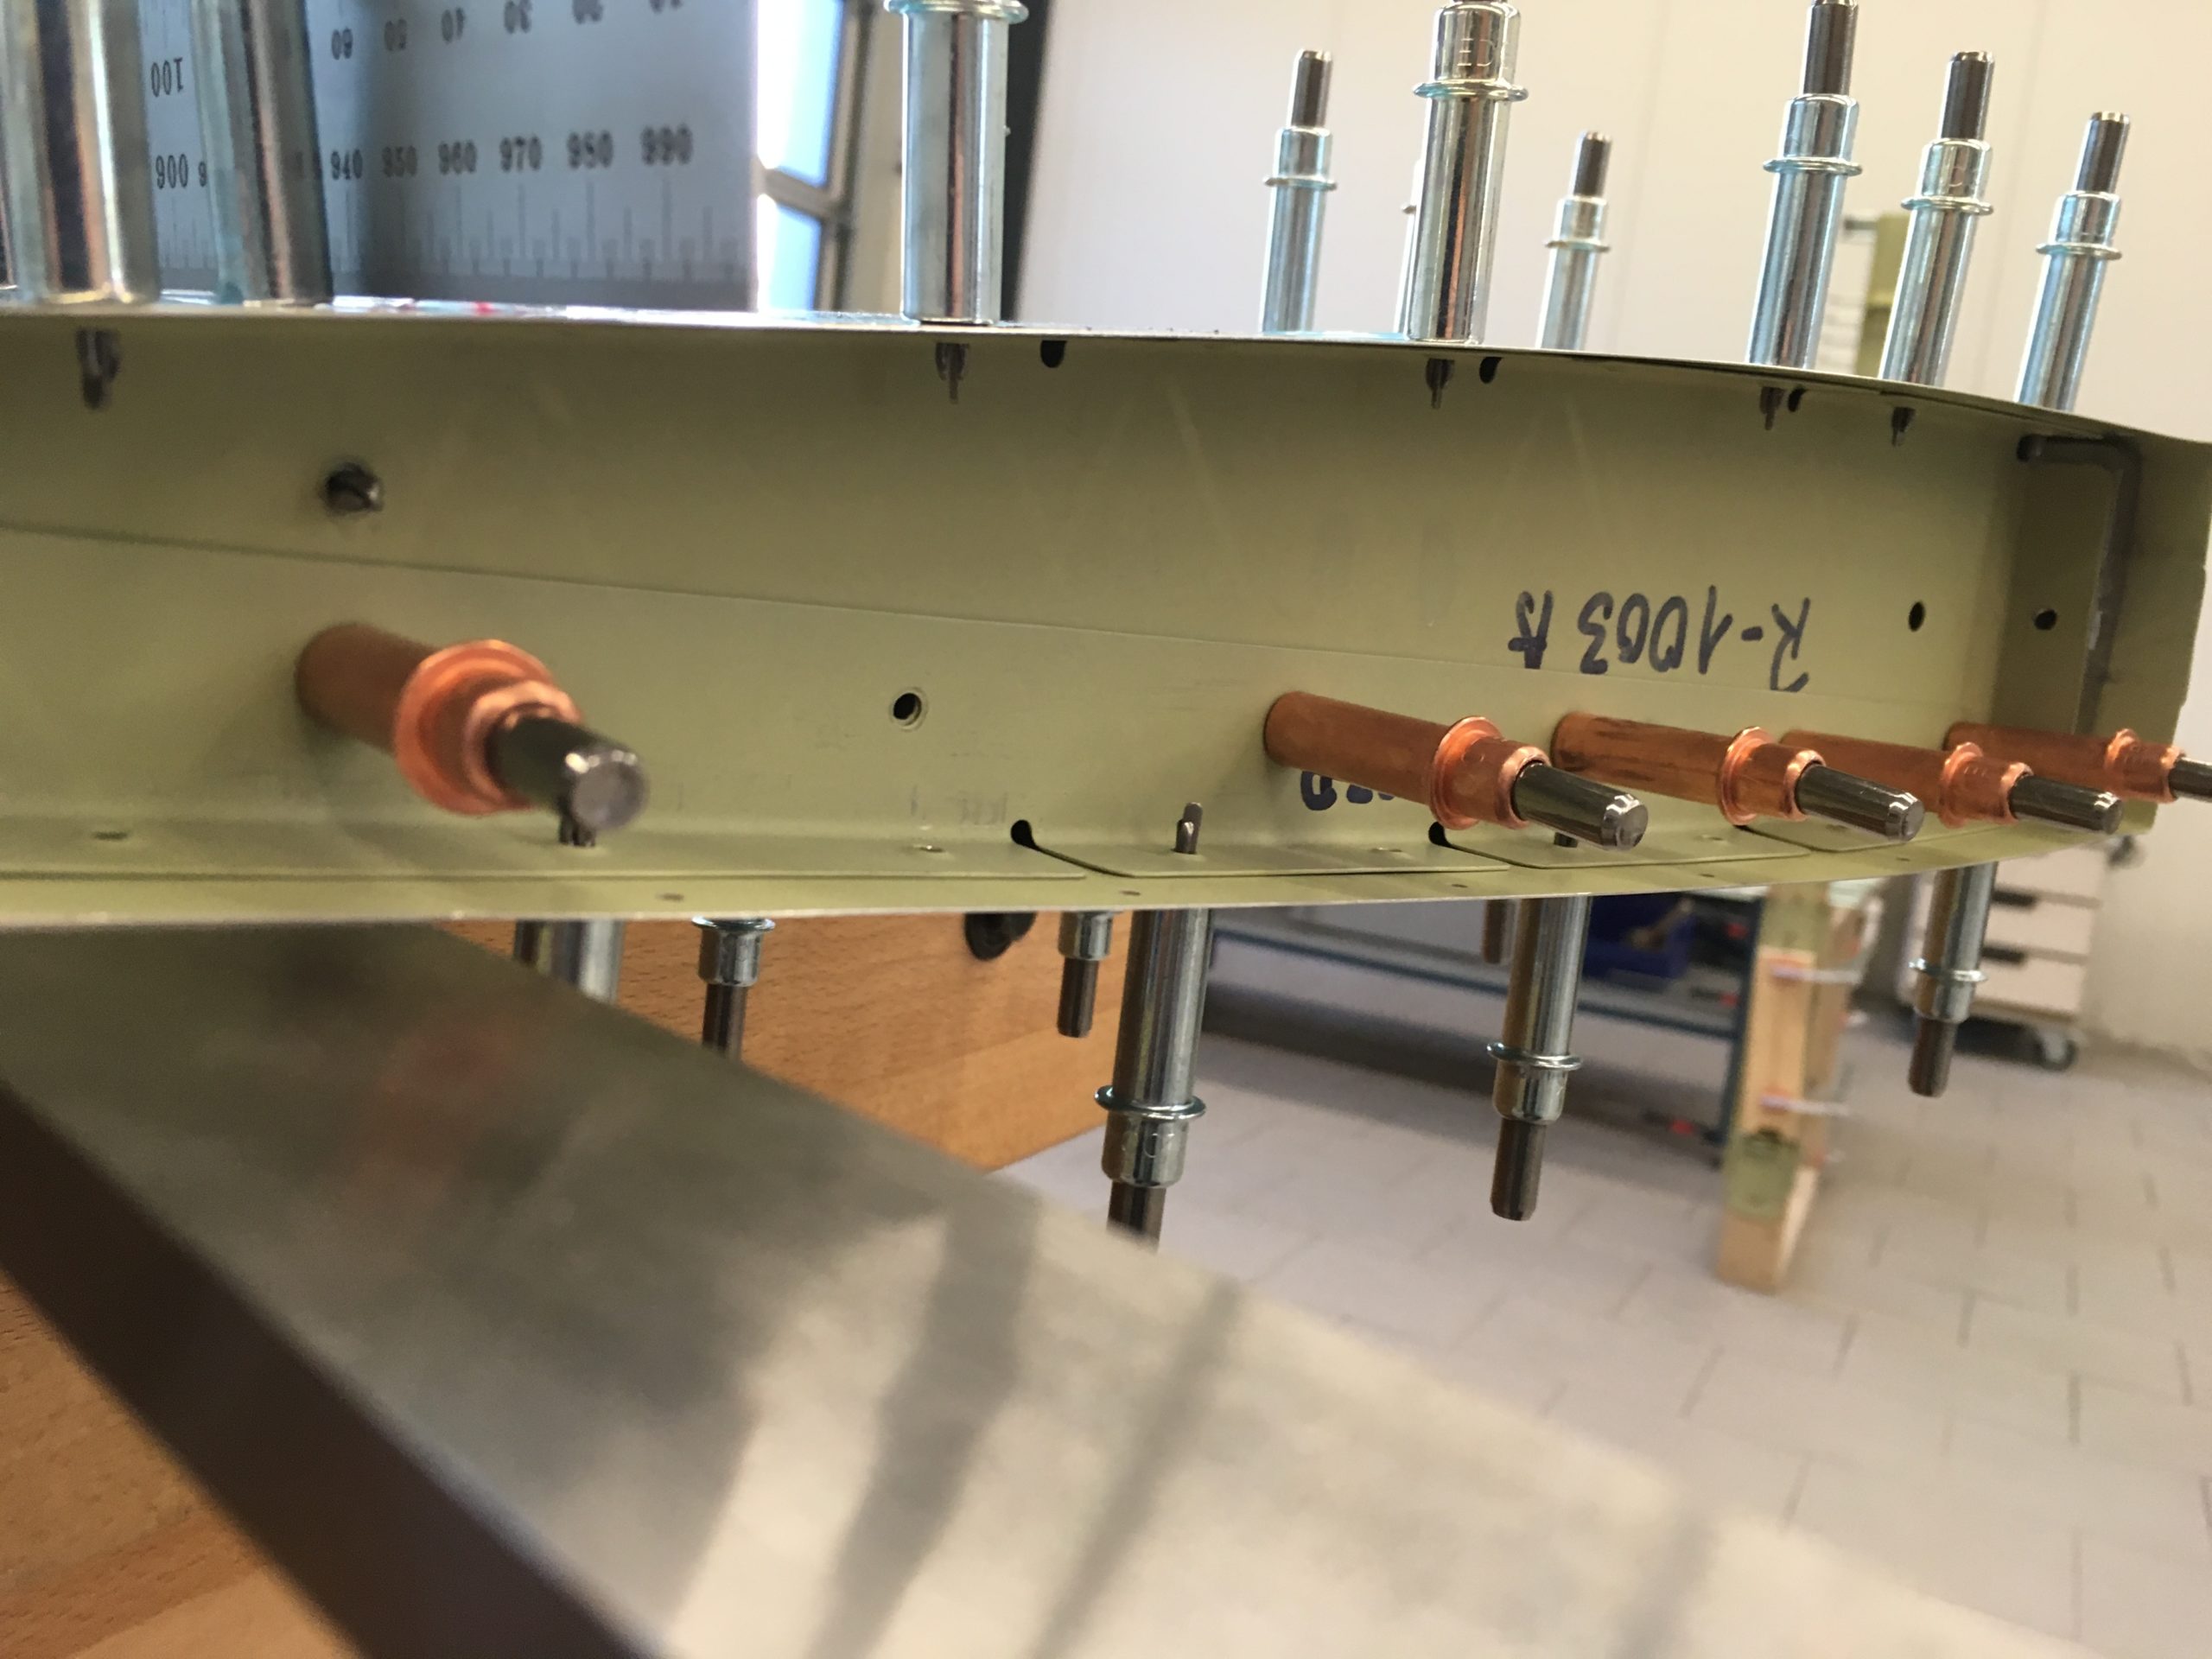
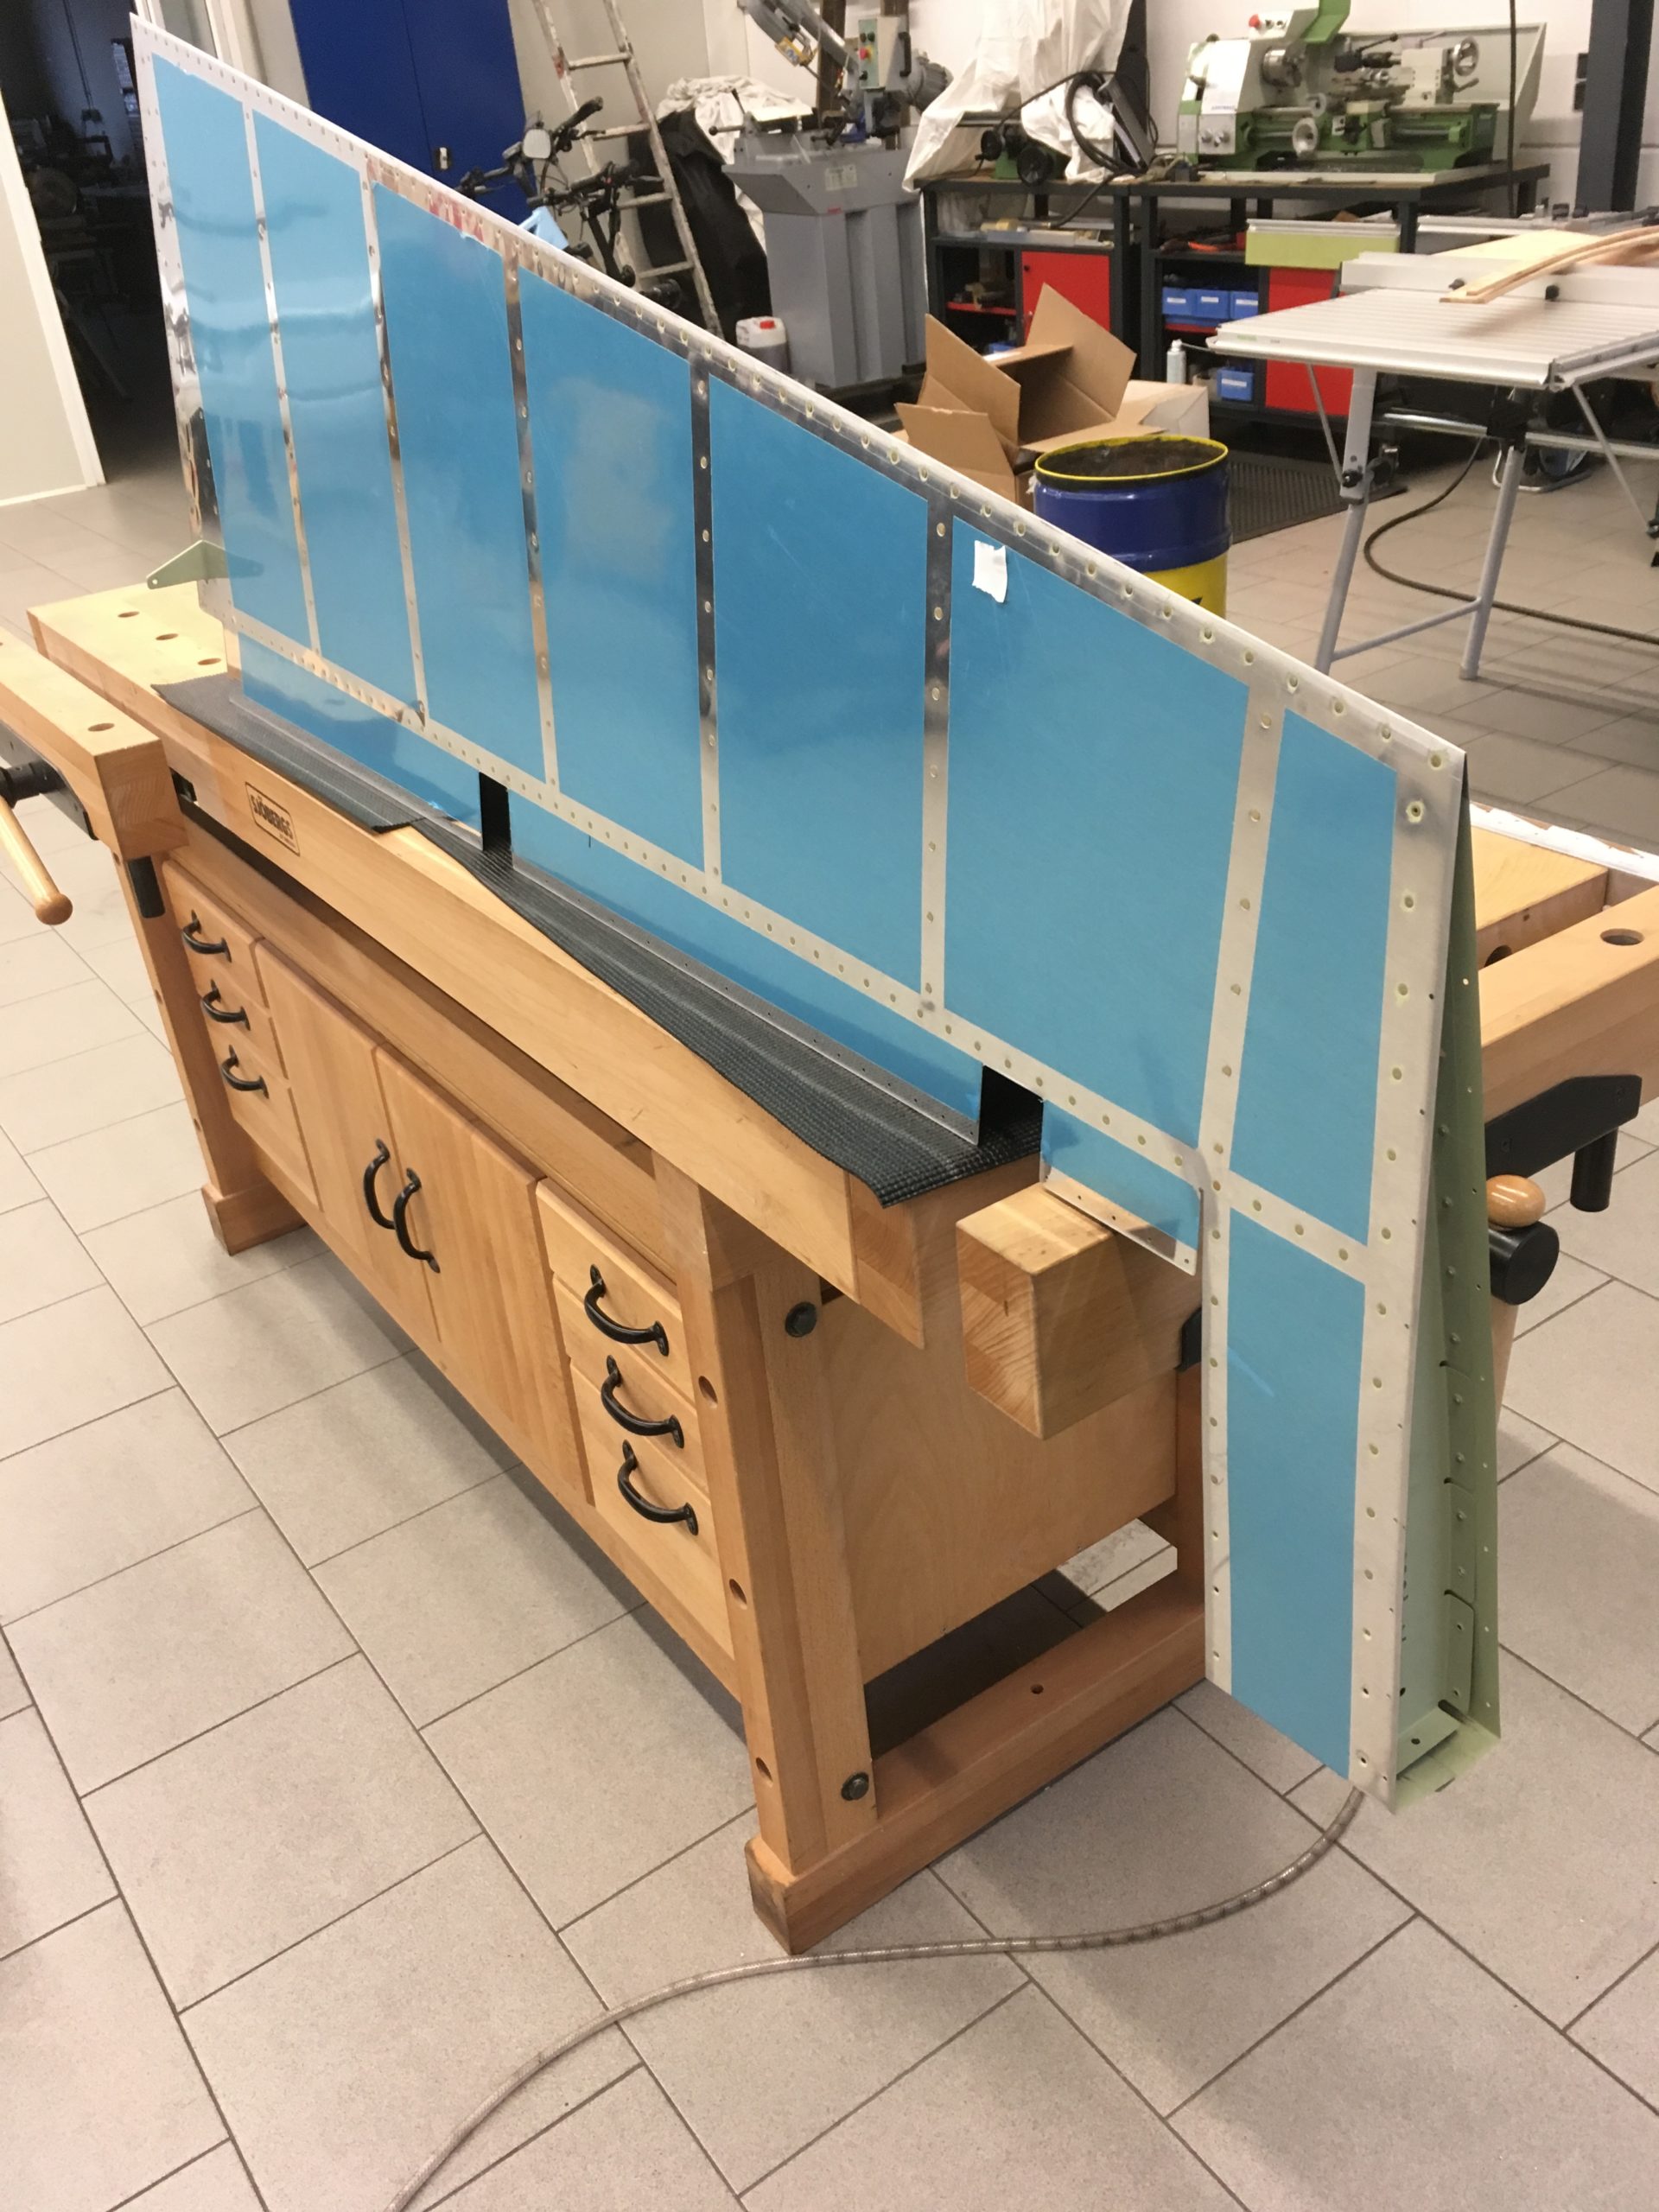
Page 7-7 to 7-12 Riveting the Vertical Stabilizer, Rolling the leading edge, trailing edge finish
Now the exiting process of assembling all the prepared parts of the vertical stabilizer begins.
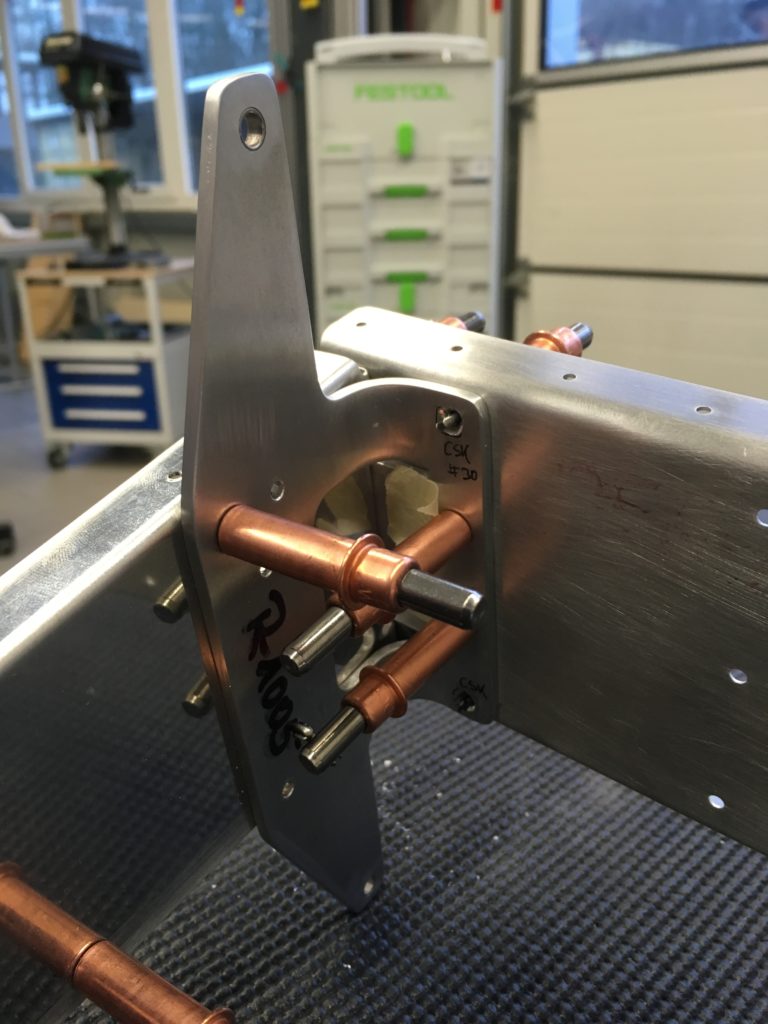
When I clean the parts for priming, it is essential to mark the preped parts in the exact same way they were marked before!!
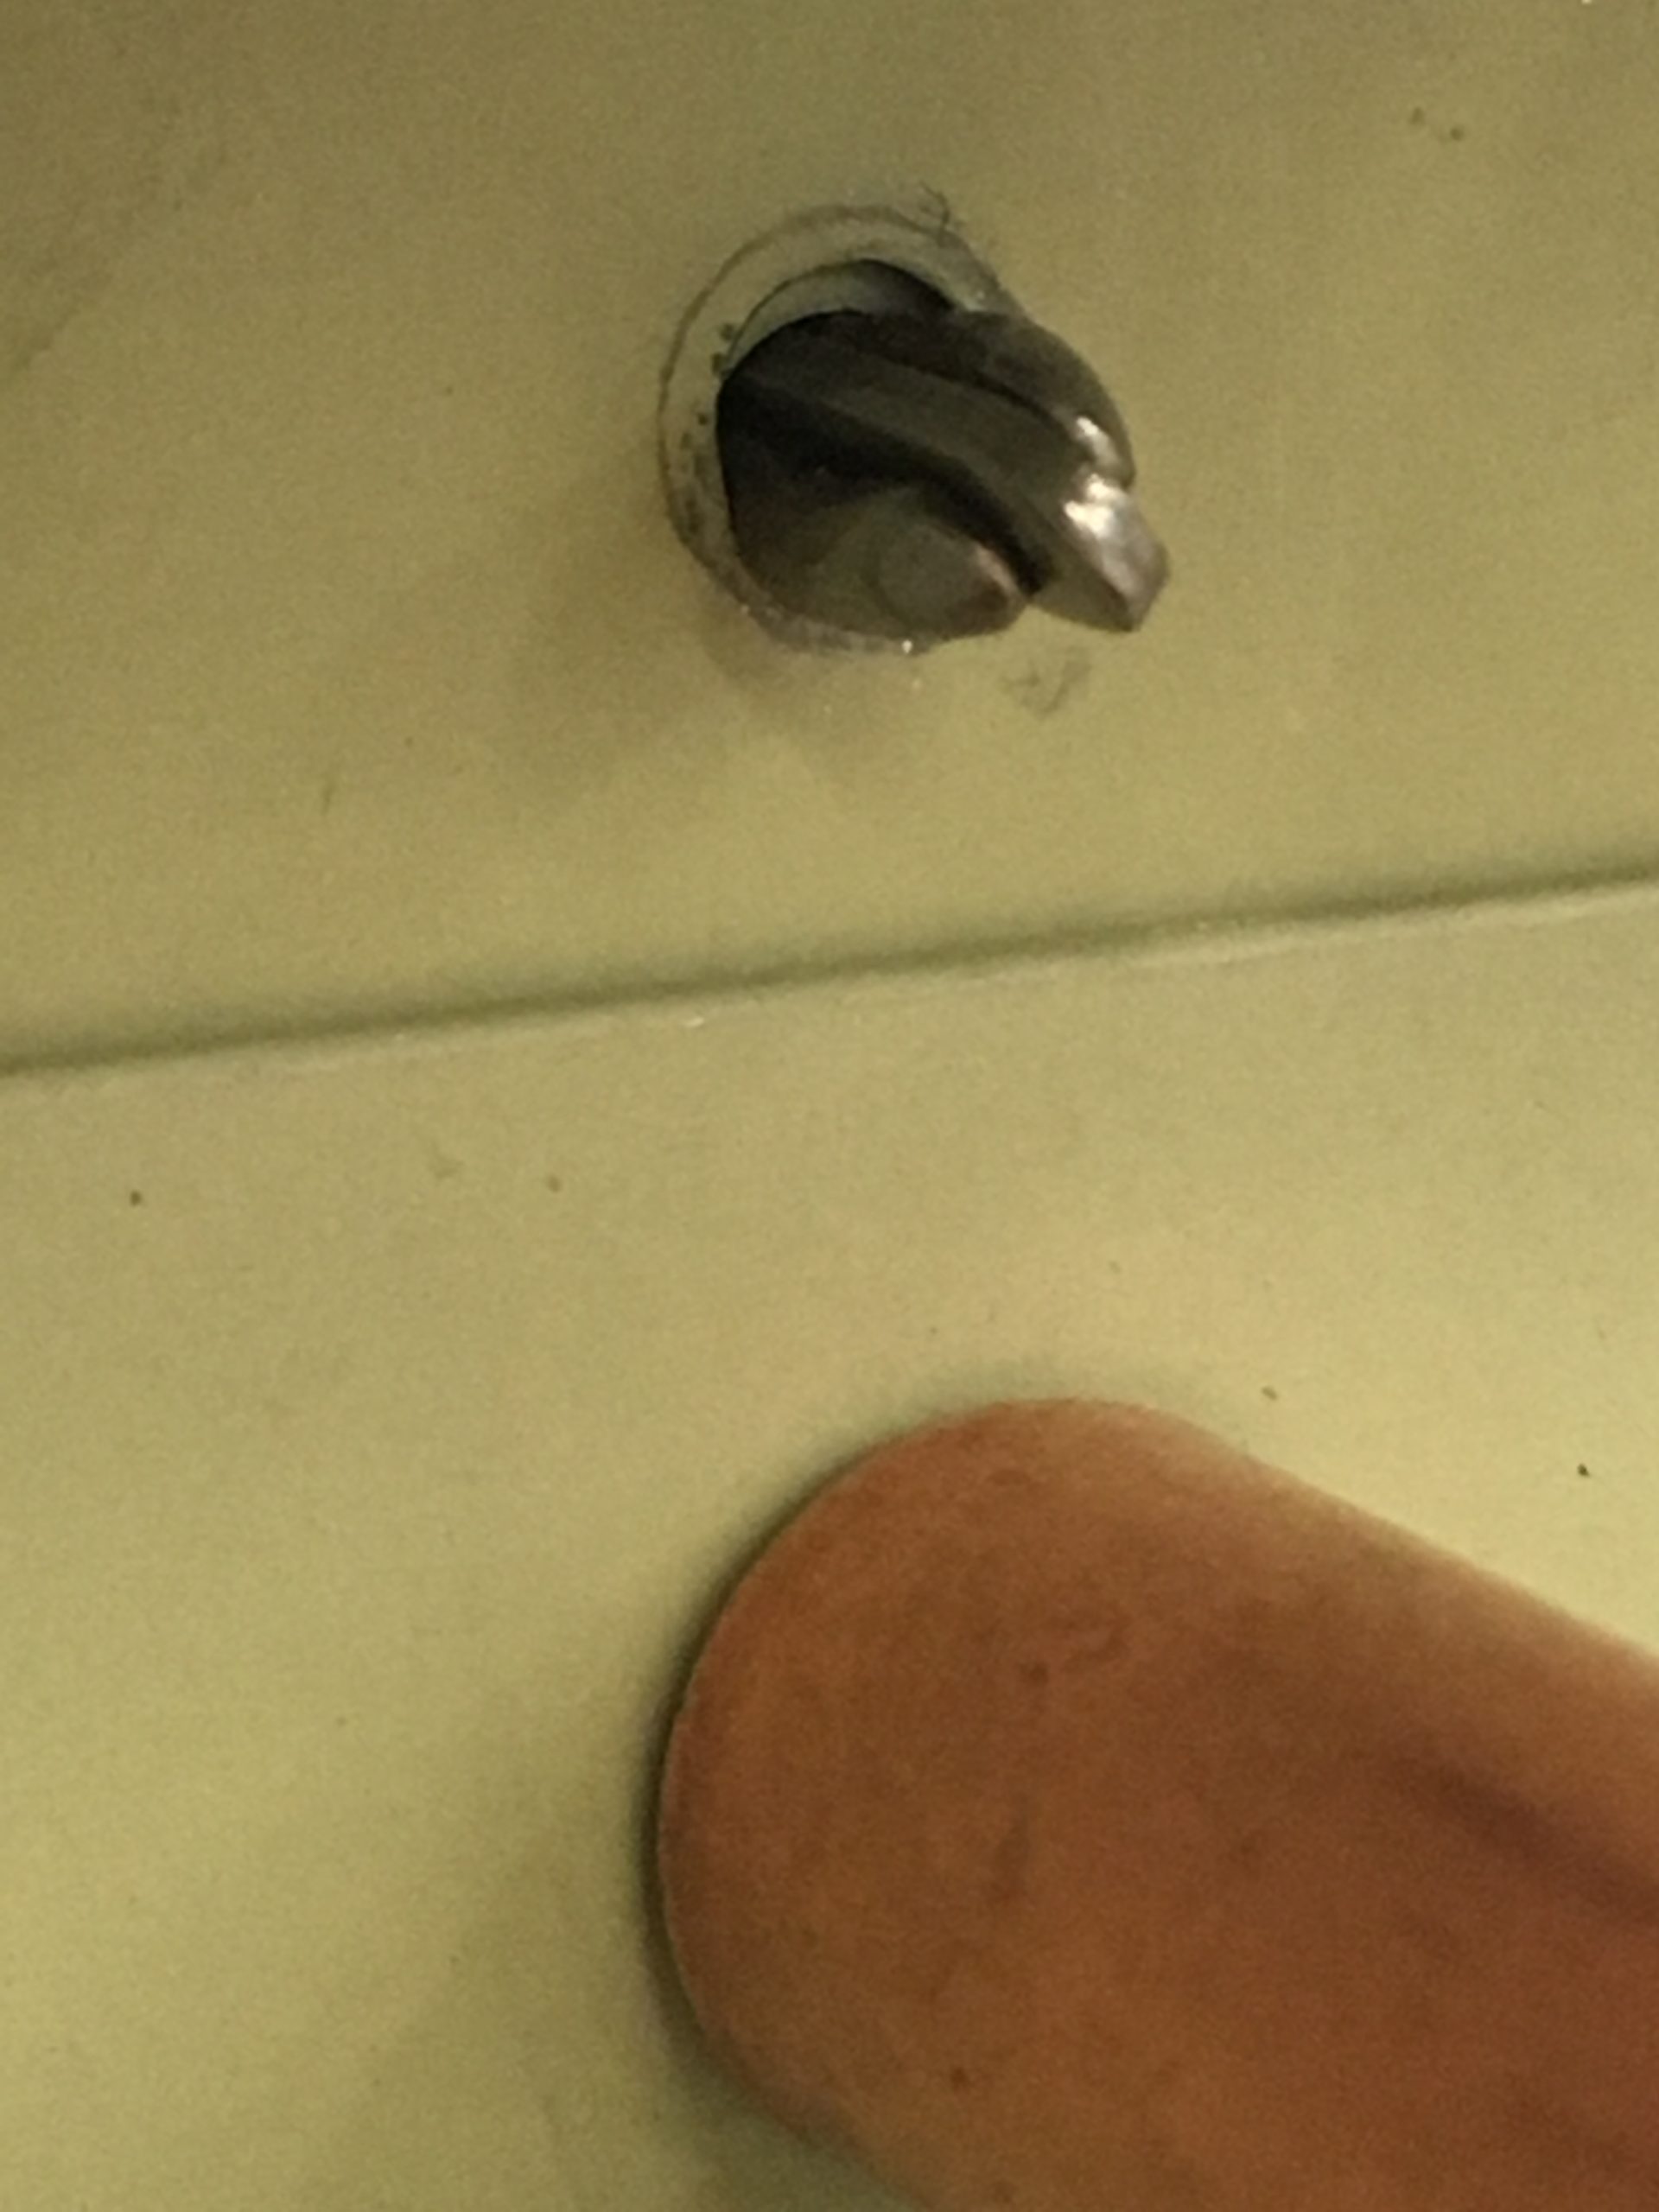
At the top vs-rib I had a slight missalignment an had to fix this with drilling some new holes in the R-1008A and R-1008B top ribs.
The whole process of riveting all the VS parts together turned out to be very exiting. The most exiting thing here was to bend the leading edge in a correct manner to not screw this up an make some niks in the skins while bending them.

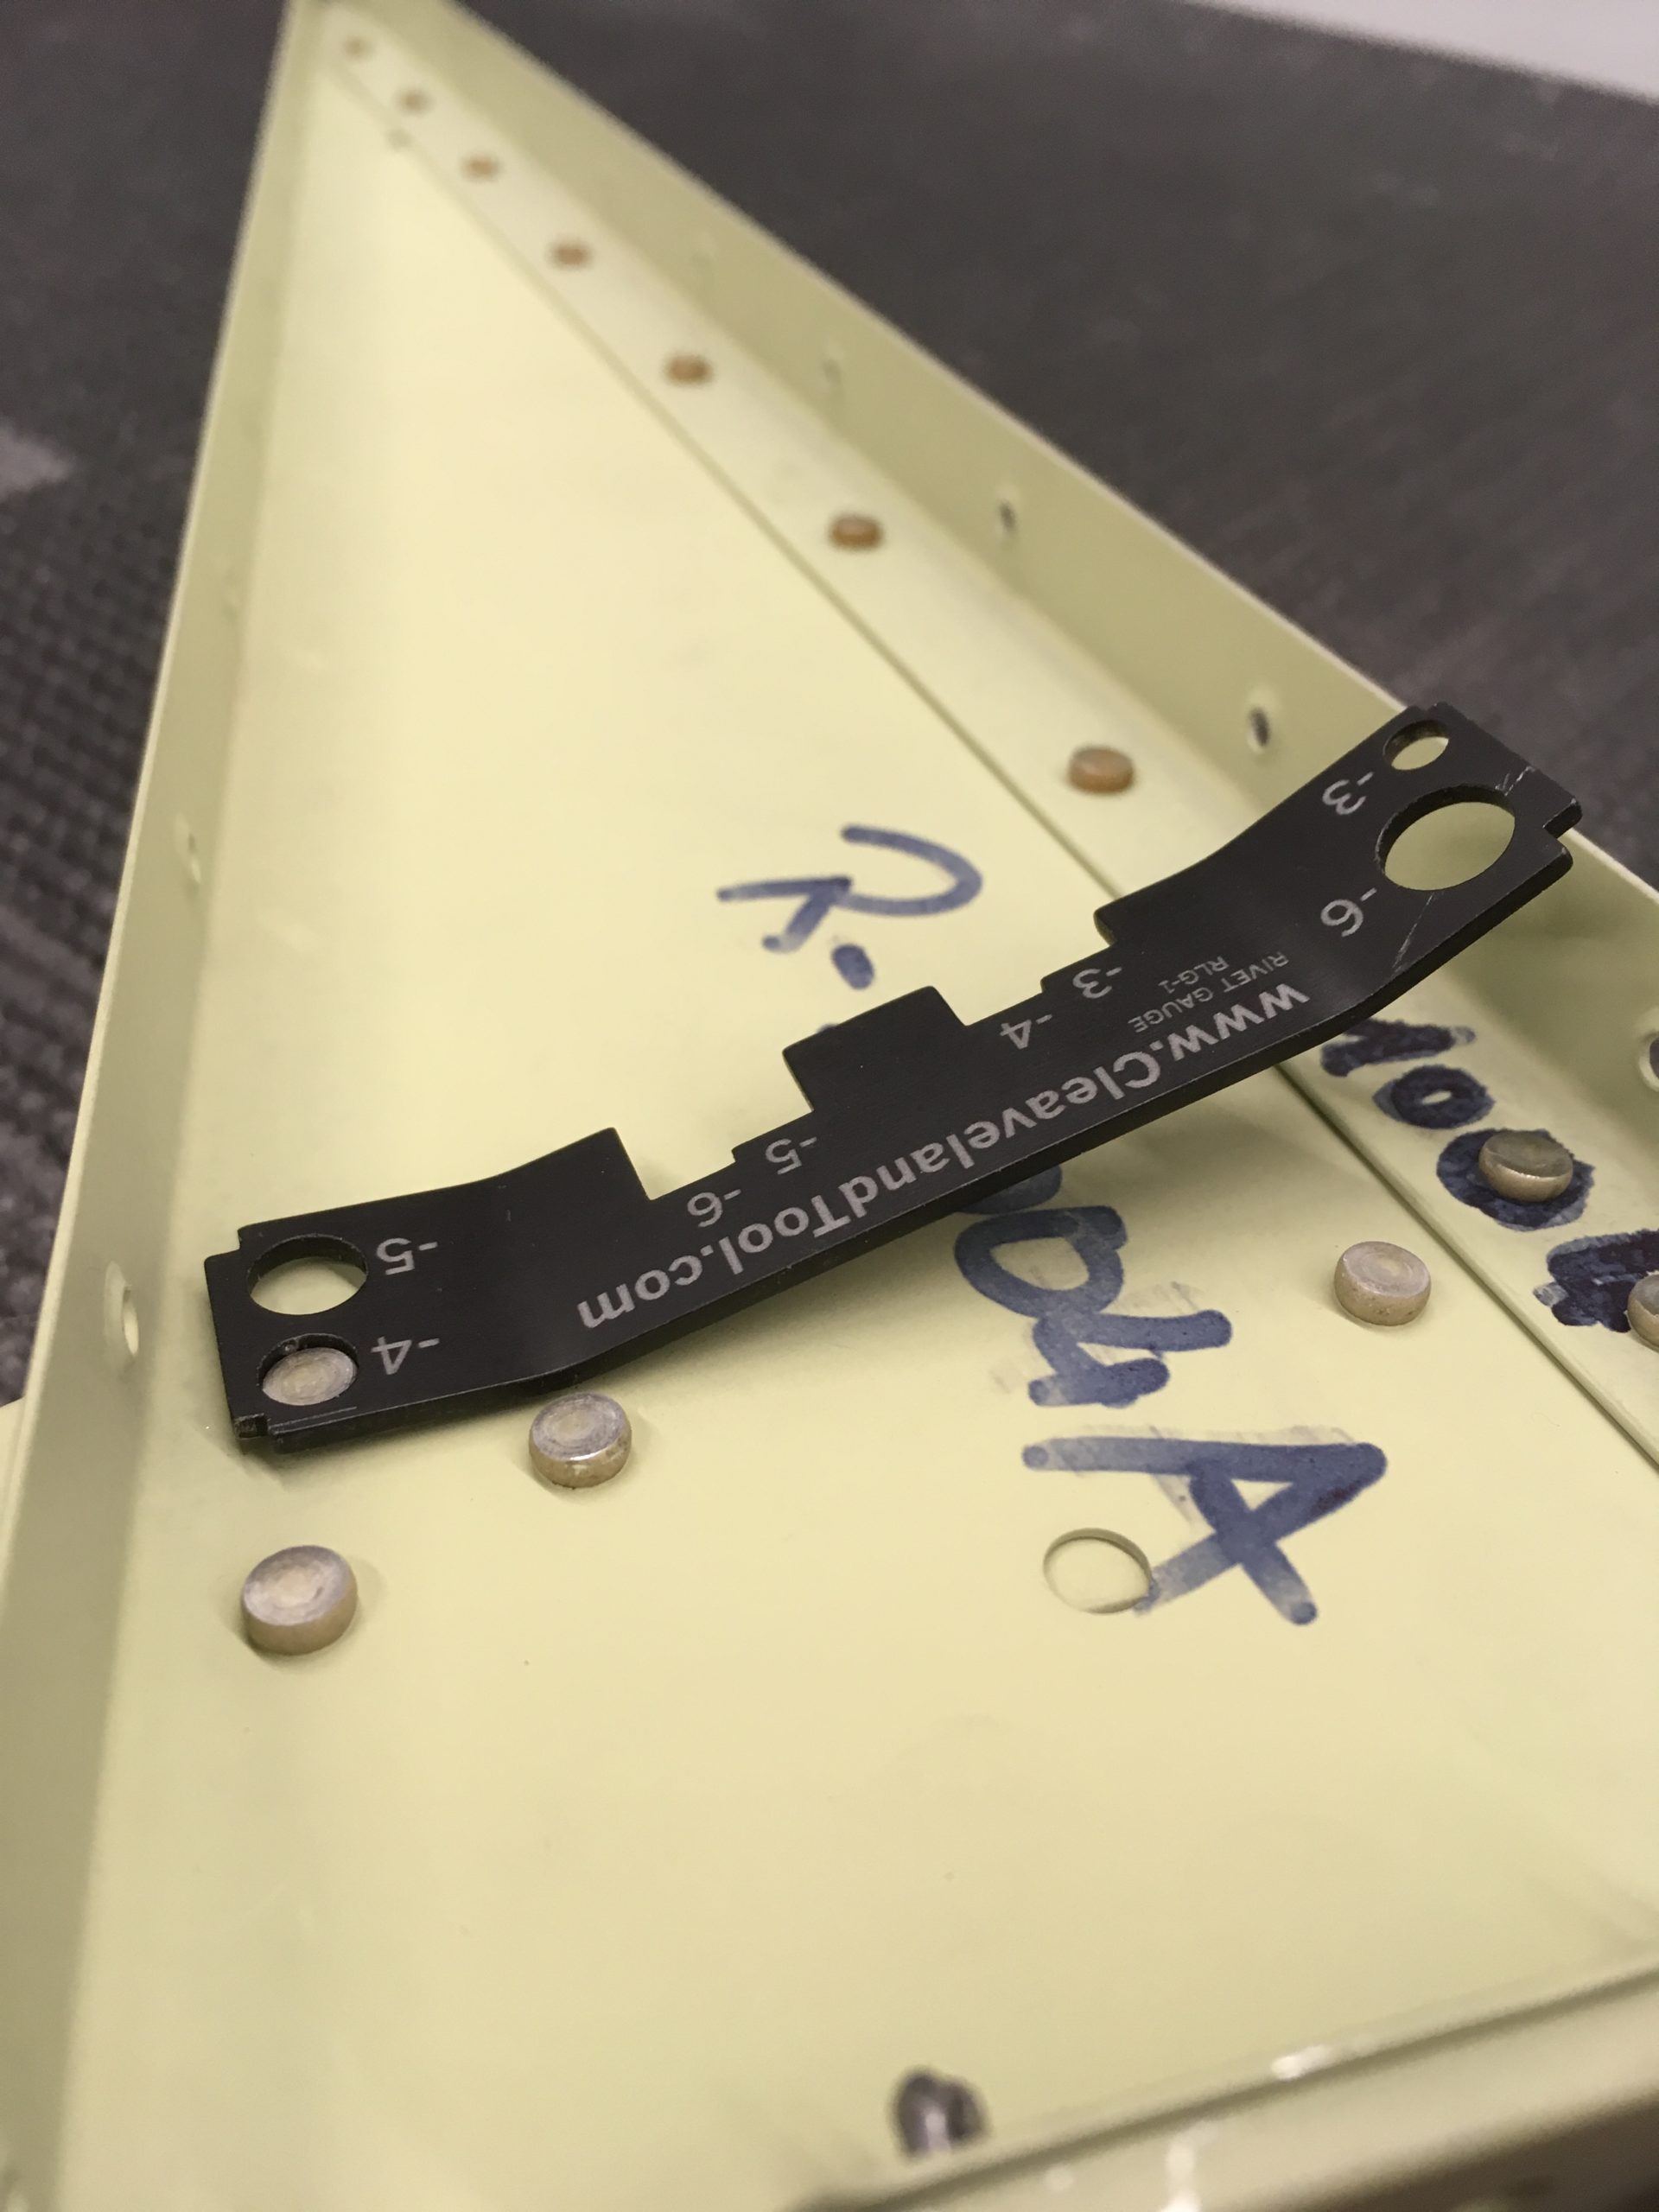
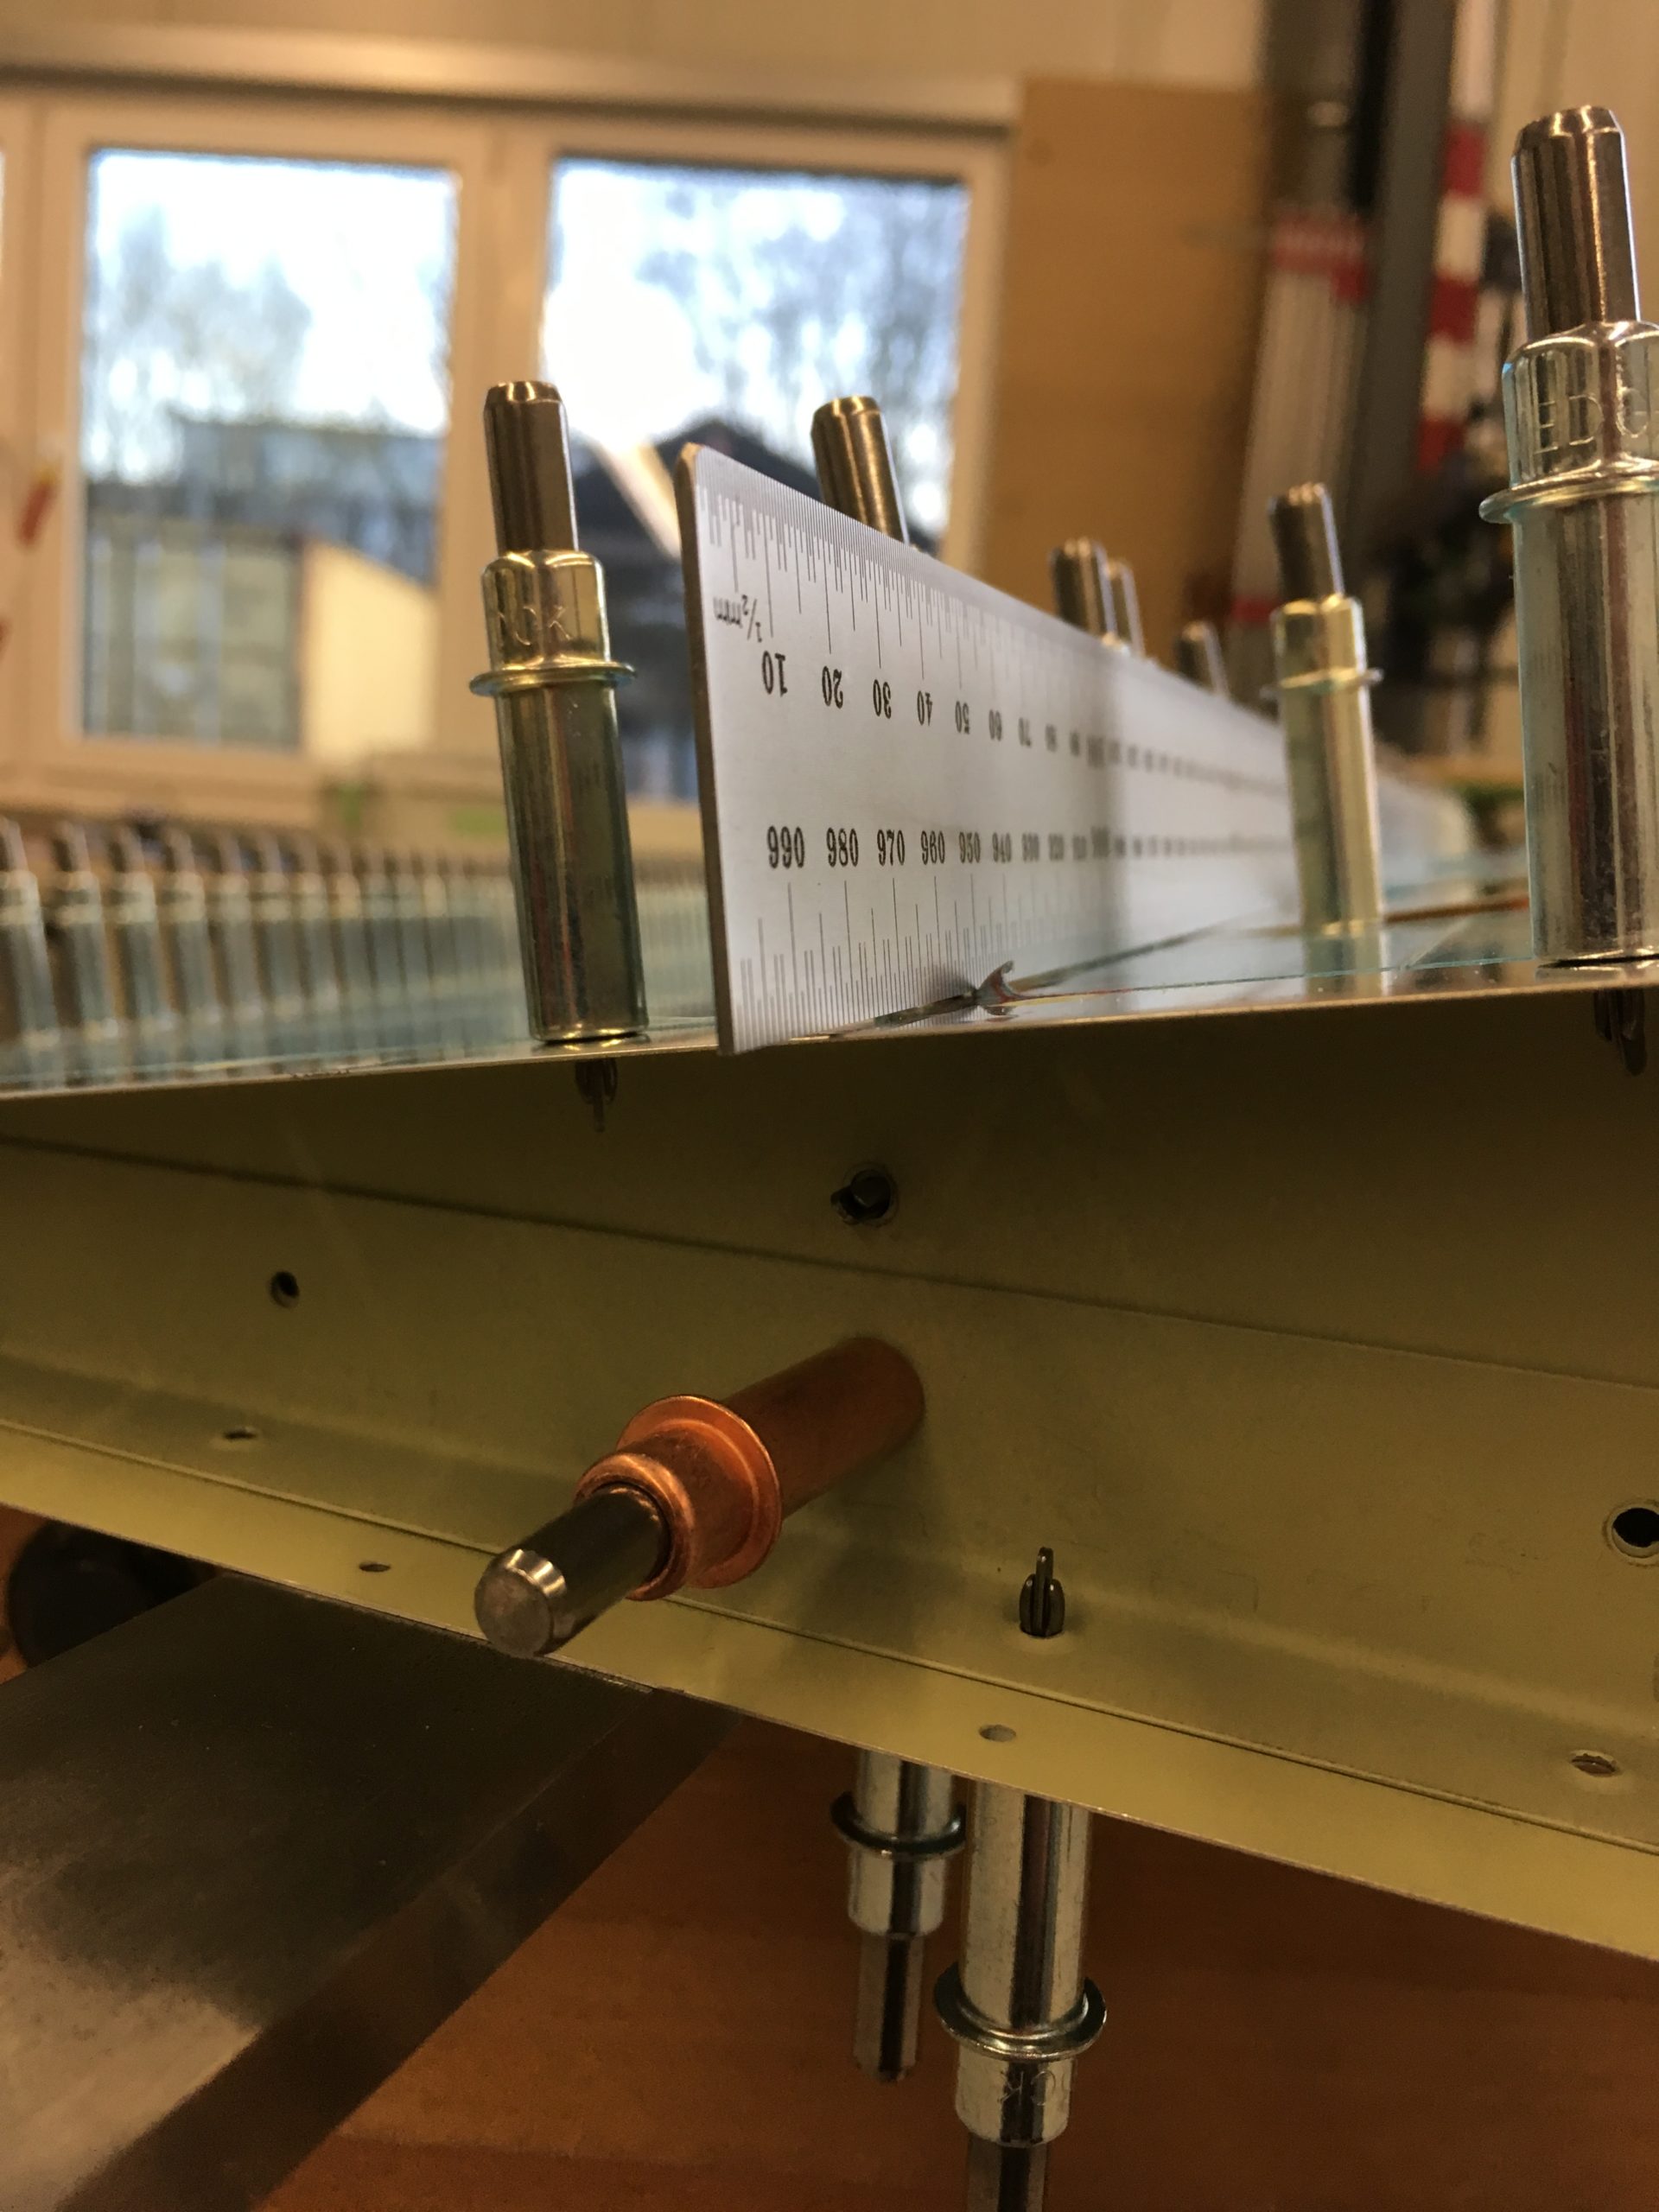
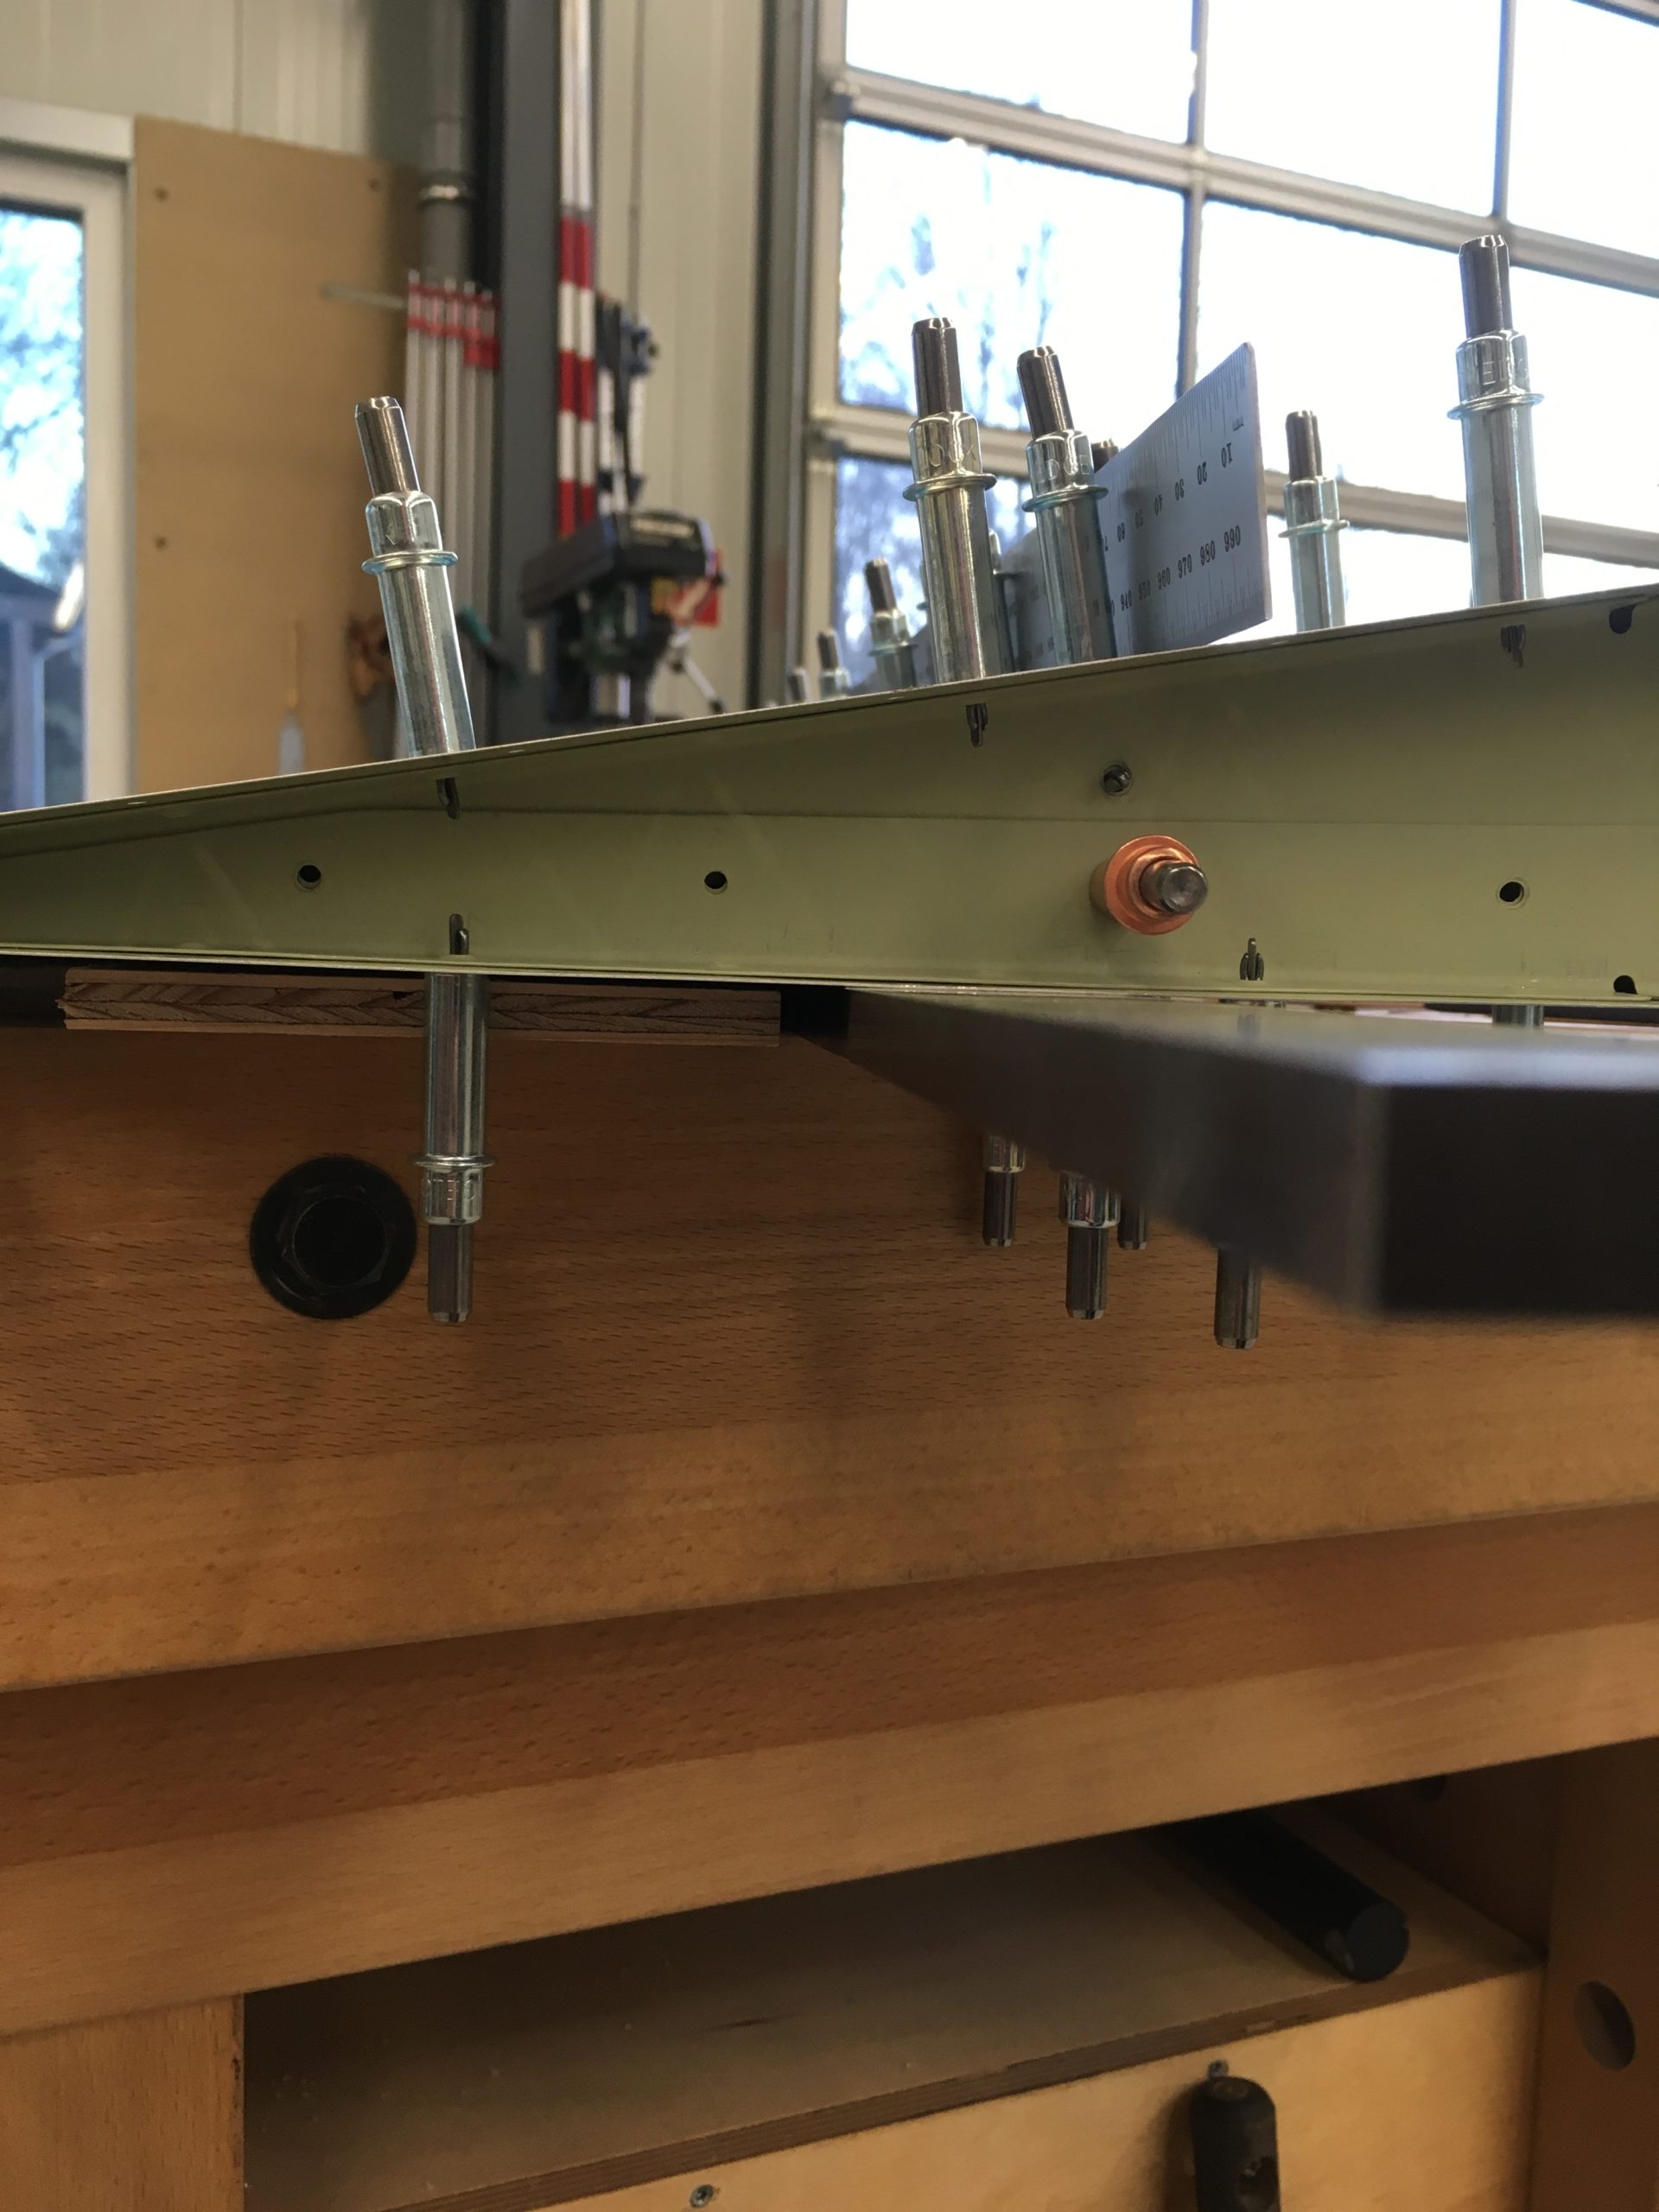
Rivet check VS spar Backriveting 
Backriveting finished Missalignment Missalignement fixe VS spar doubler Double flush rivets Trailing edge very straight Rolled VS skins Counterbalance weight Rudder Counterbalance Rib


Rudder metal work is finished. Some work to do on the upper and lower fairings on the rudder. Will return later on. 13.05.2017
Nach oben navigieren
Rudder start: 02.February 2017
Finished: 13.Mai 2017
Hours: 25